Configuring Stellarium FoV Simulator for DWARF IIUpdated 10 months ago
This guide helps to configure a useful FoV in the Stellarium mobile application for DWARF II telescope.
This article was written by Neil E Martin.
Overview of Steps:
- Getting Started
- Configure the Telescope
- Configure the Camera Sensor
- Find a nice Target
- Enjoy the View!
1. Getting Started
1.1 Open the Stellarium Mobile App
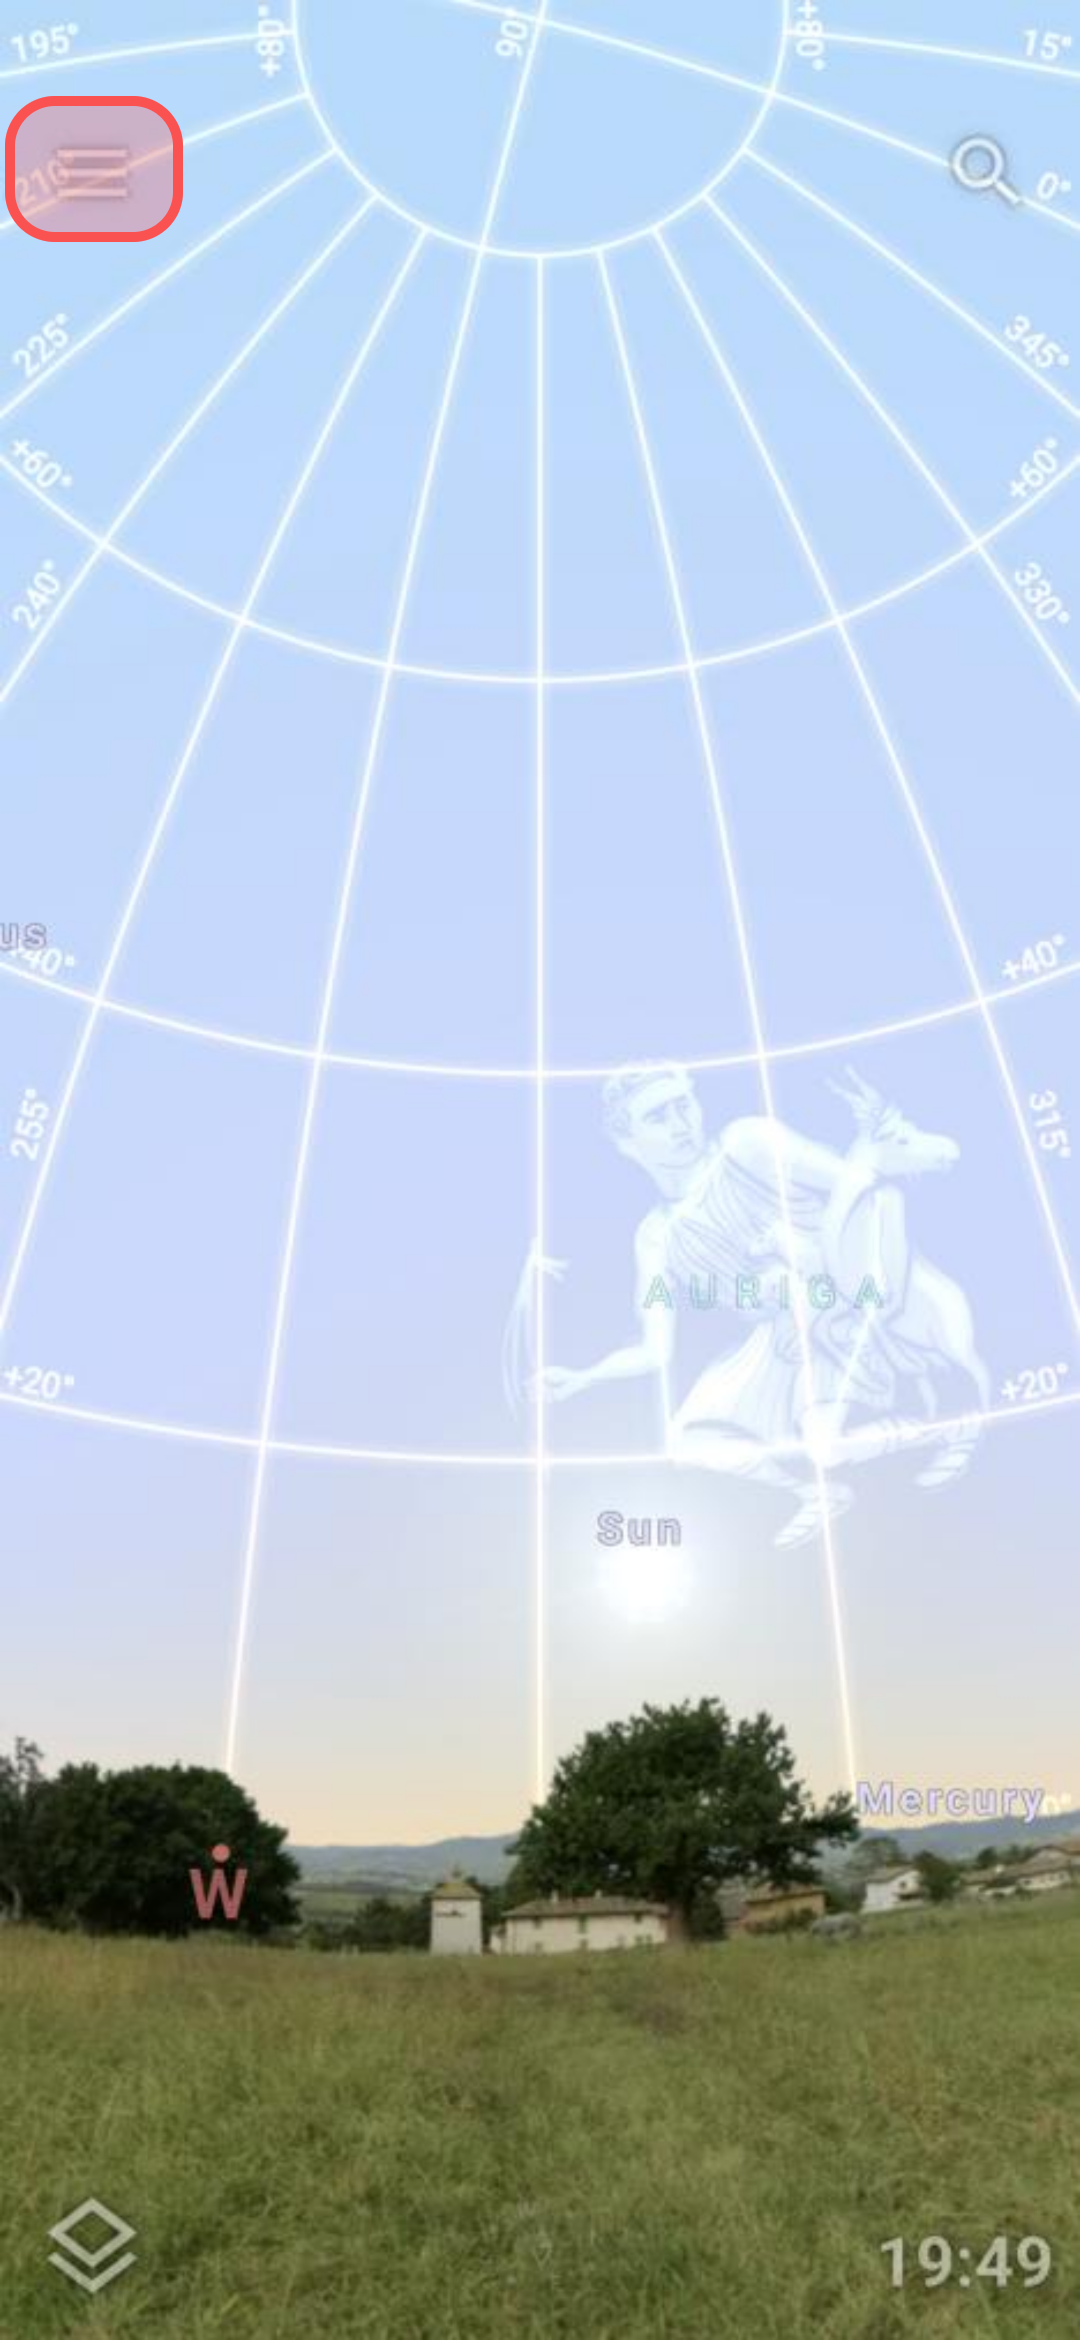
1.2 Click on the Menu icon
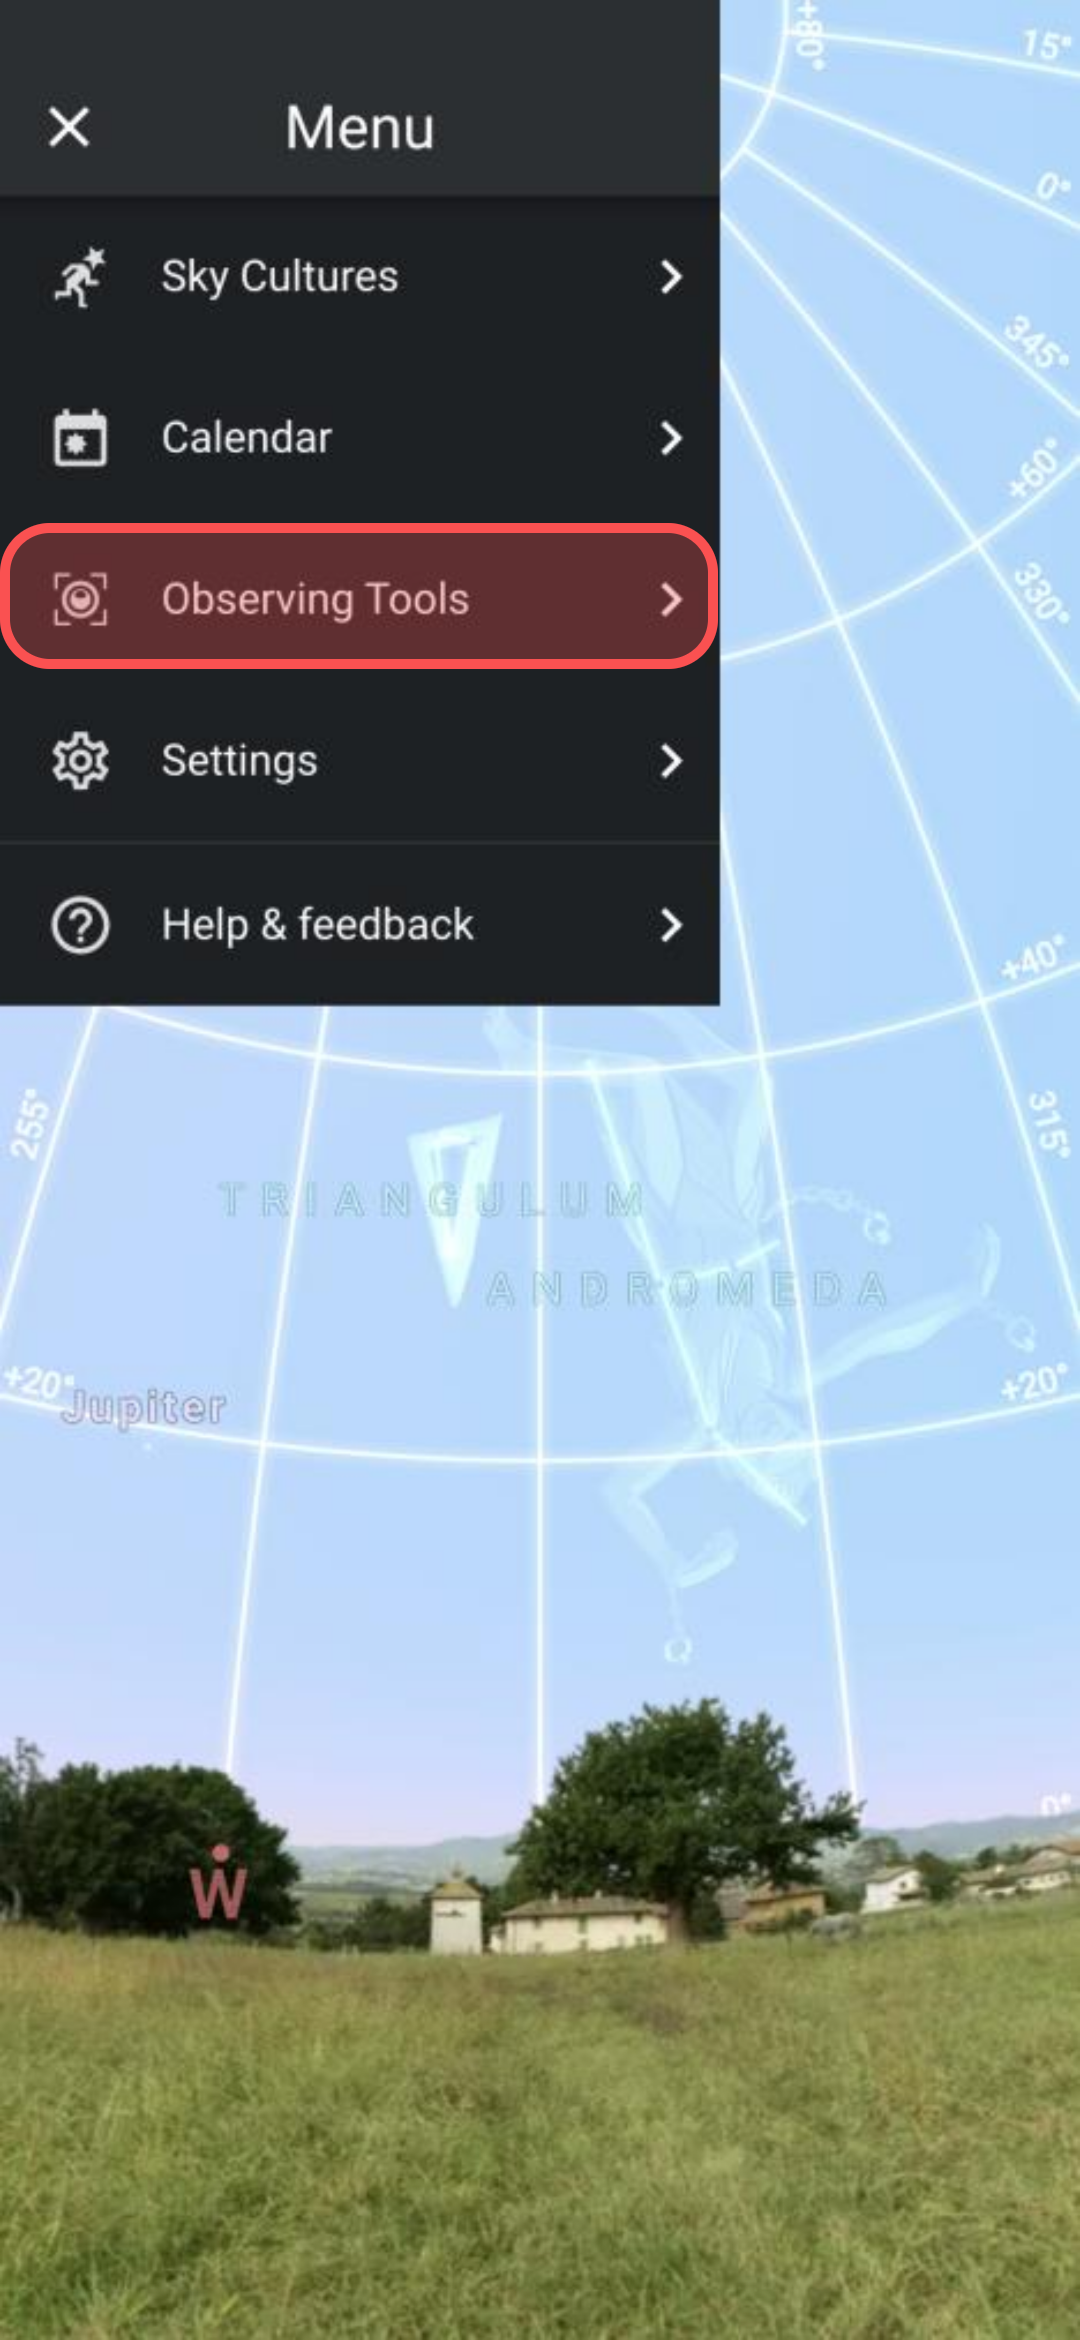
1.3 Select the Observing Tools option
1.4 Enable the Field of View Simulator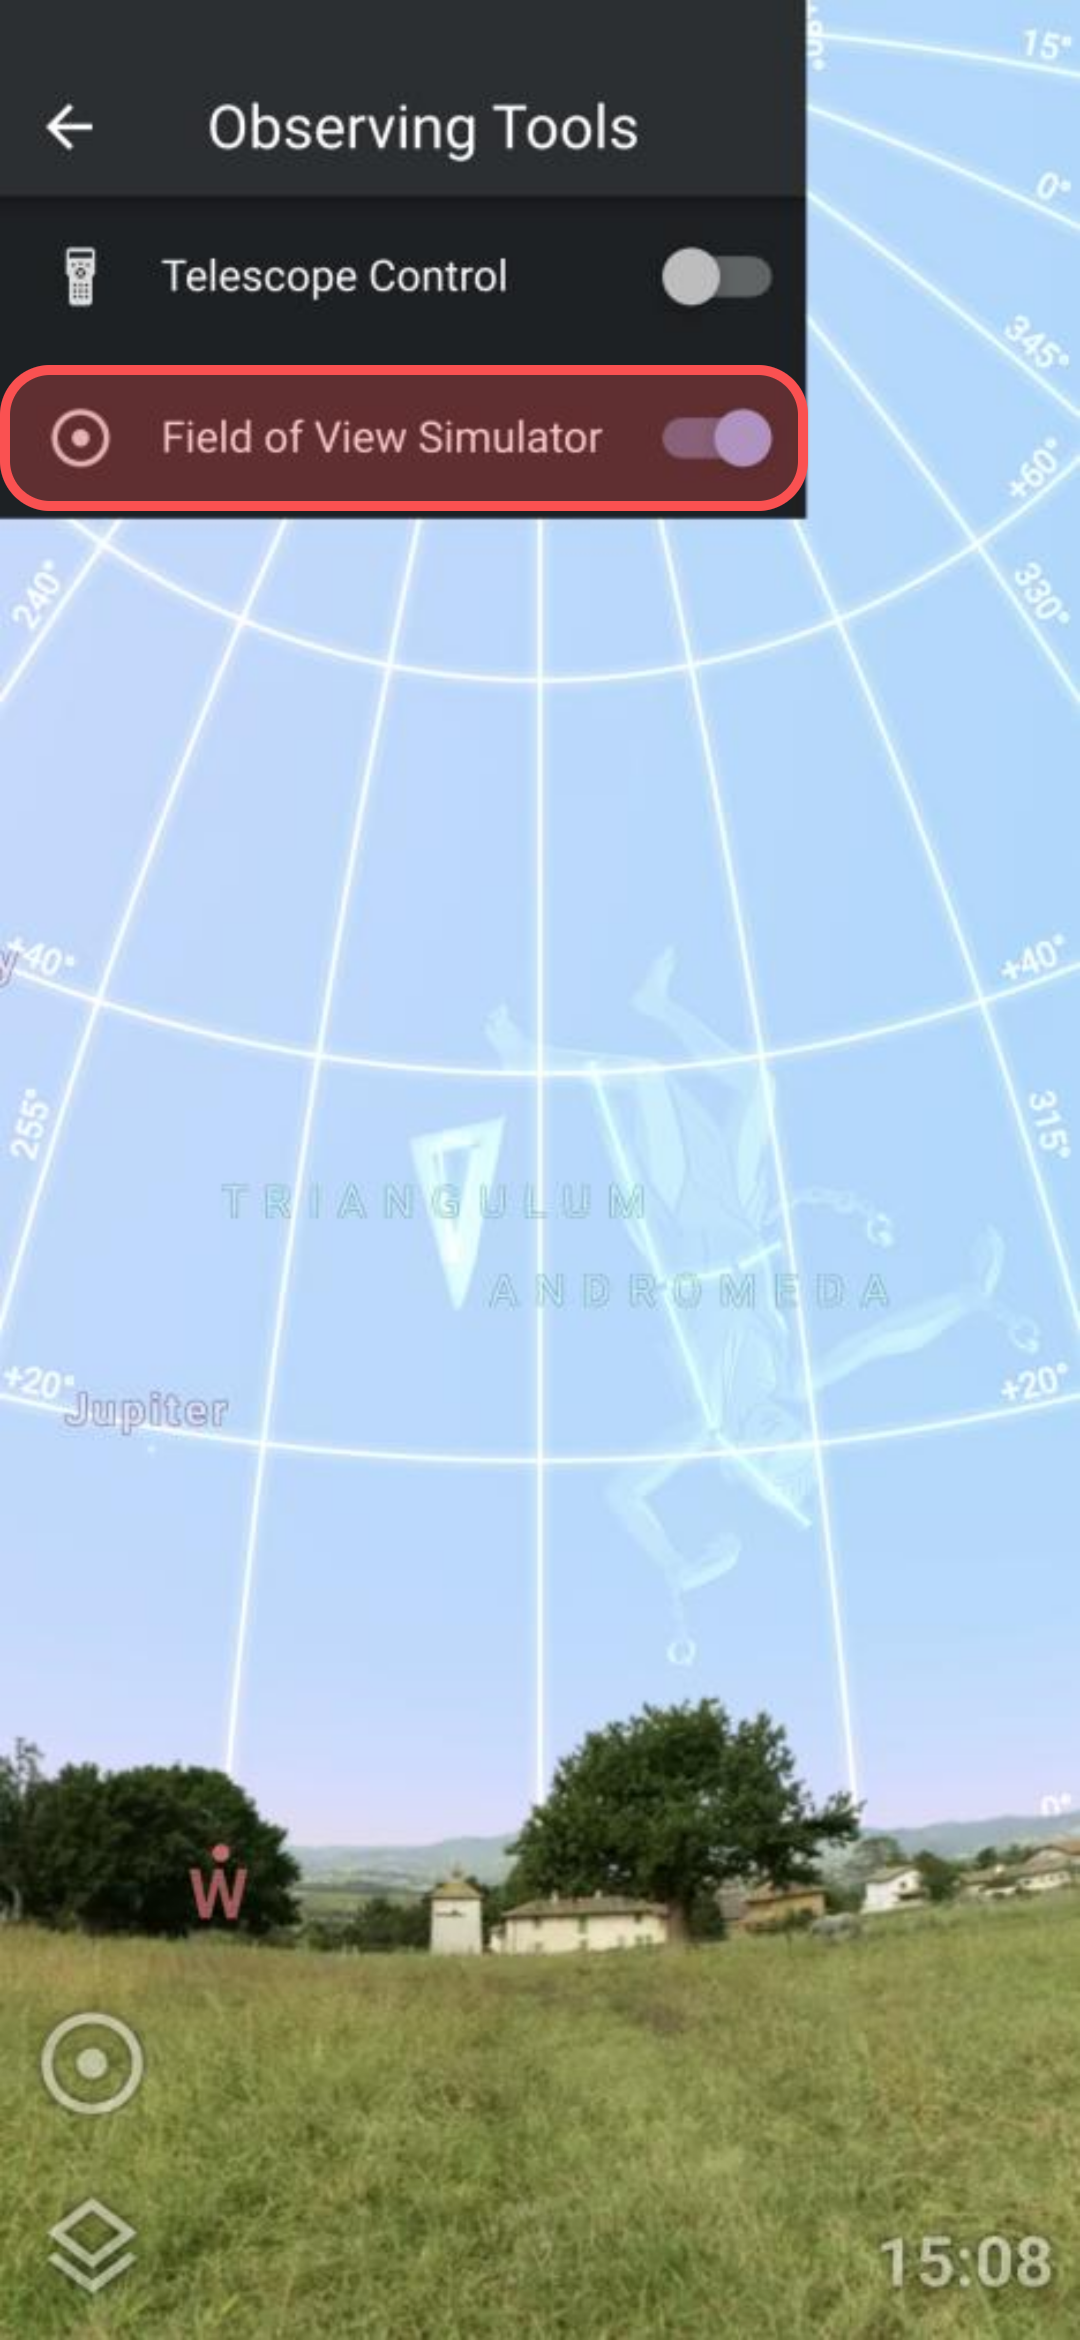 1.5 Click on the FoV button
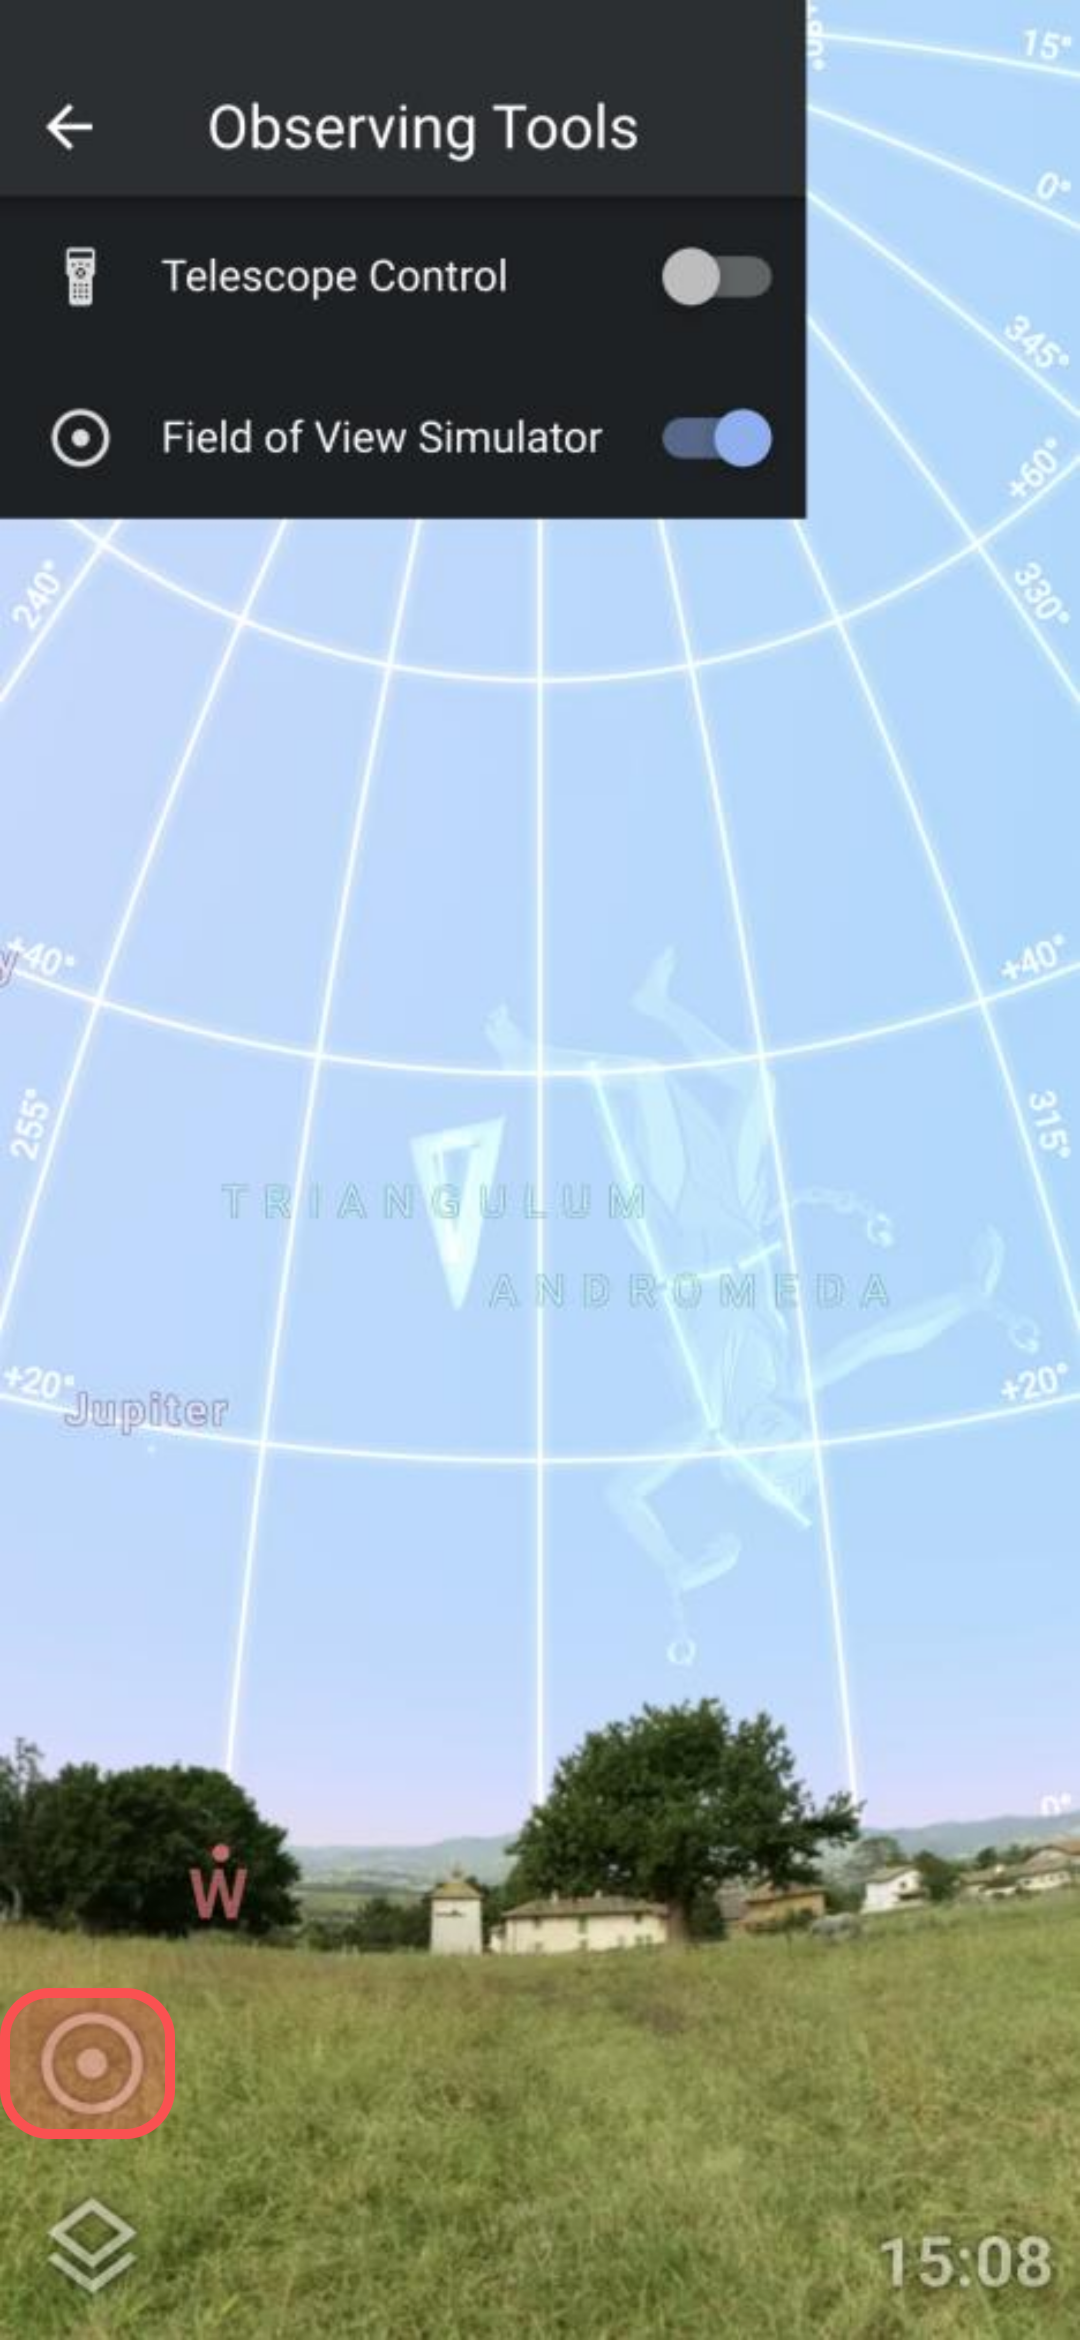
 1.6 Note the default views already defined
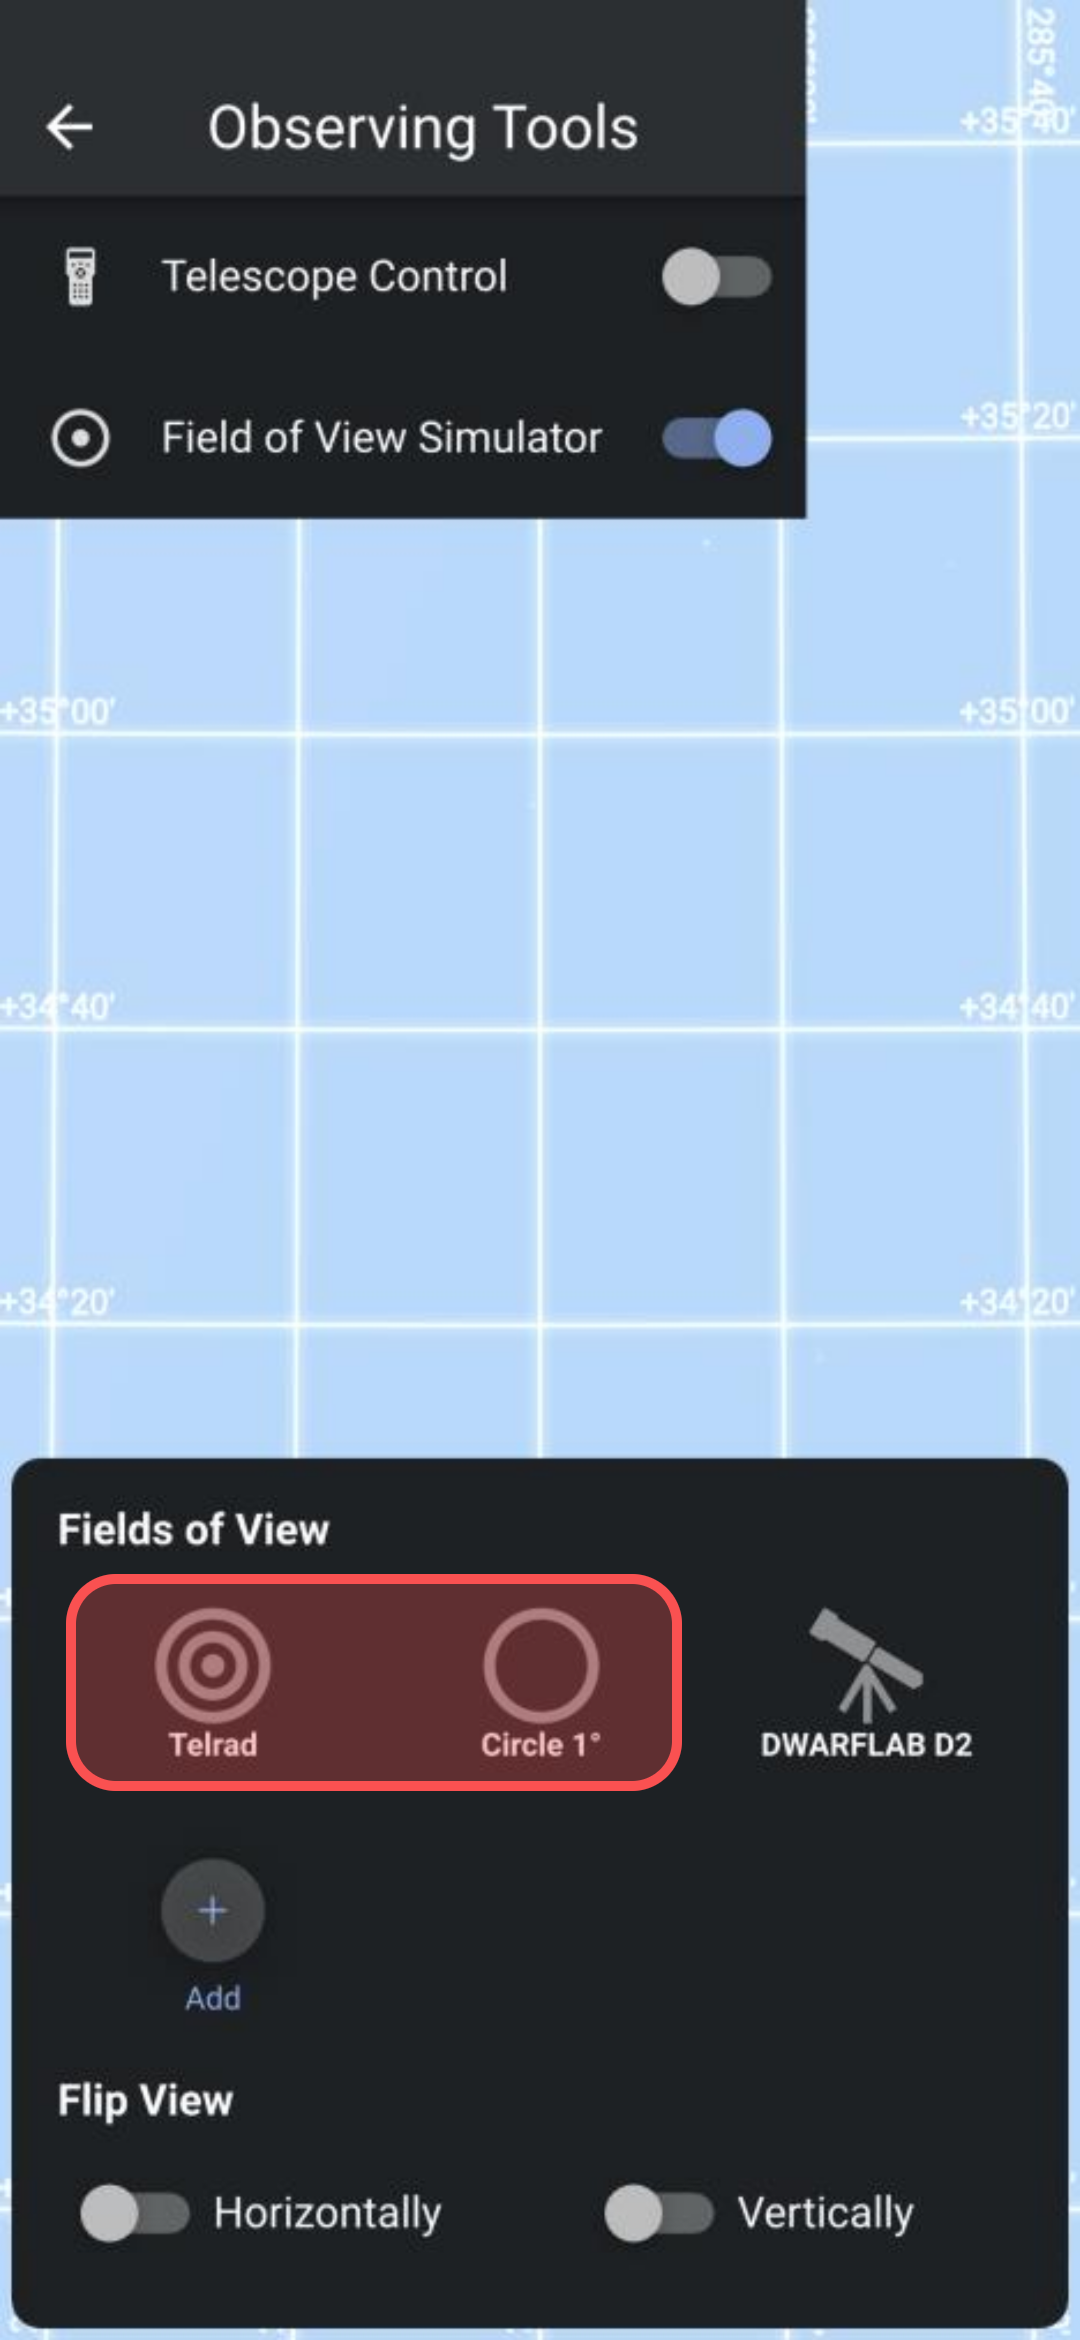
1.7 Click the "+ Add" button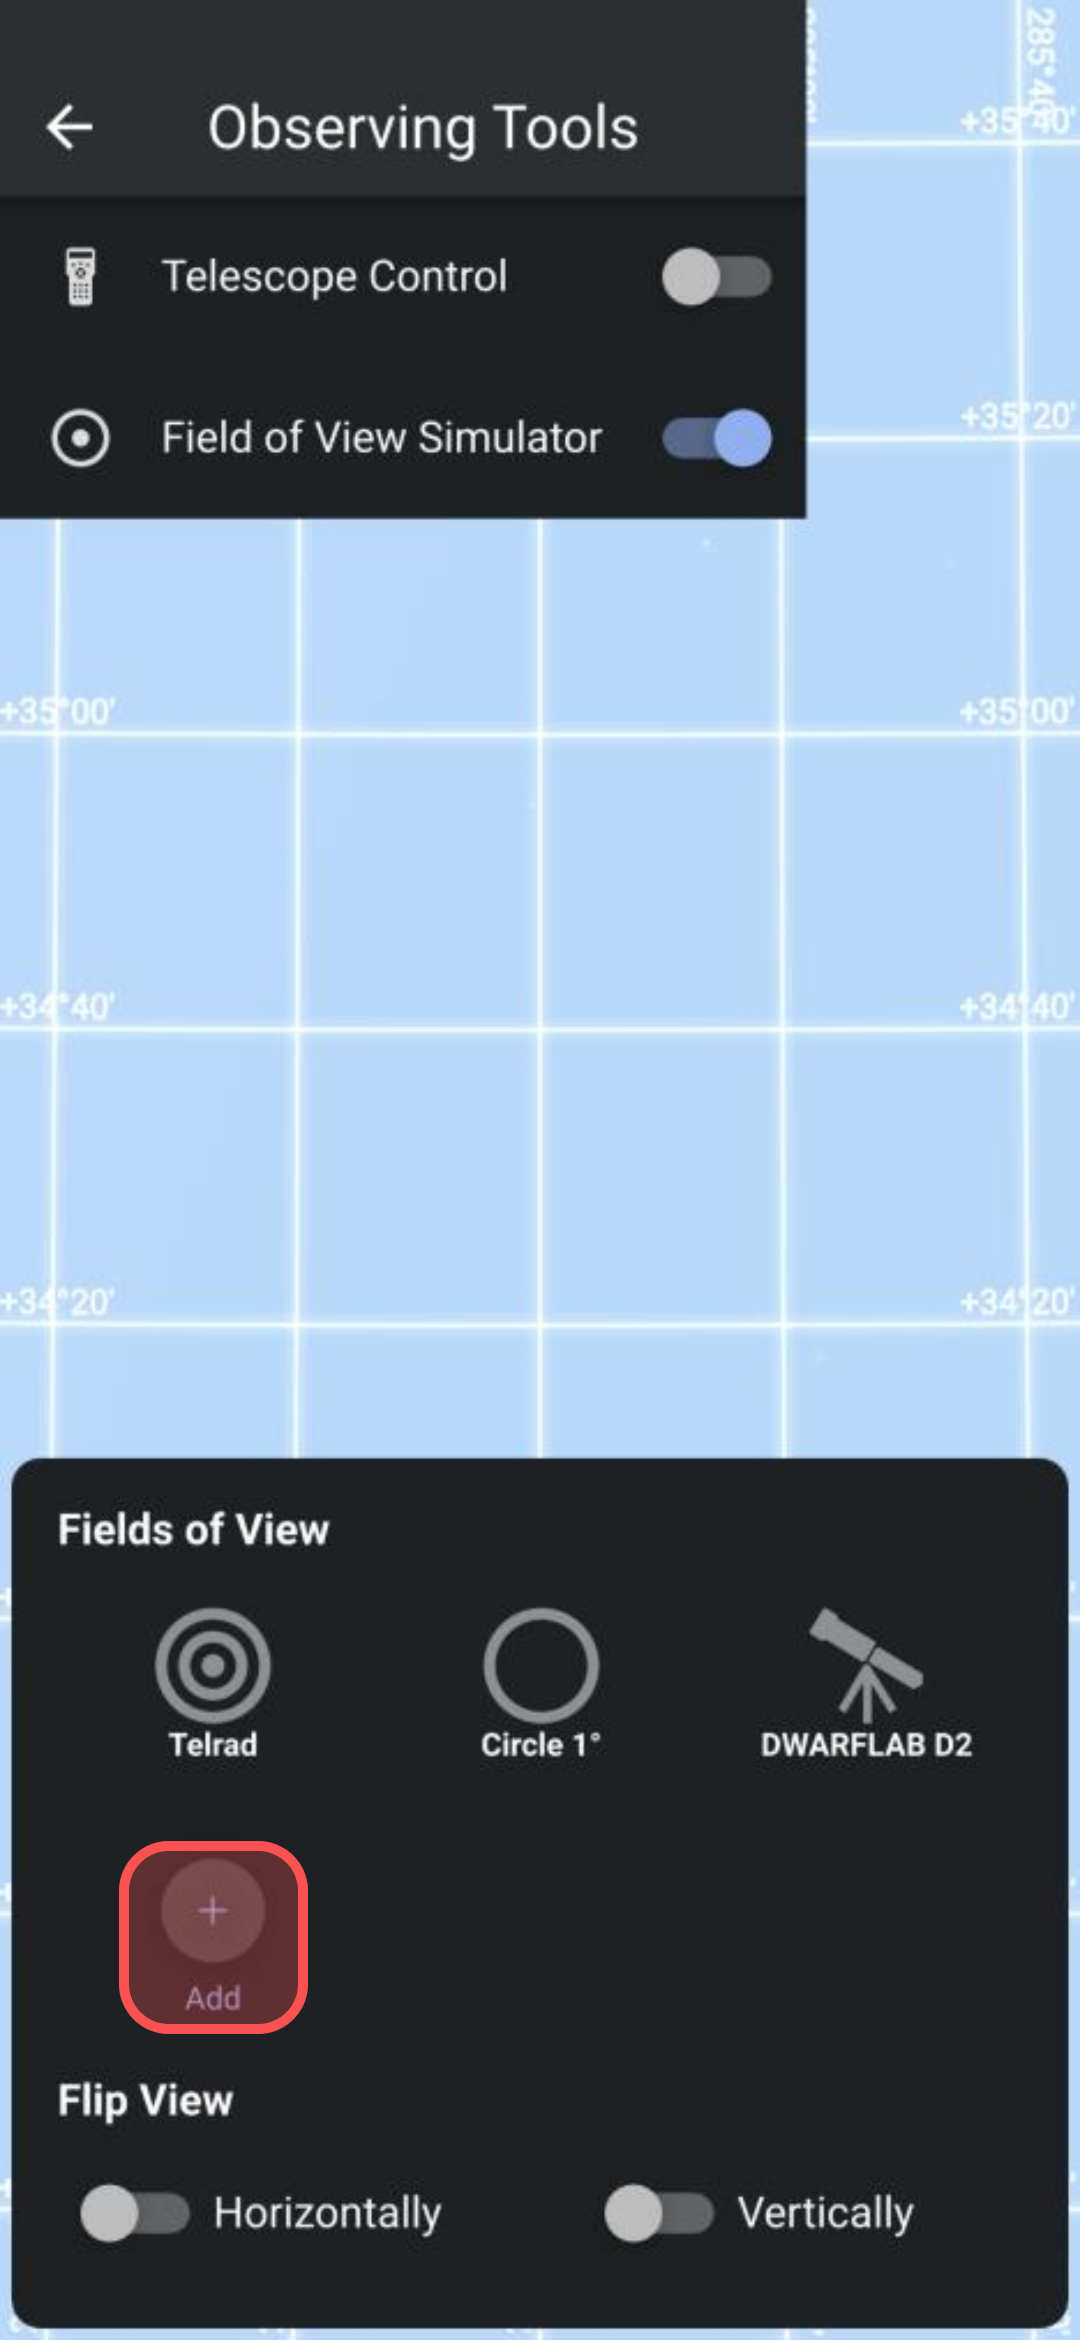
2. Configure the Telescope
2.1 Select type = Telescope
2.2 Enter Manufacturer = DWARFLAB and Model = D2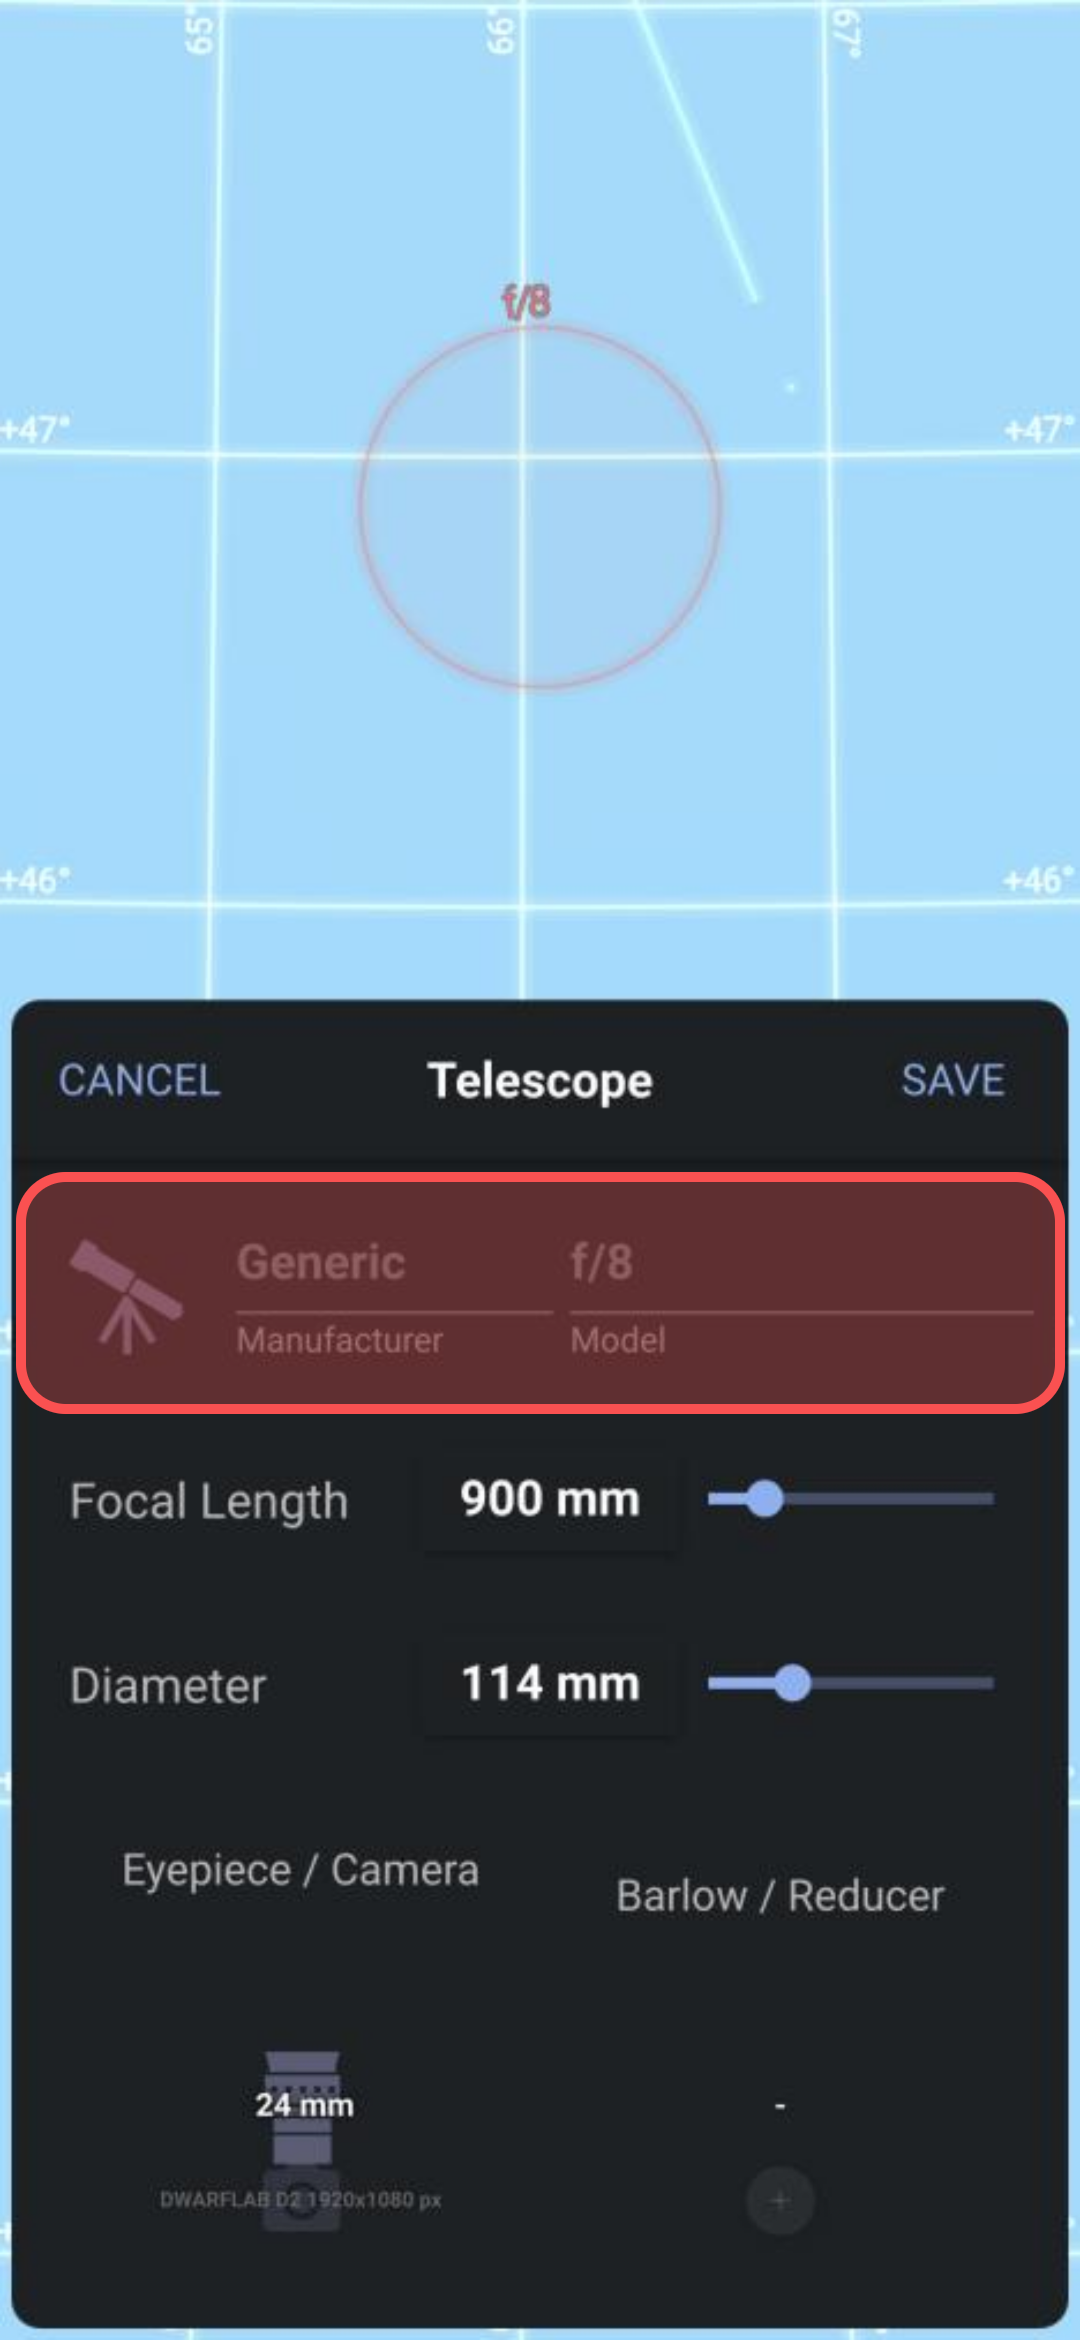
2.3 Click on the value label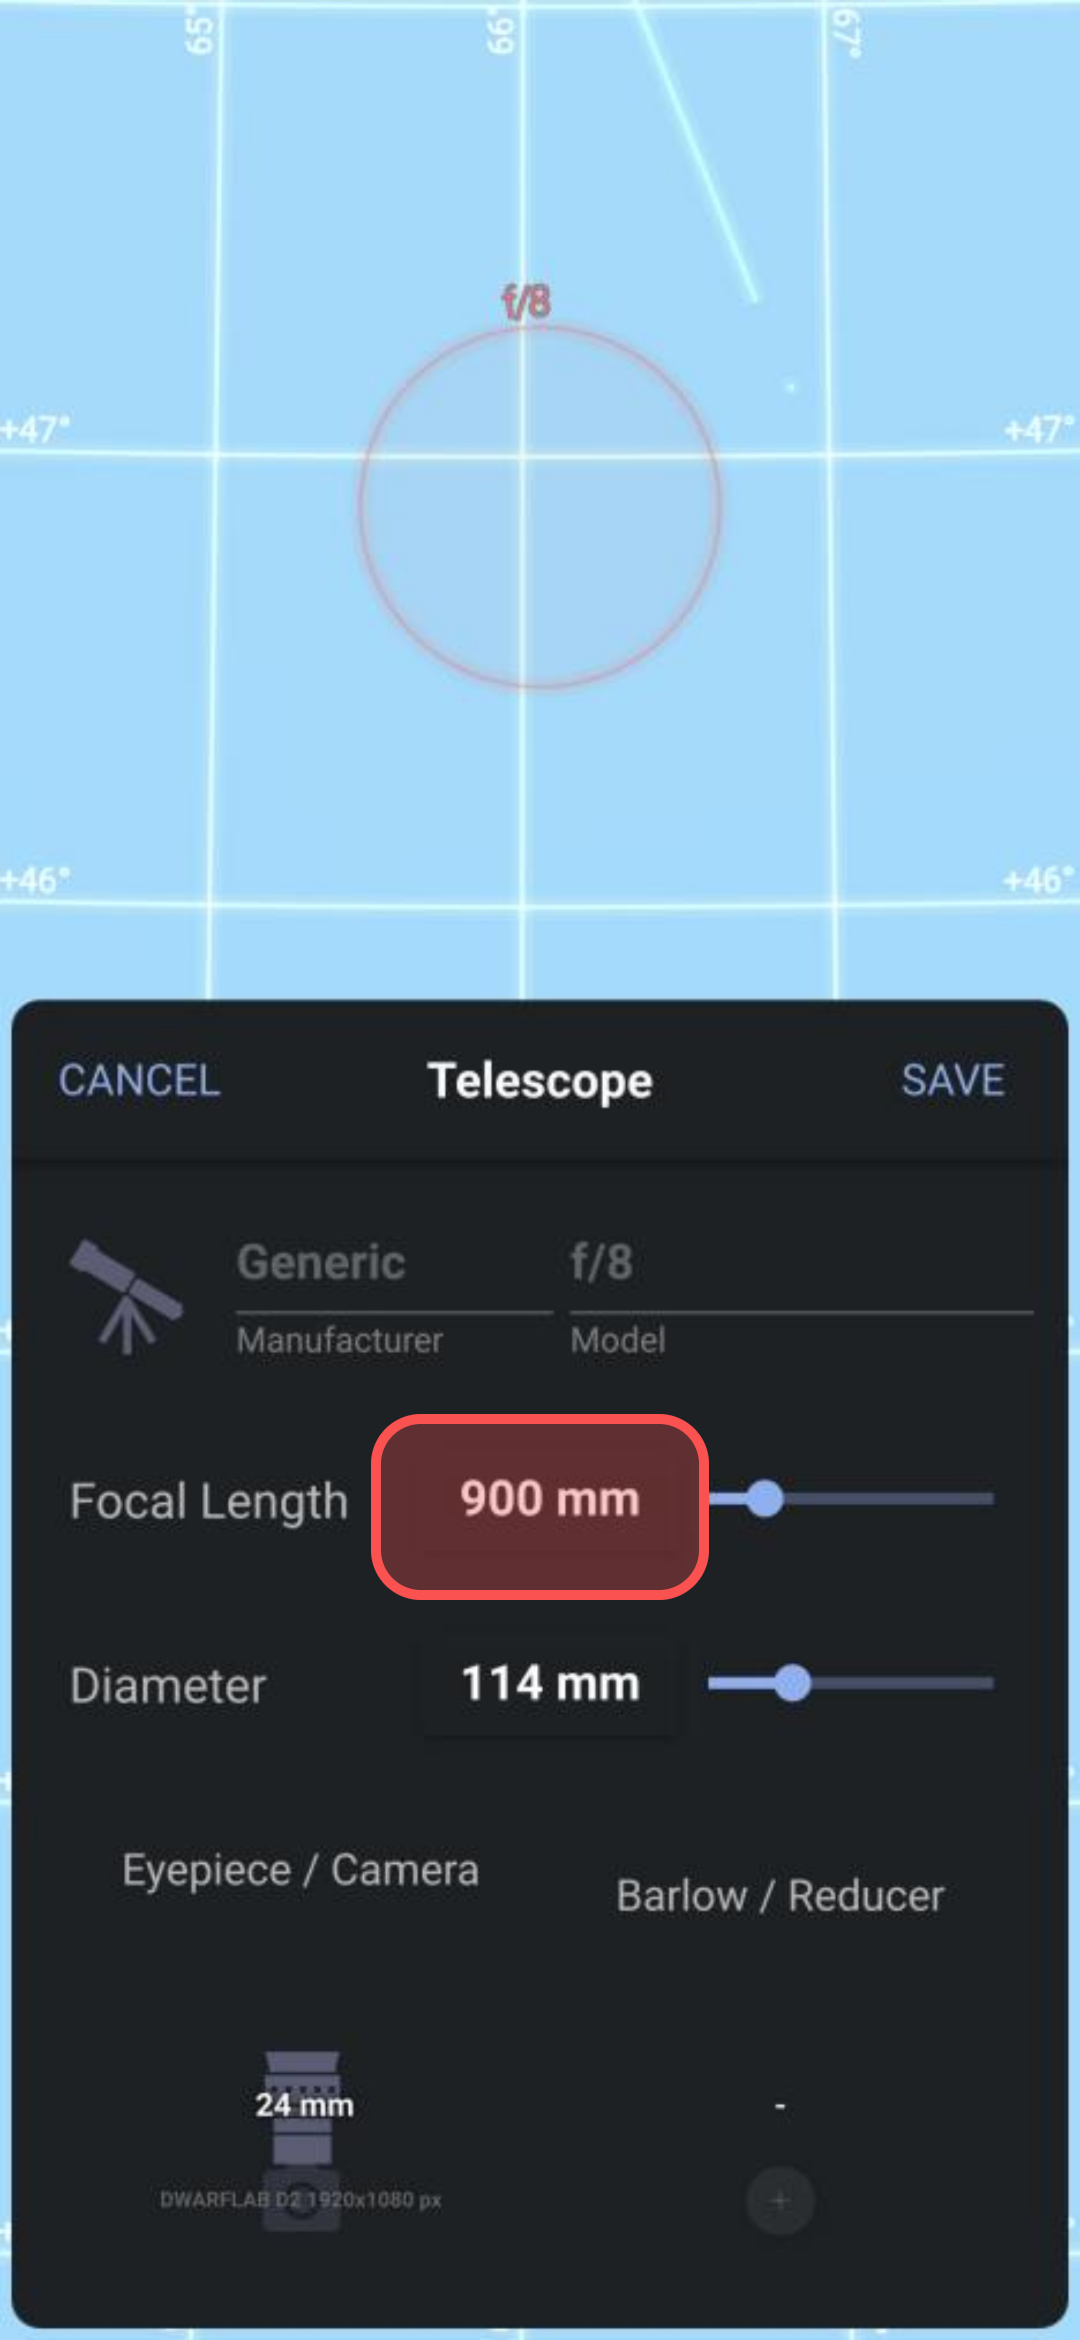
2.4 Set values using the pop-up dial control
2.5 Set the Focal Length = 100mm and Diameter = 24mm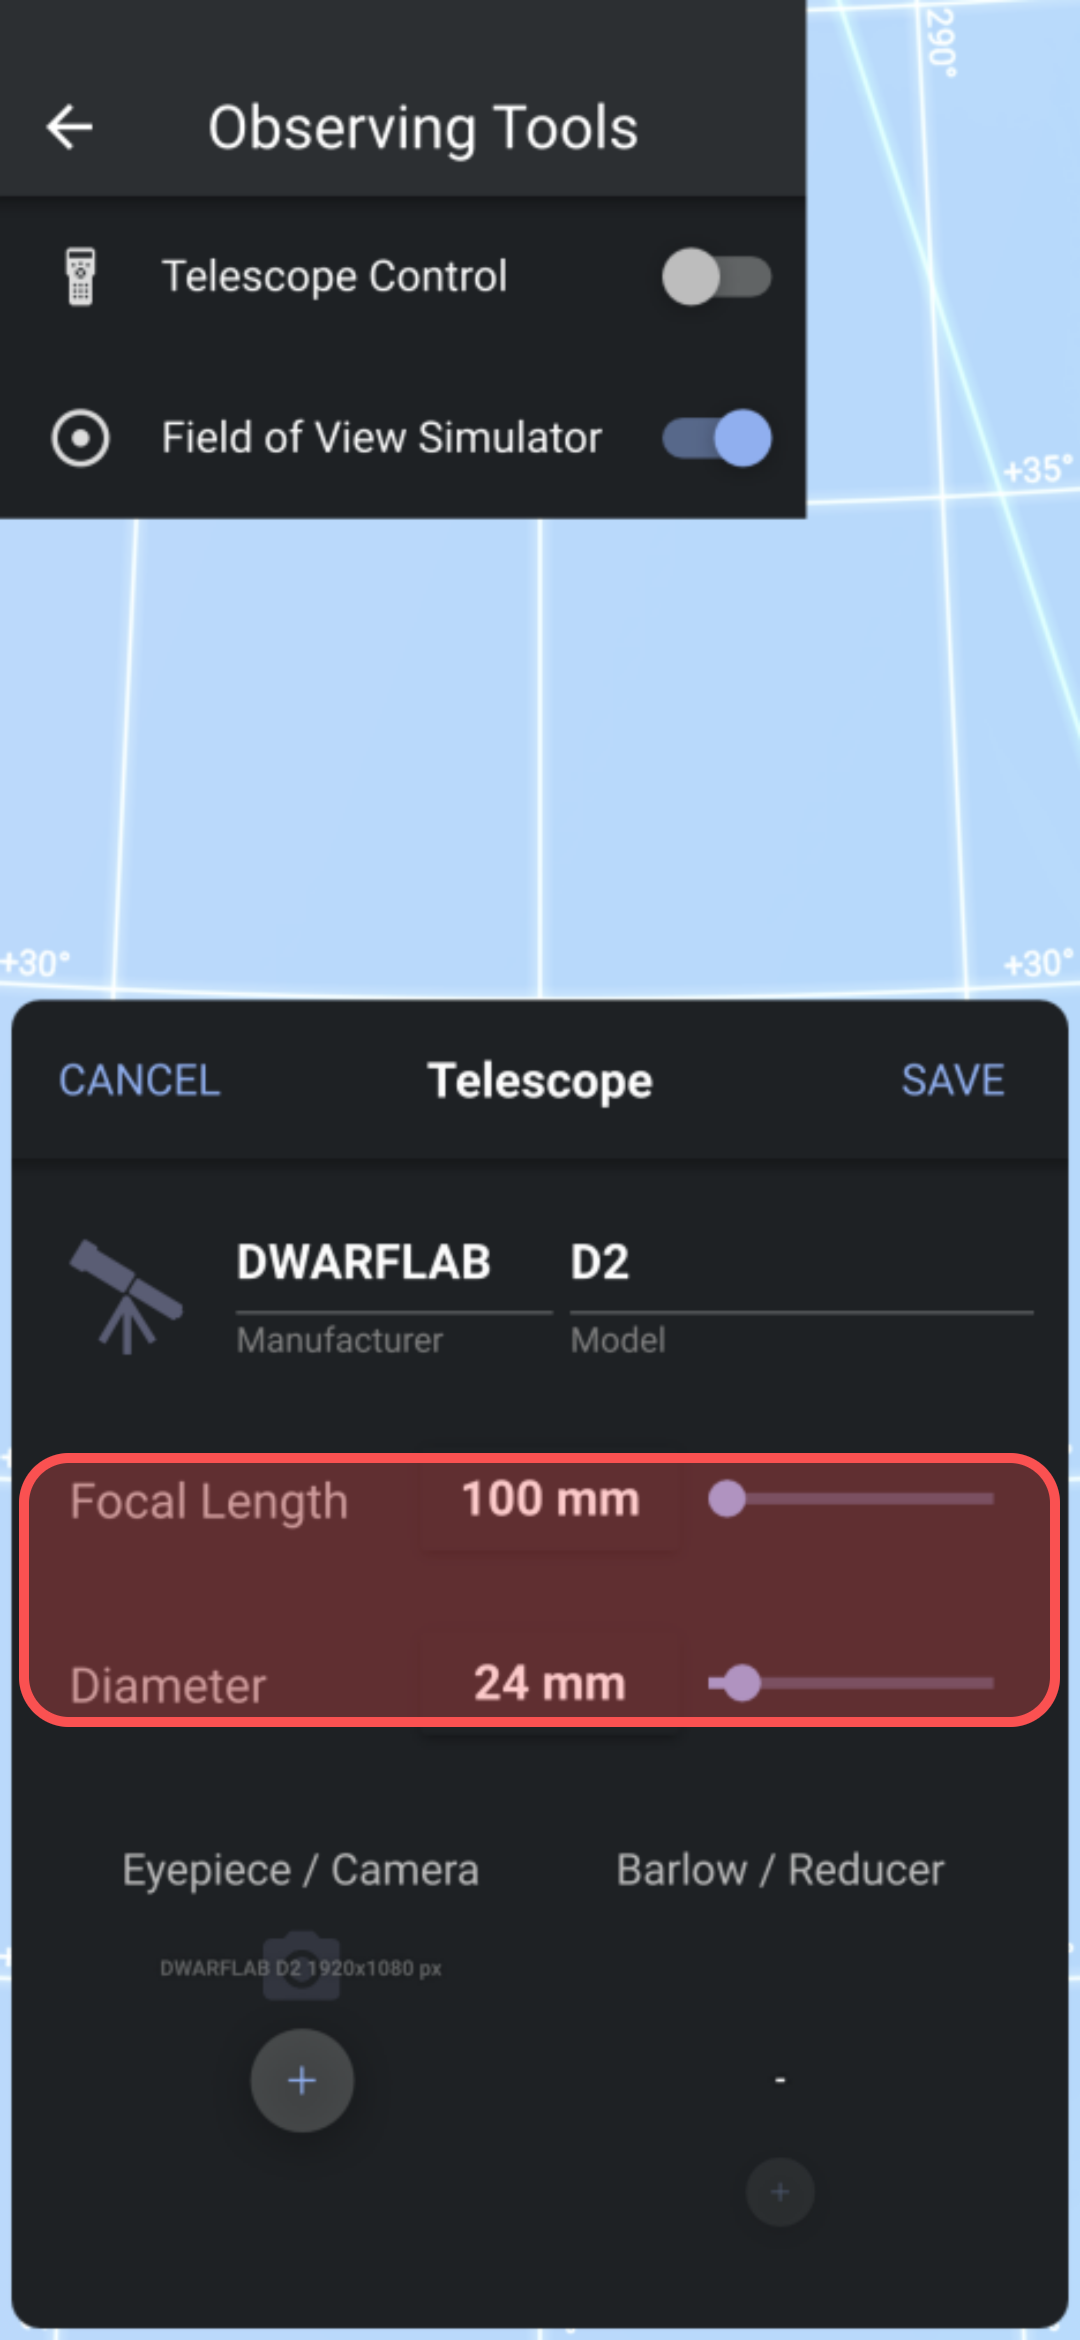
3. Configure the Camera Sensor
3.1 Scroll up the Eyepiece 24mm 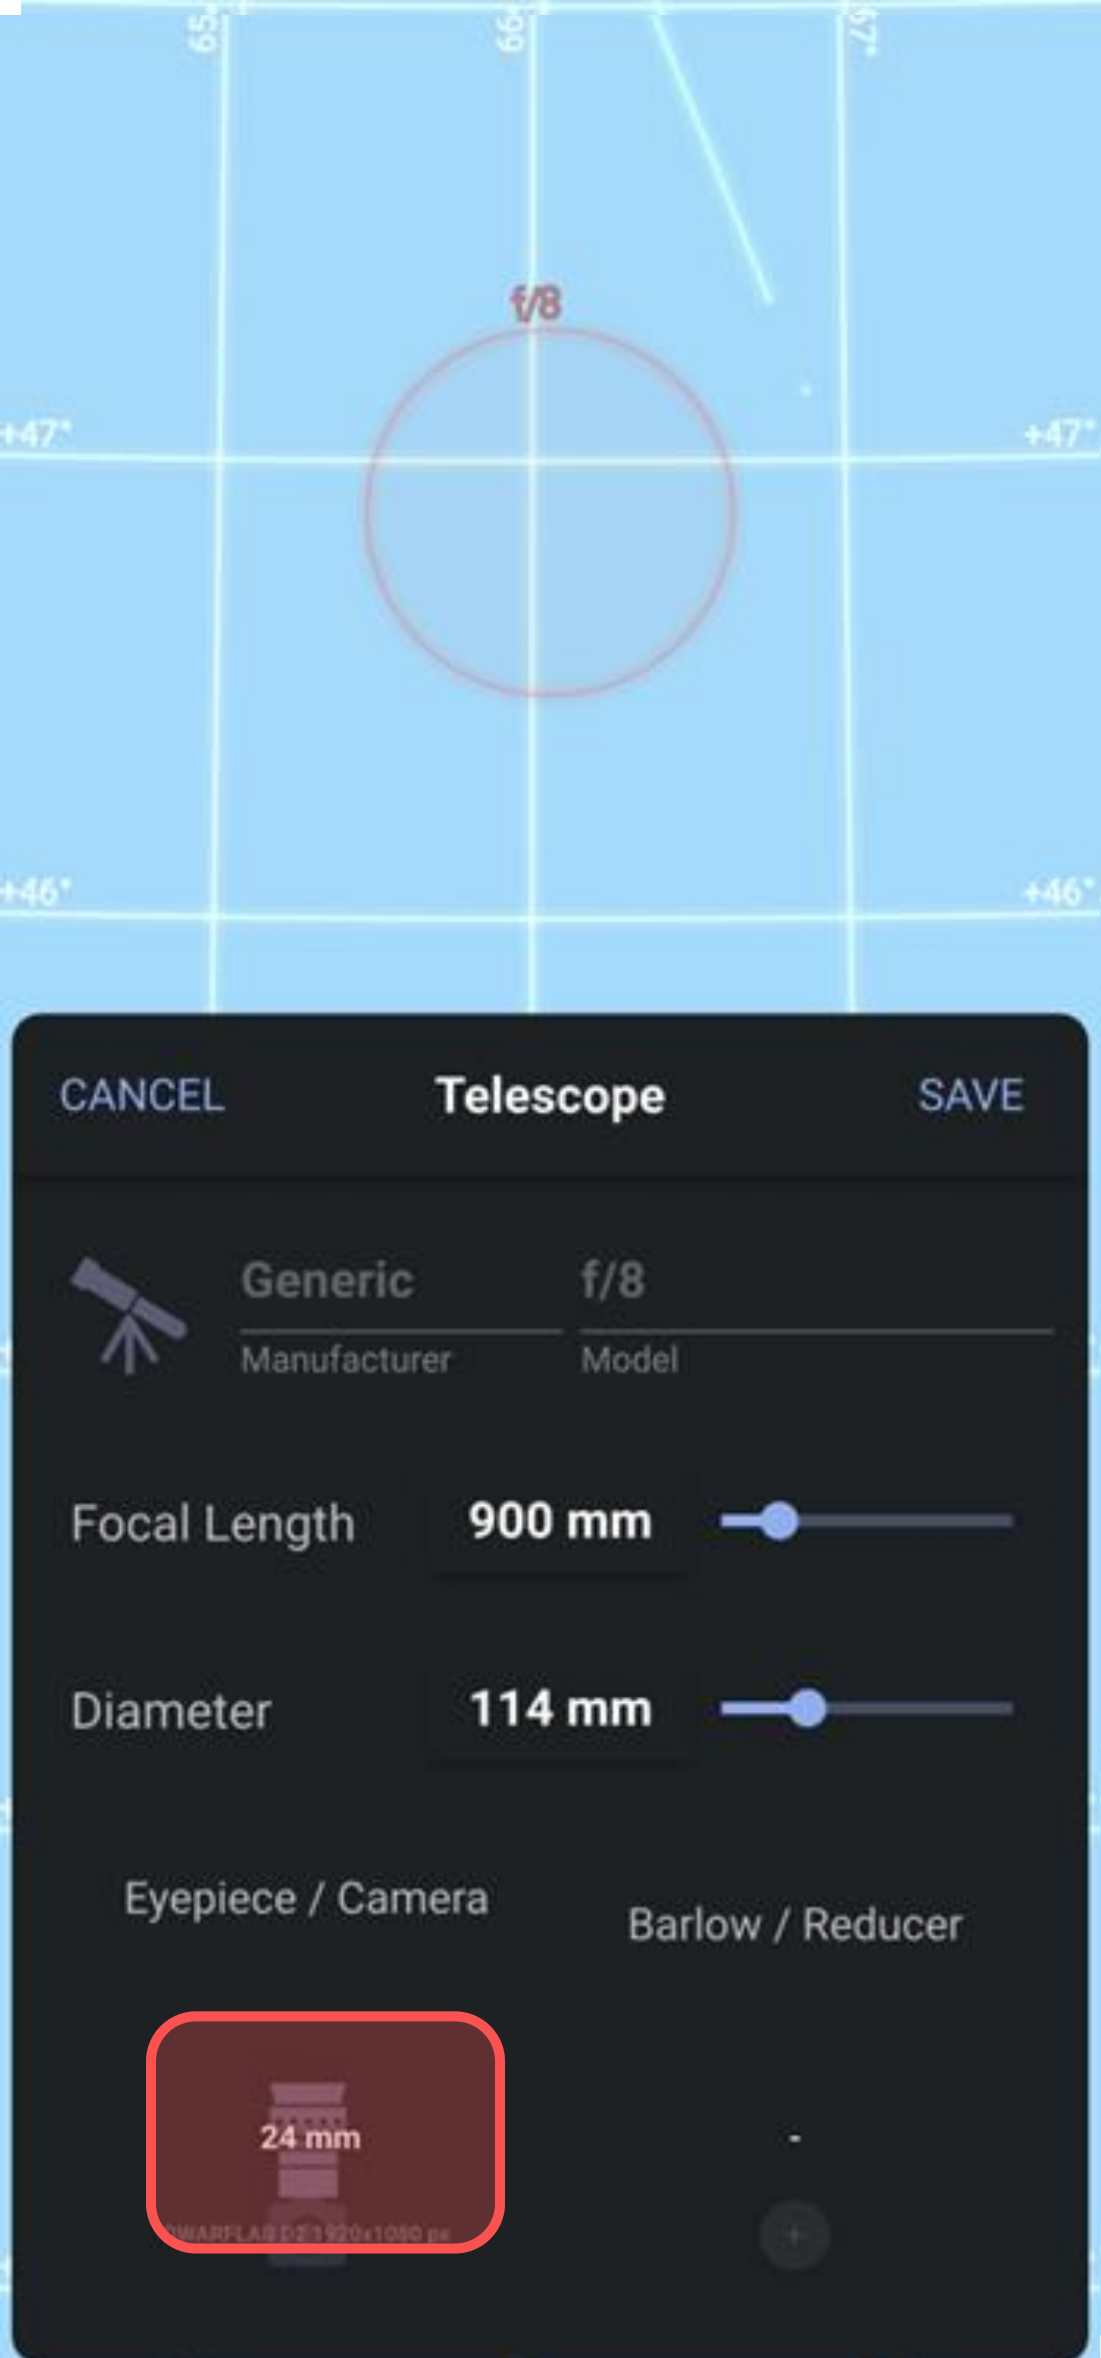
3.2 Click the "+" button 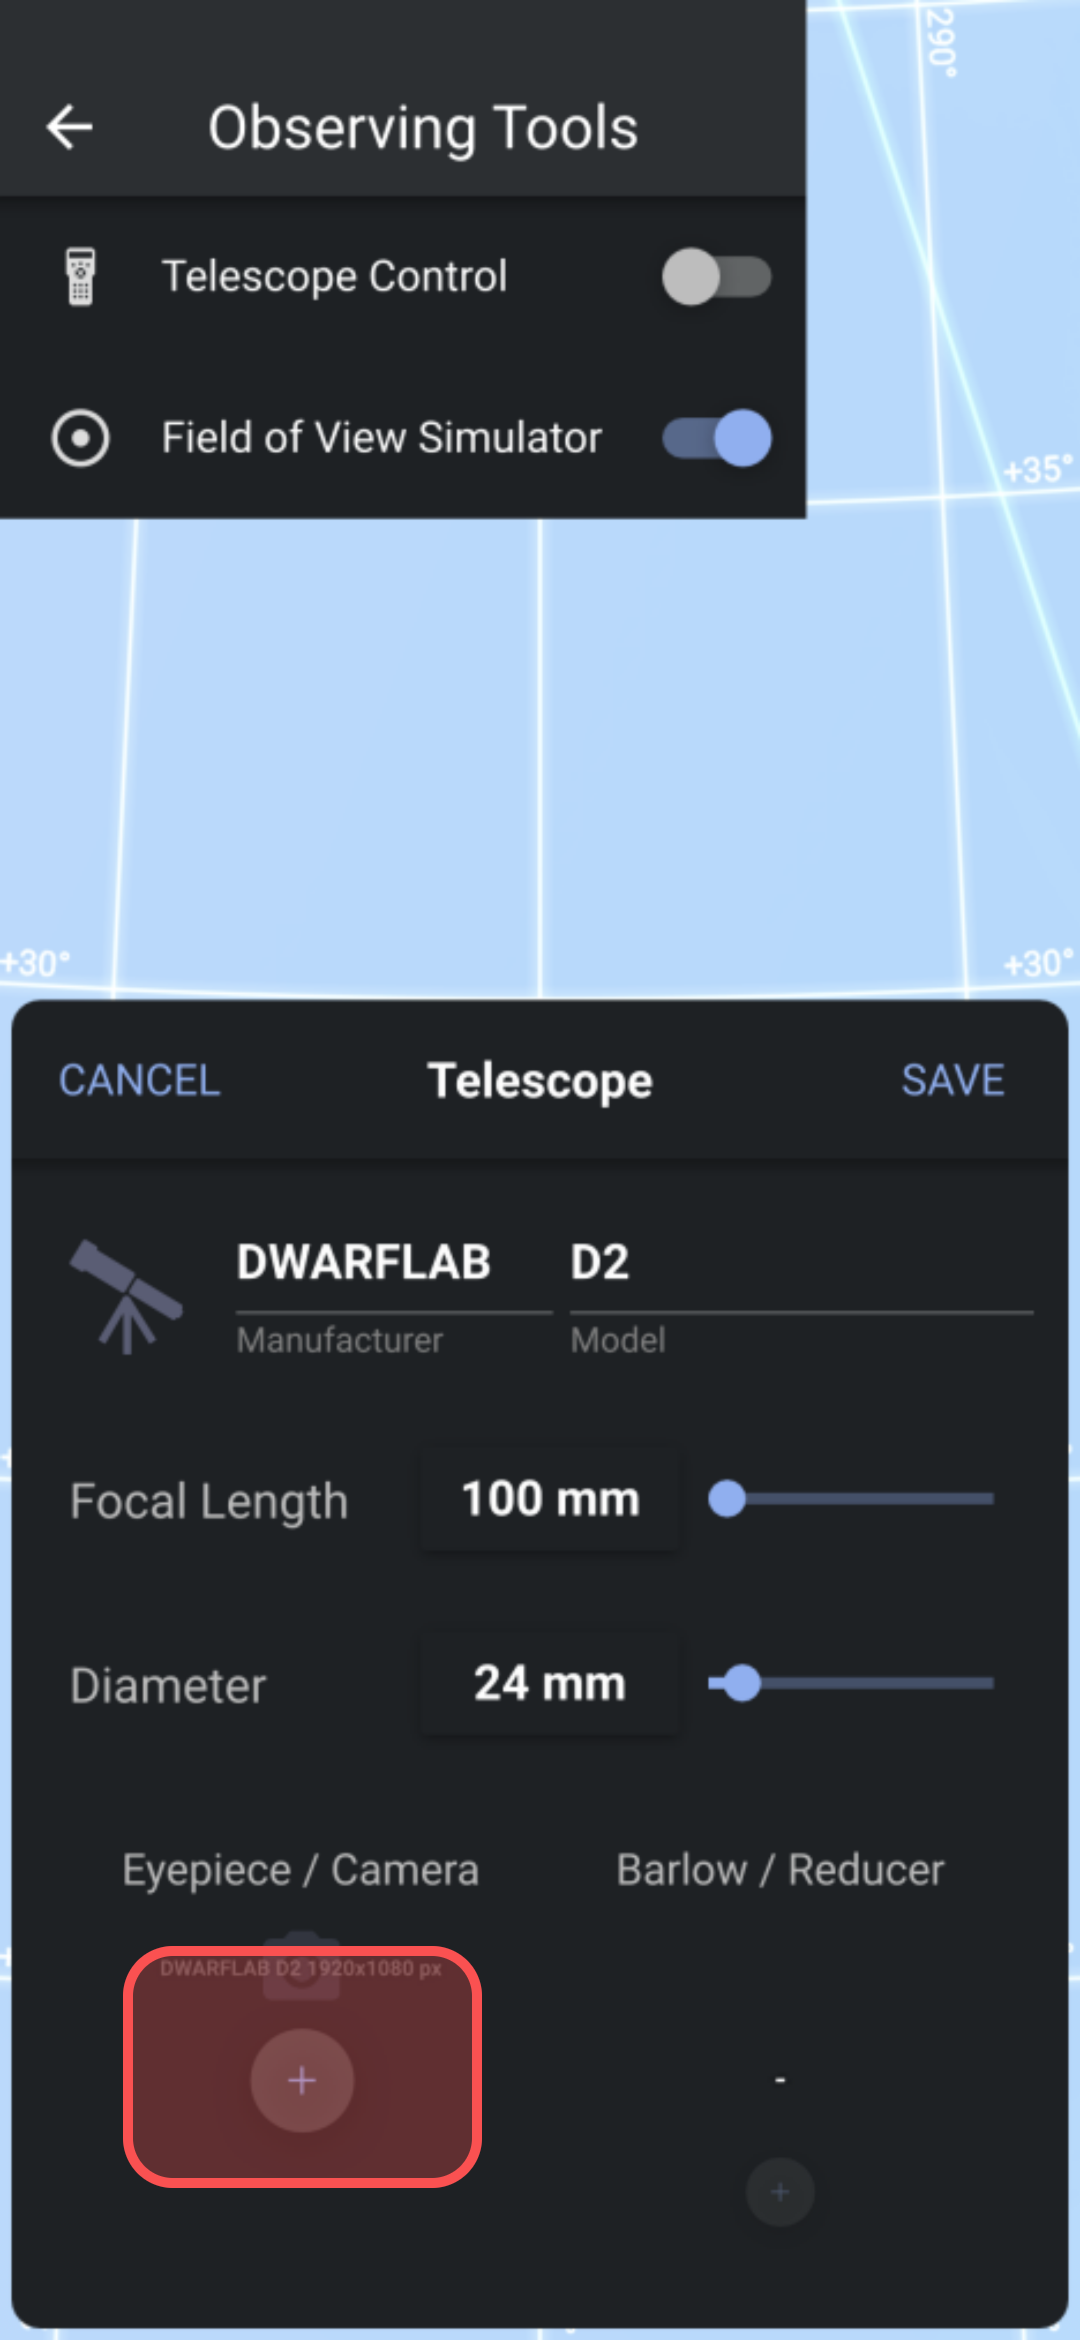
3.3 Select type = Camera Sensor 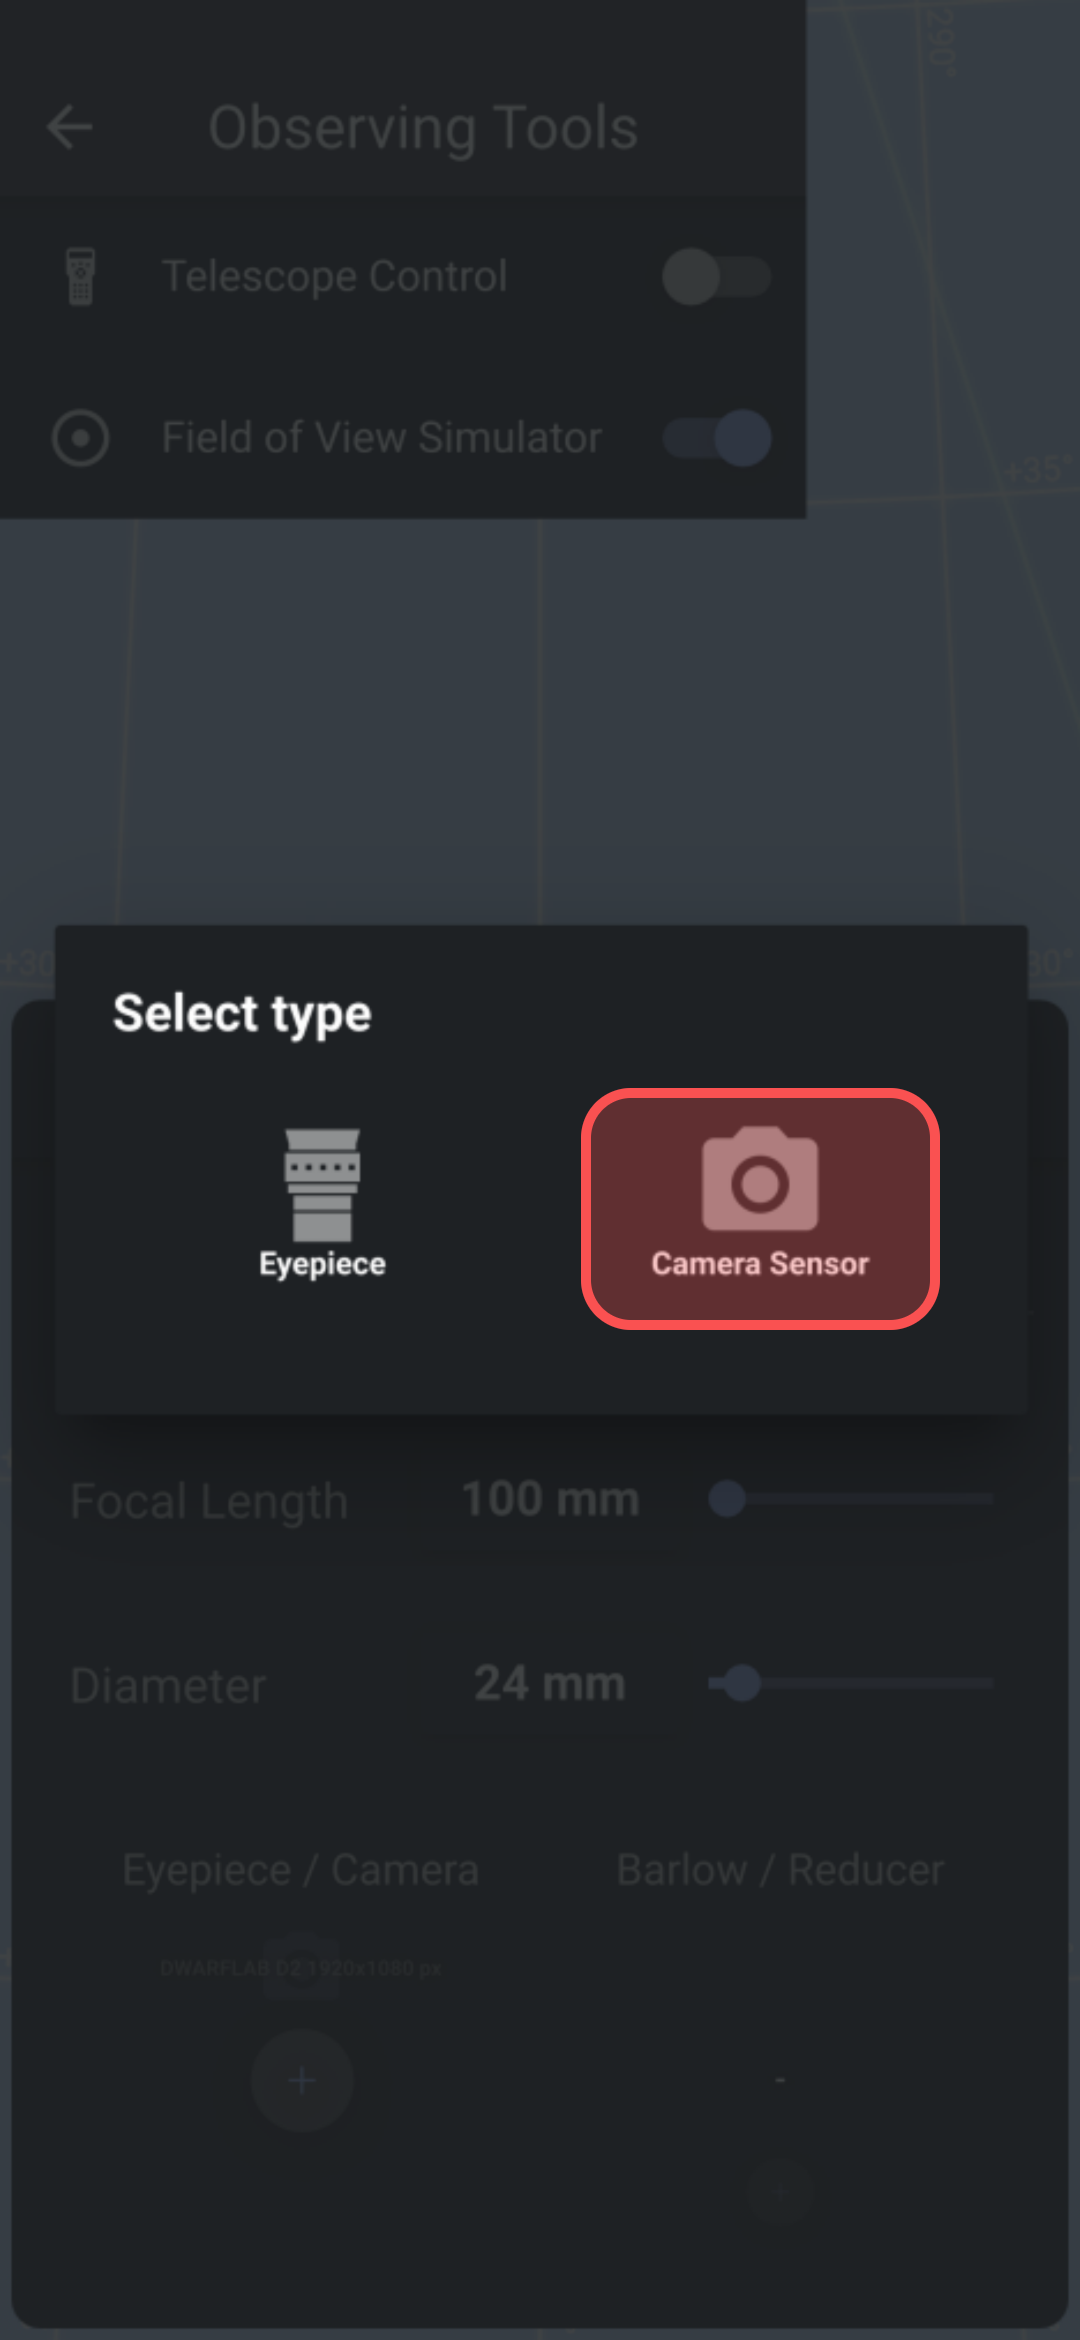
3.4 Enter Manufacturer = DWARFLAB and Name = D2 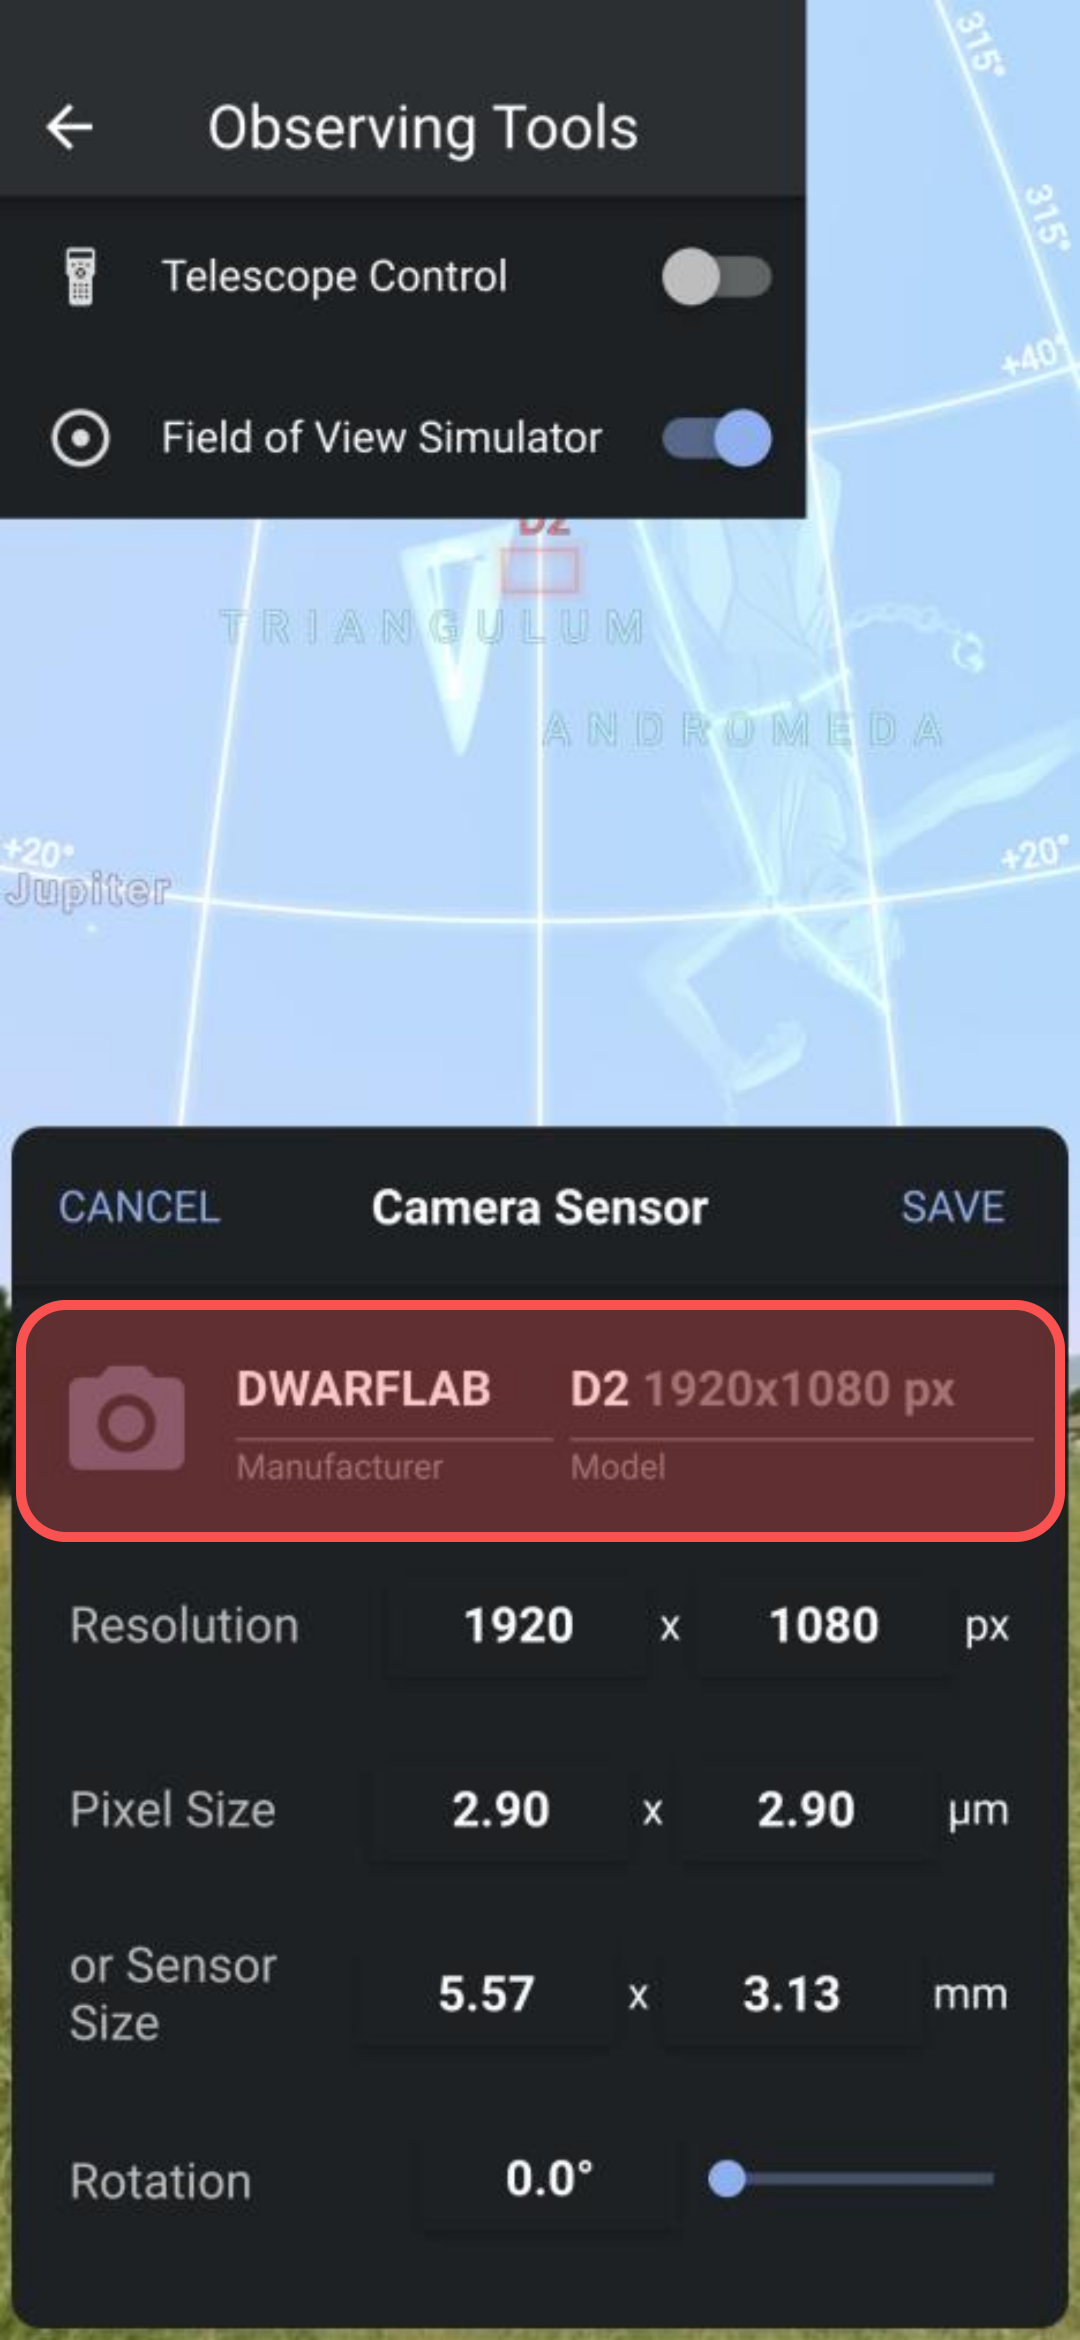
3.5 Set values using the pop-up dial control 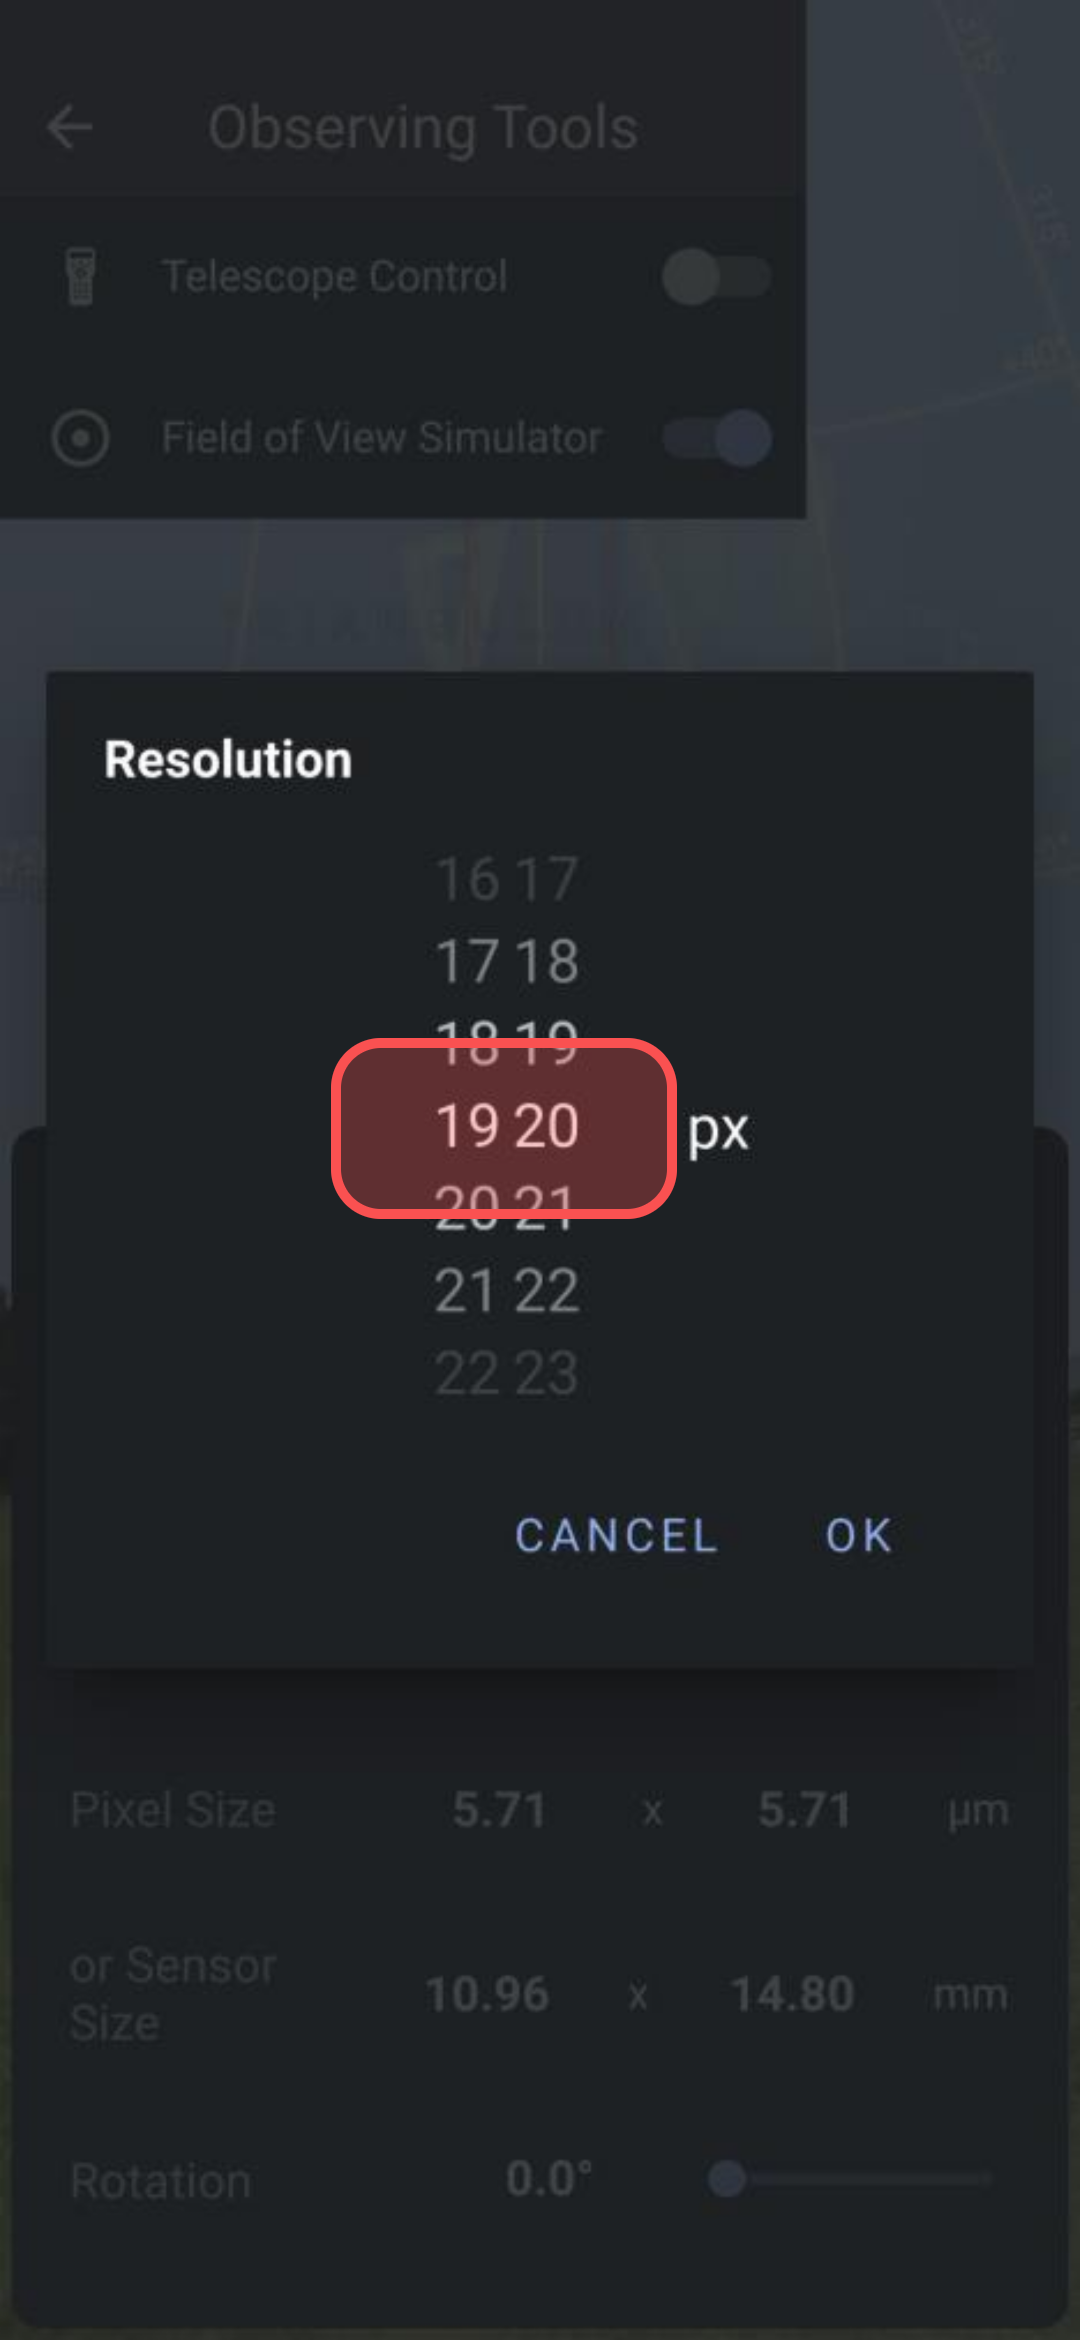

3.6 Resolution = 1920 x 1080 (2x2 binning) 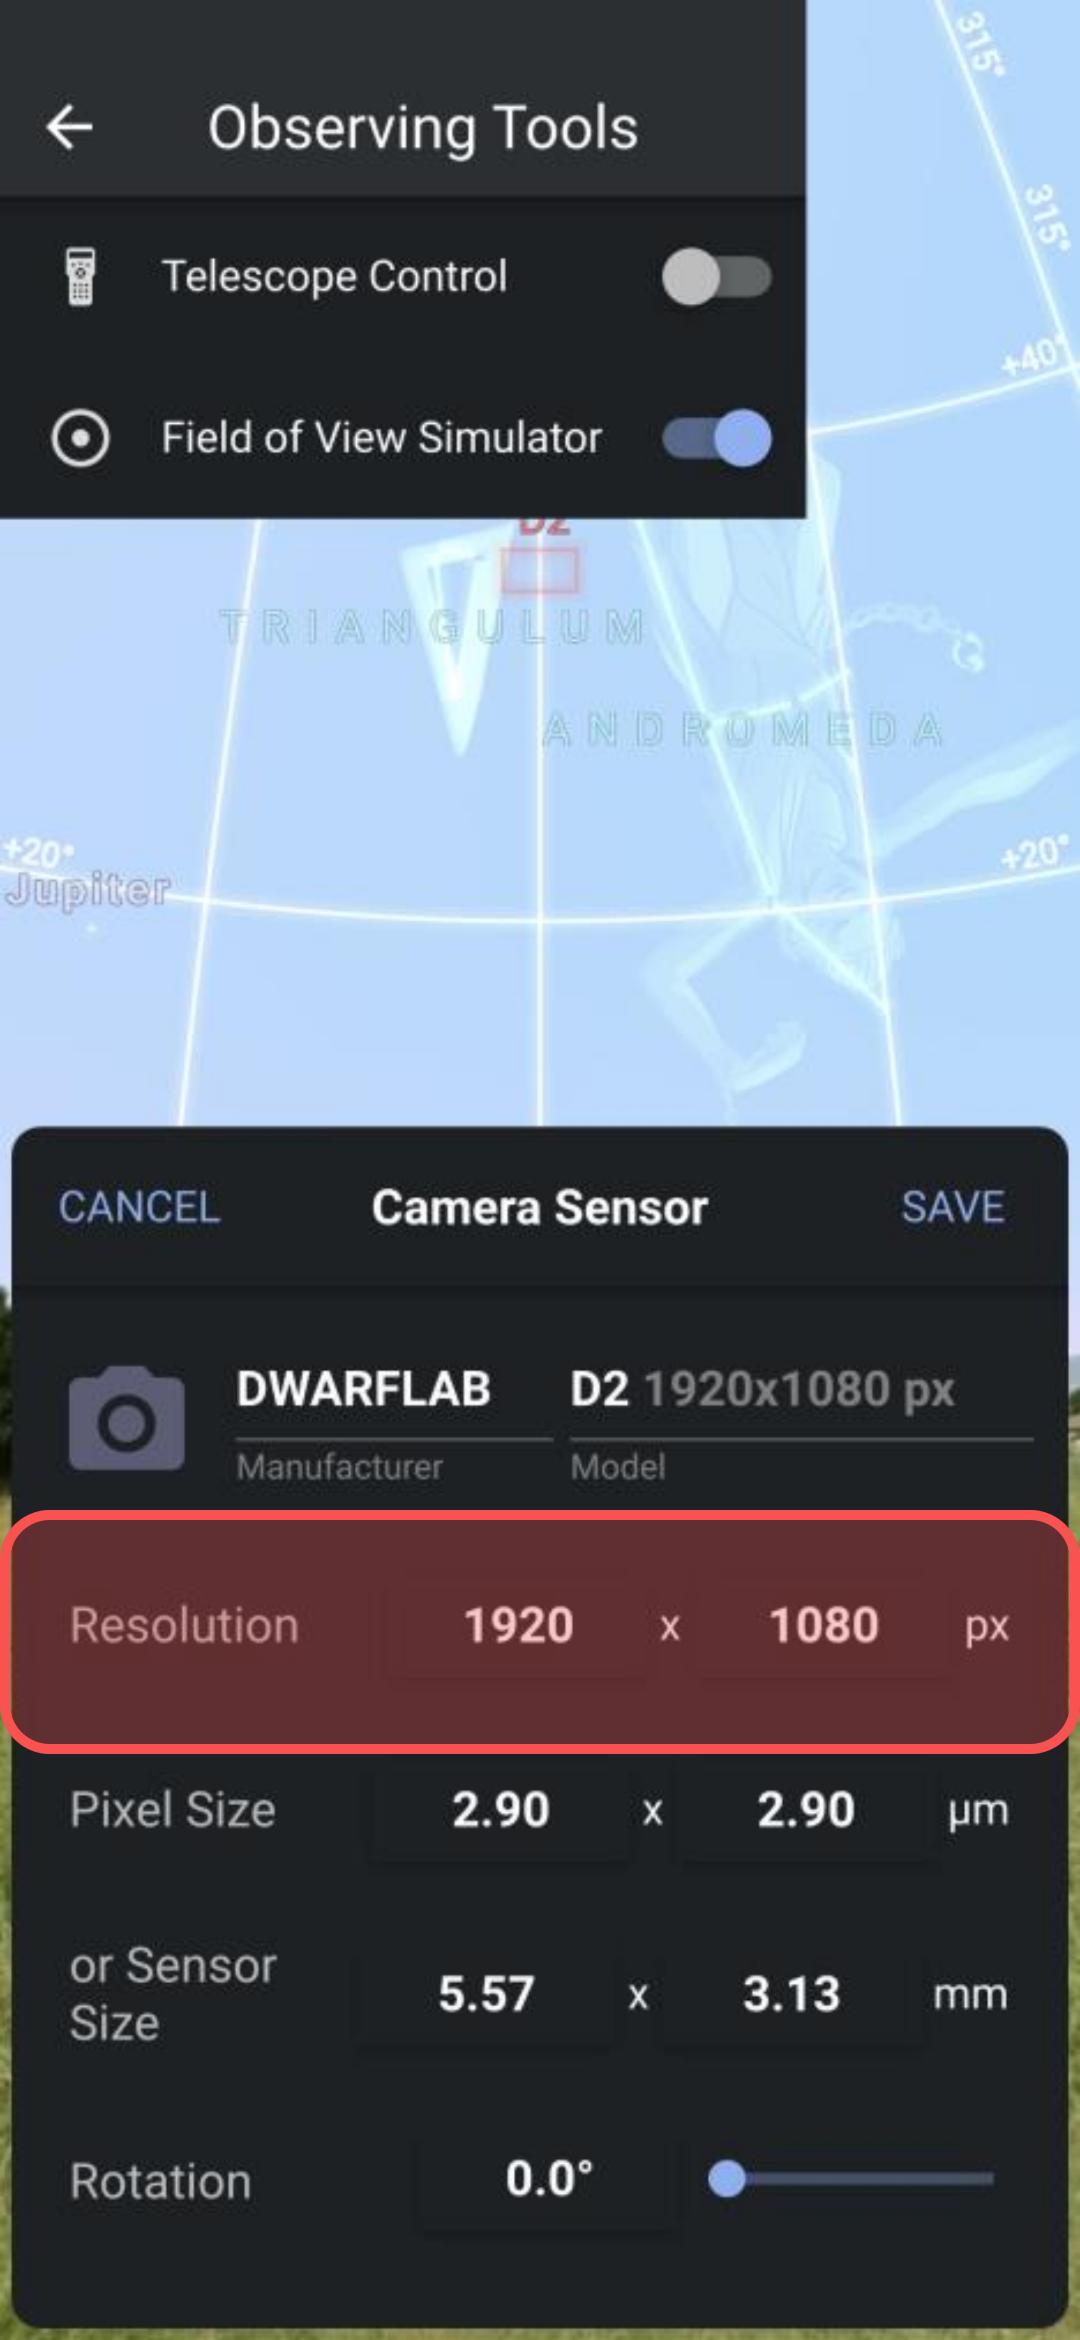
3.7 Pixel Size = 2.9 um x 2.9um (2x2 binning)
3.8 Click Save to save the Camera Sensor settings 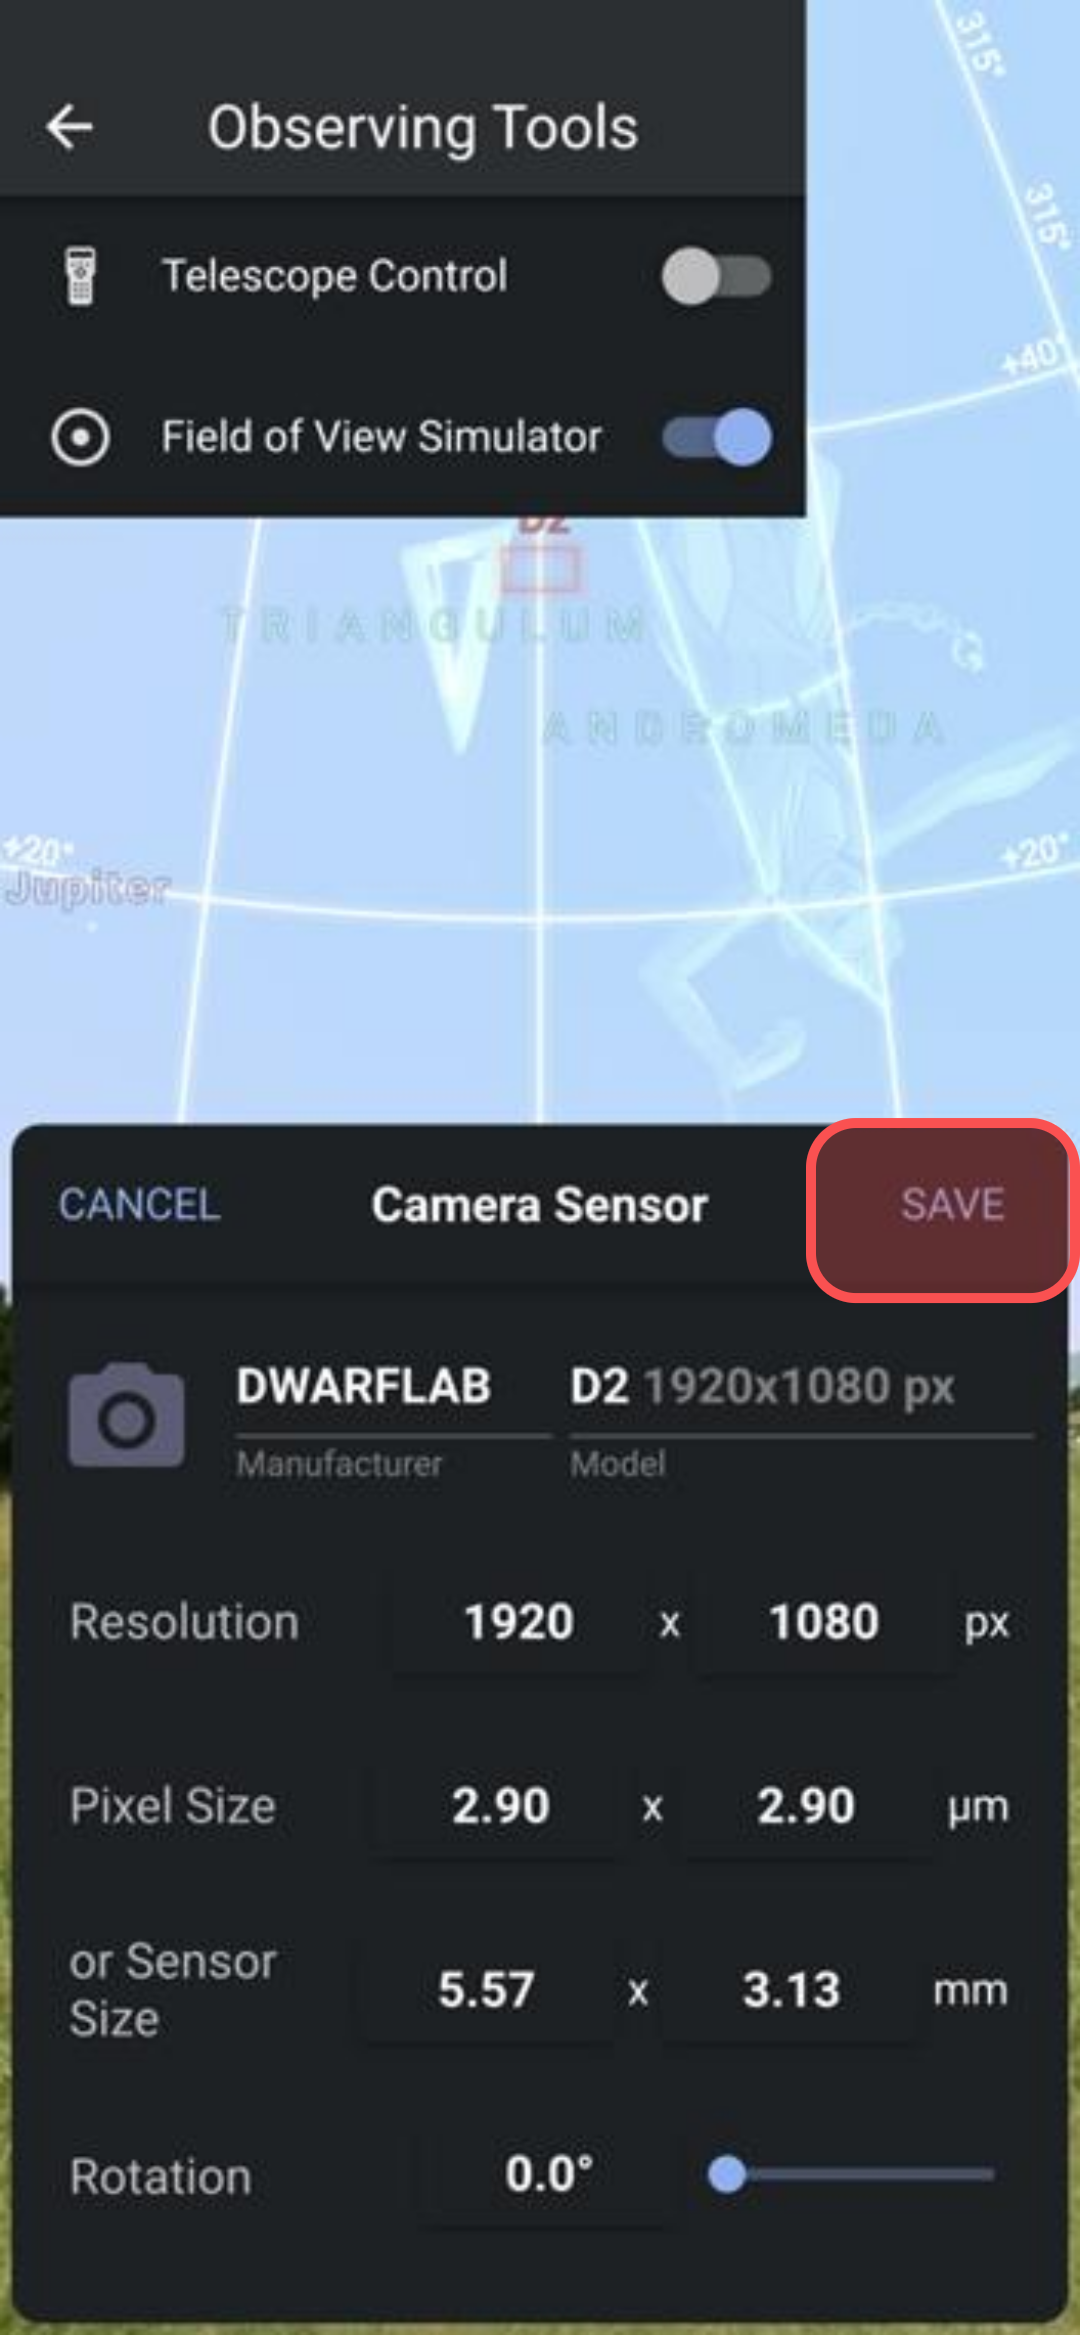
3.9 Click Save to save the Telescope settings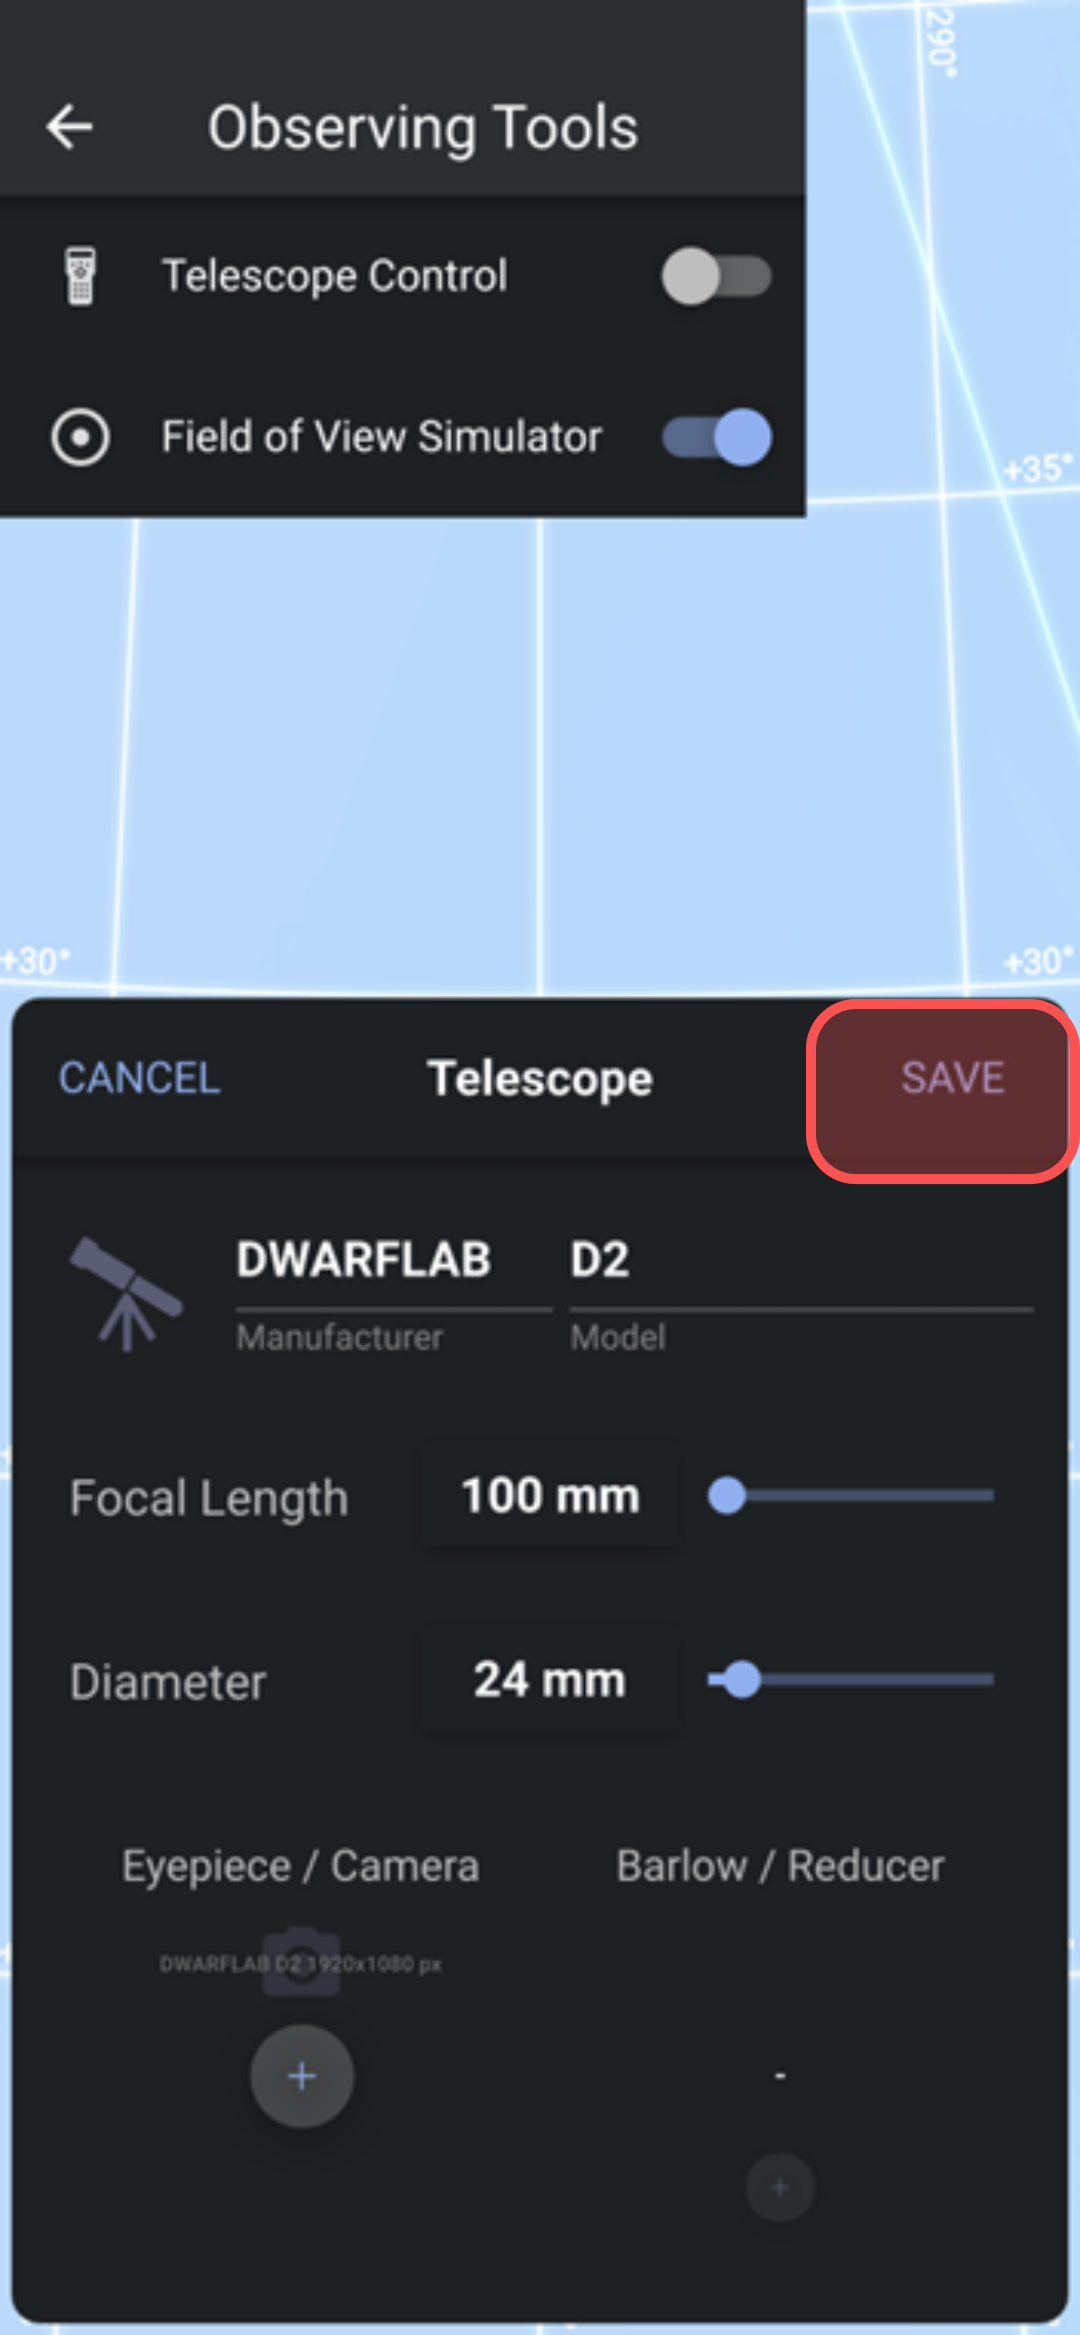
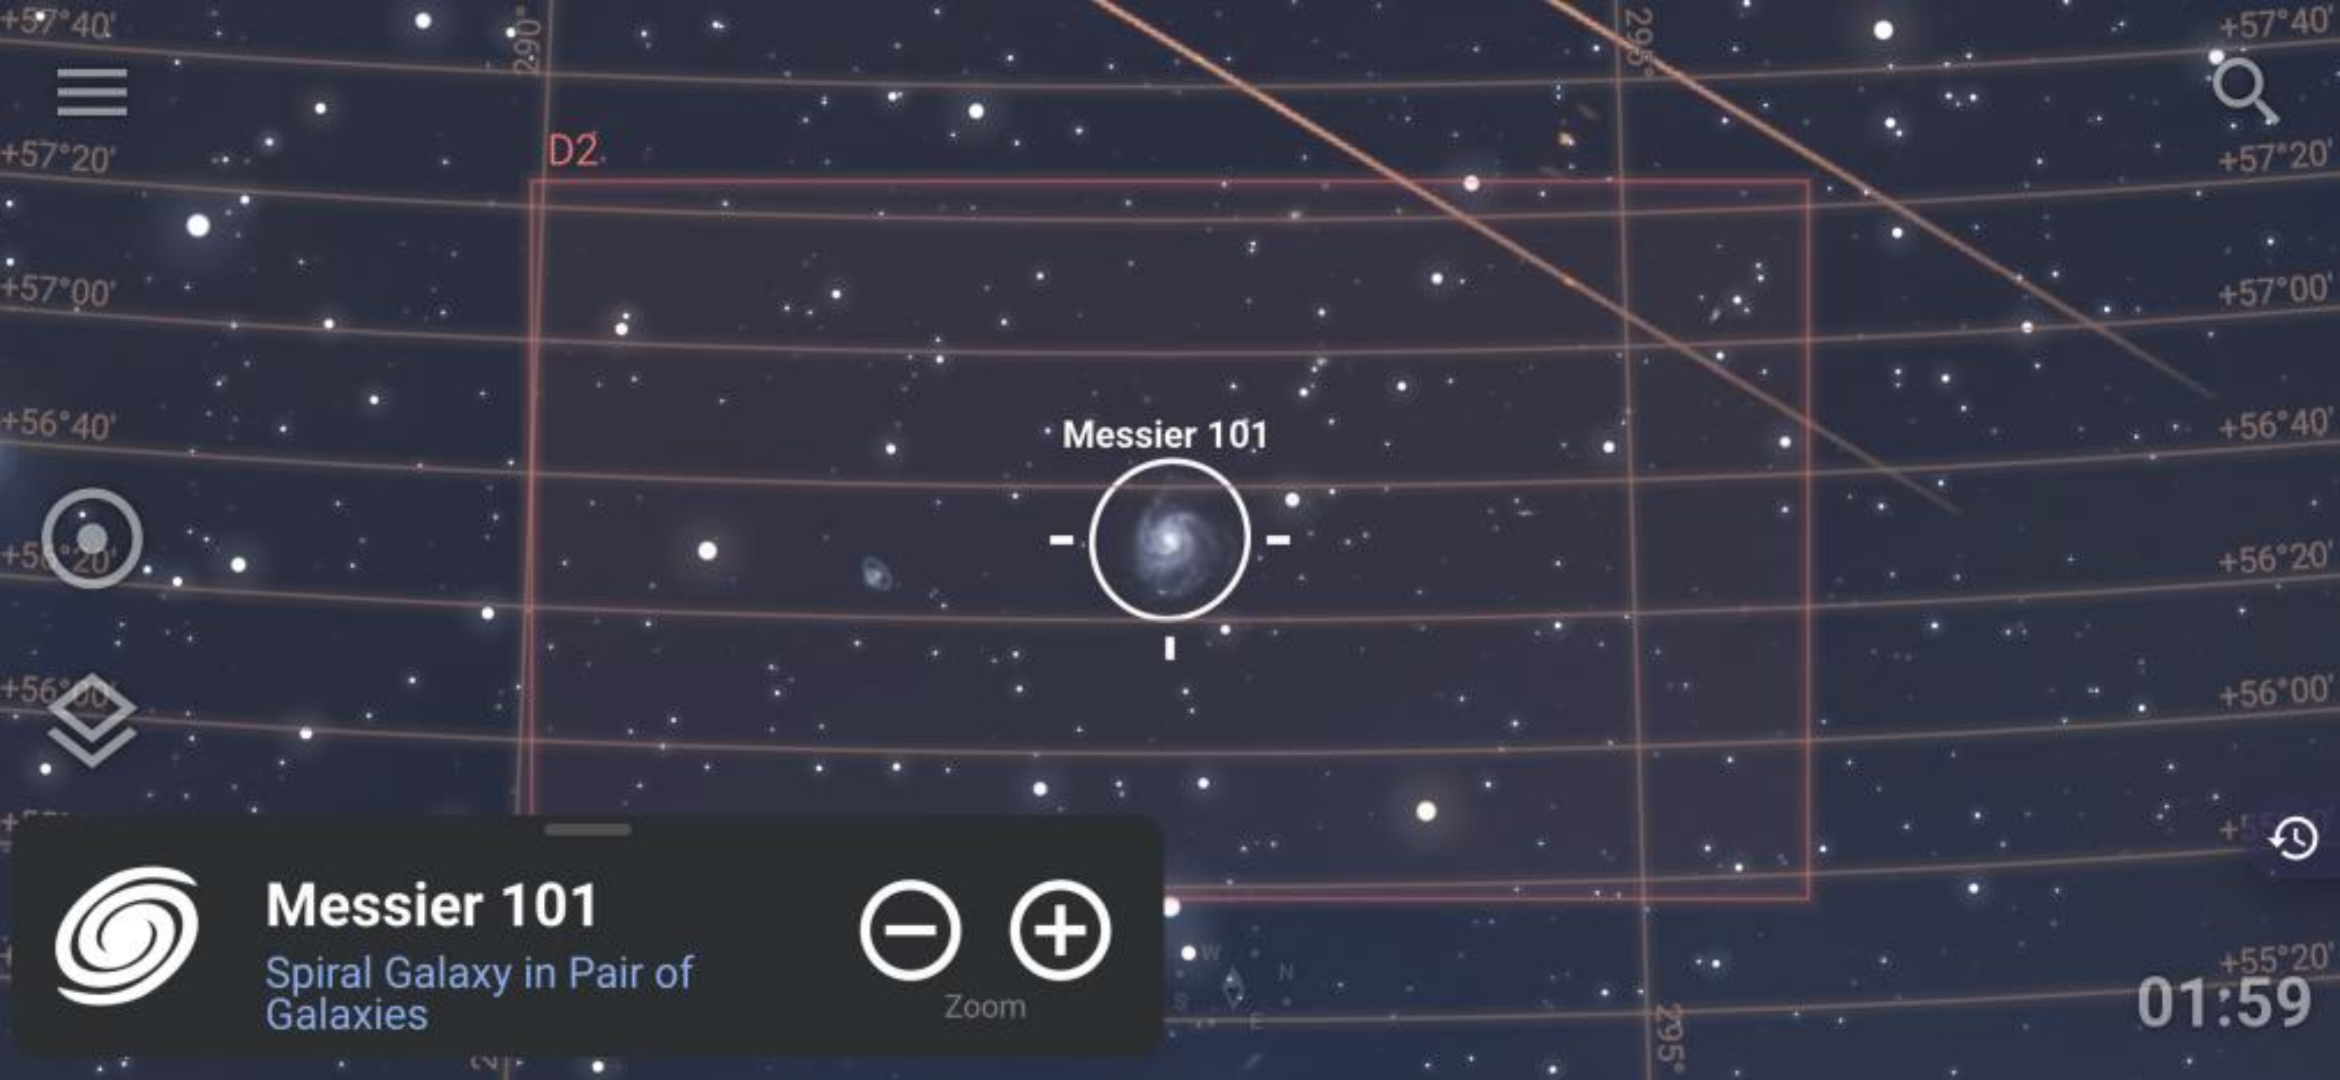
4. Find a nice Target
4.1 Click on the Search button 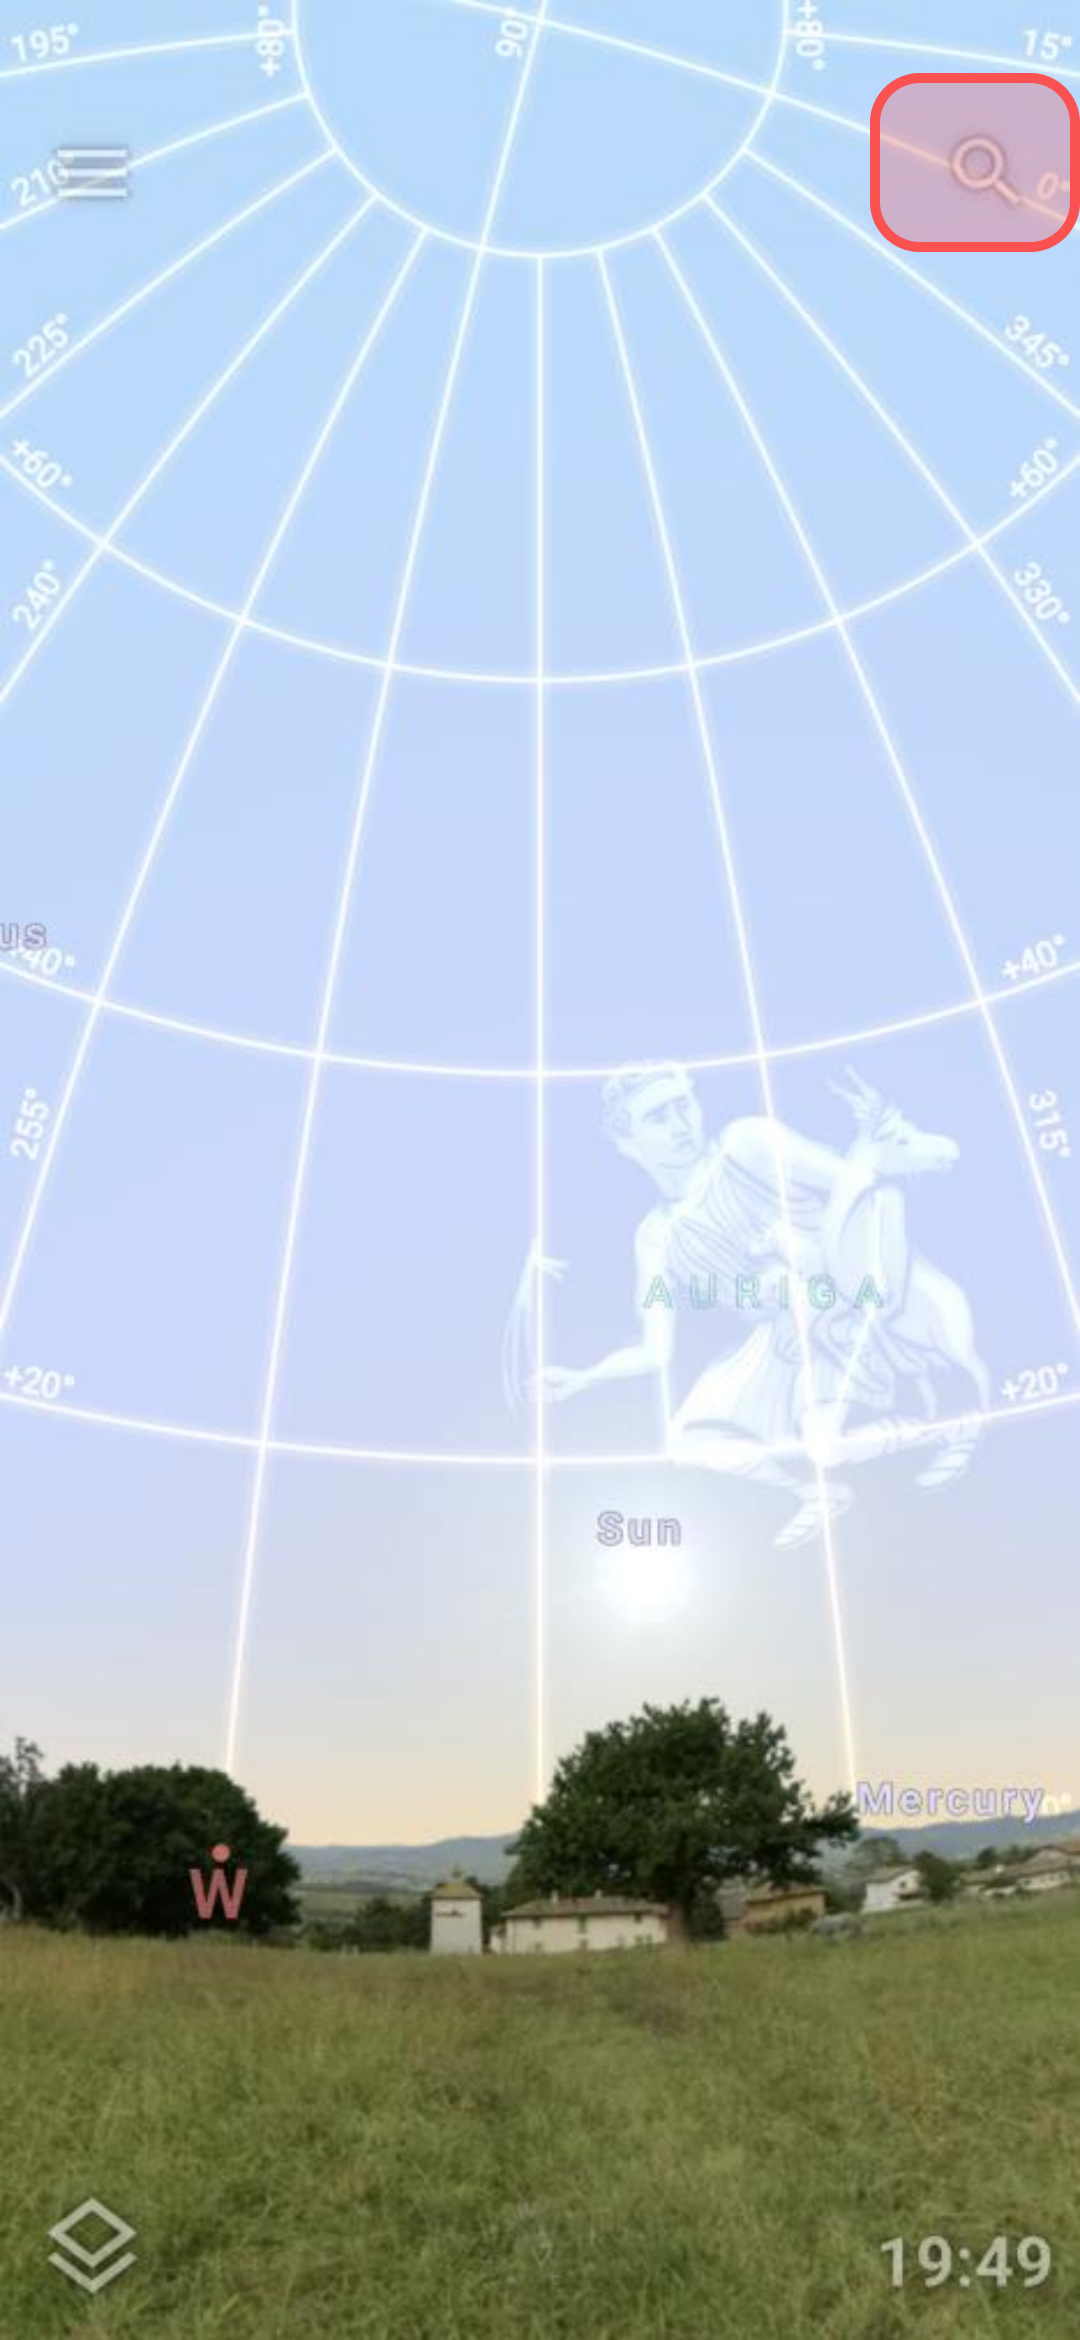
4.2 Type the target name of M101 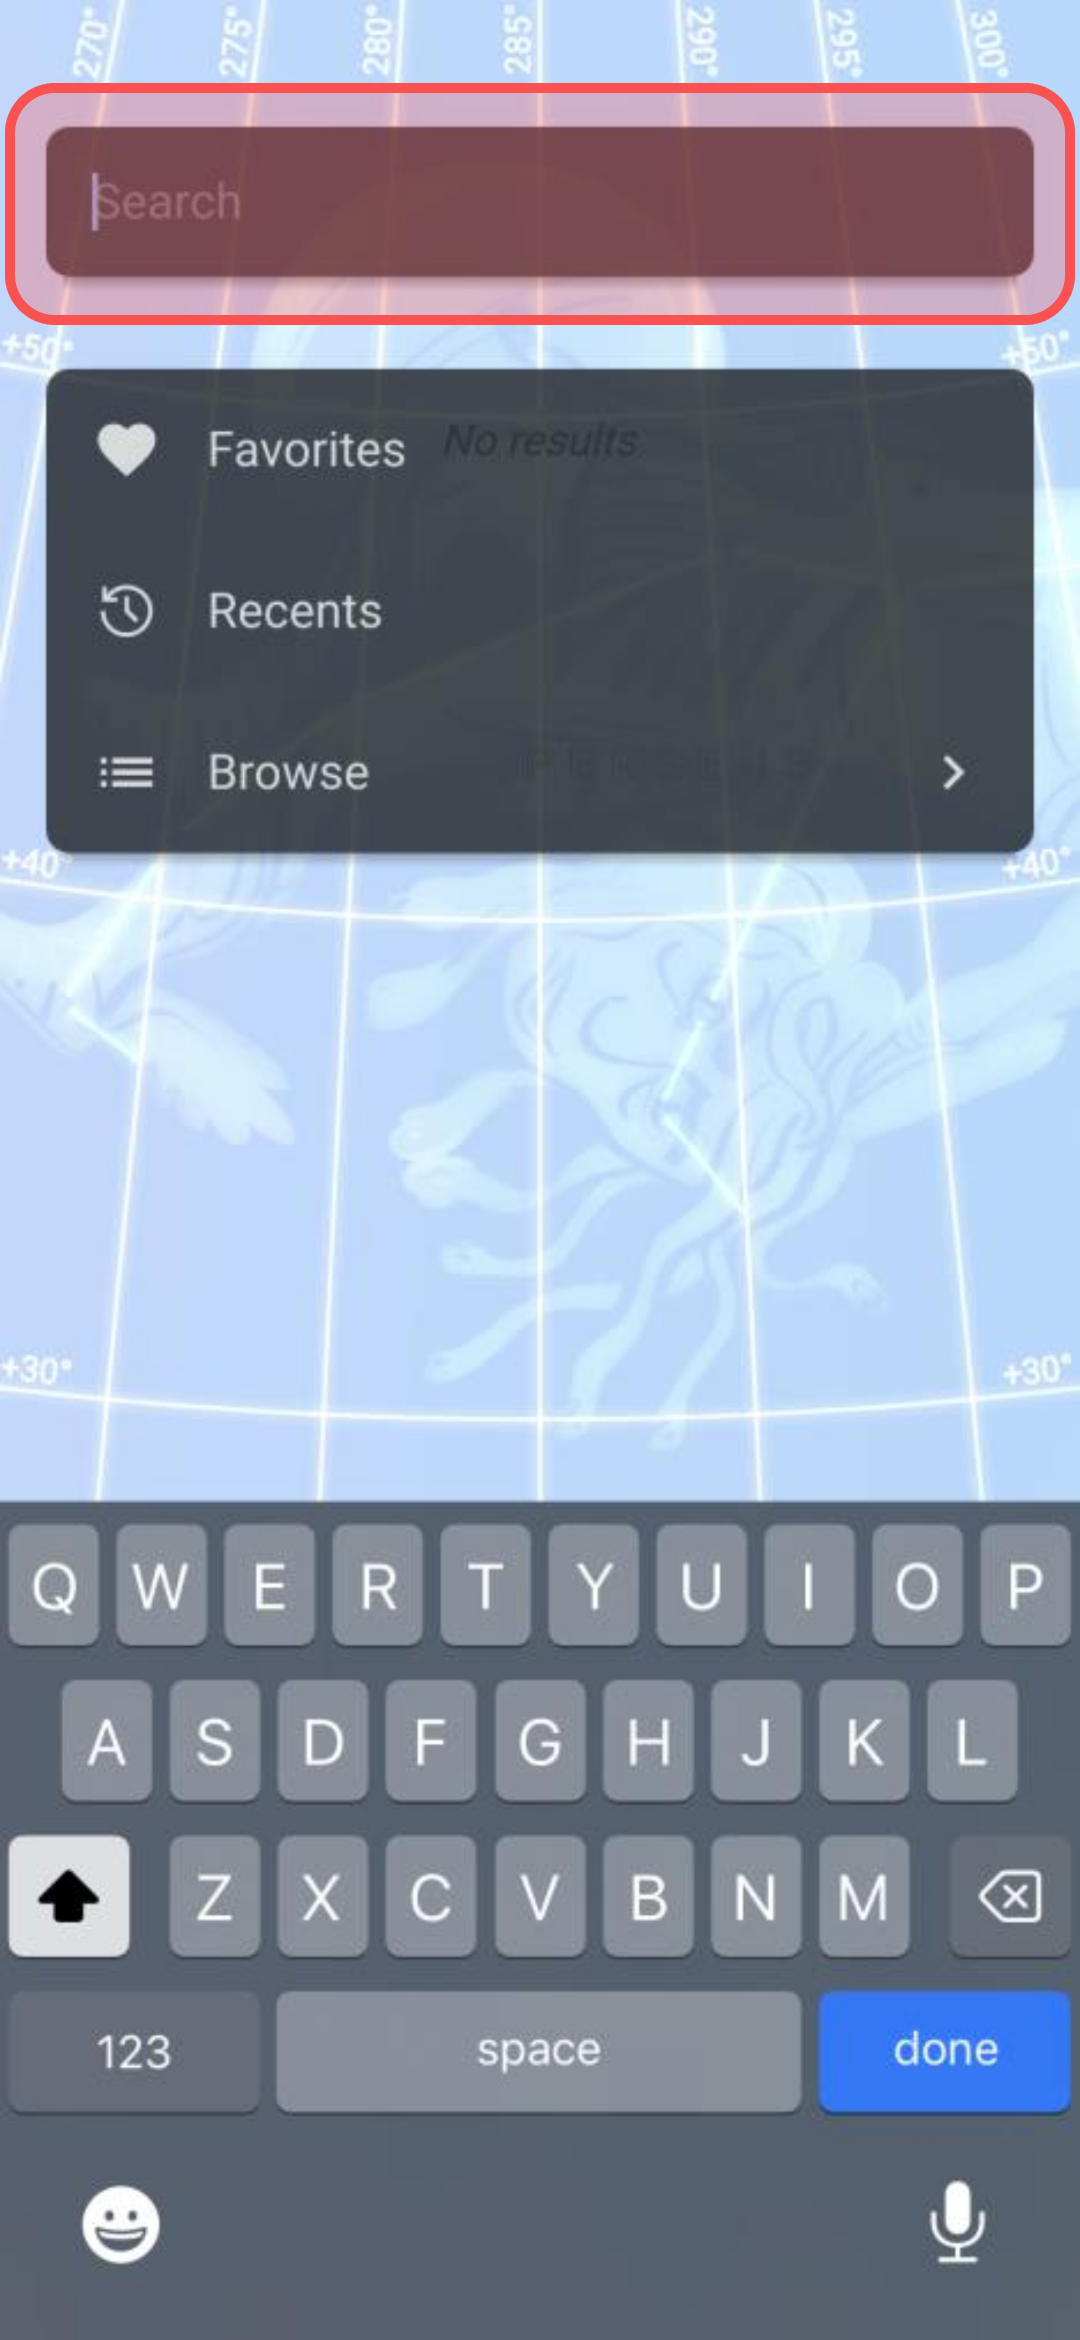
4.3 Select the M101 target name 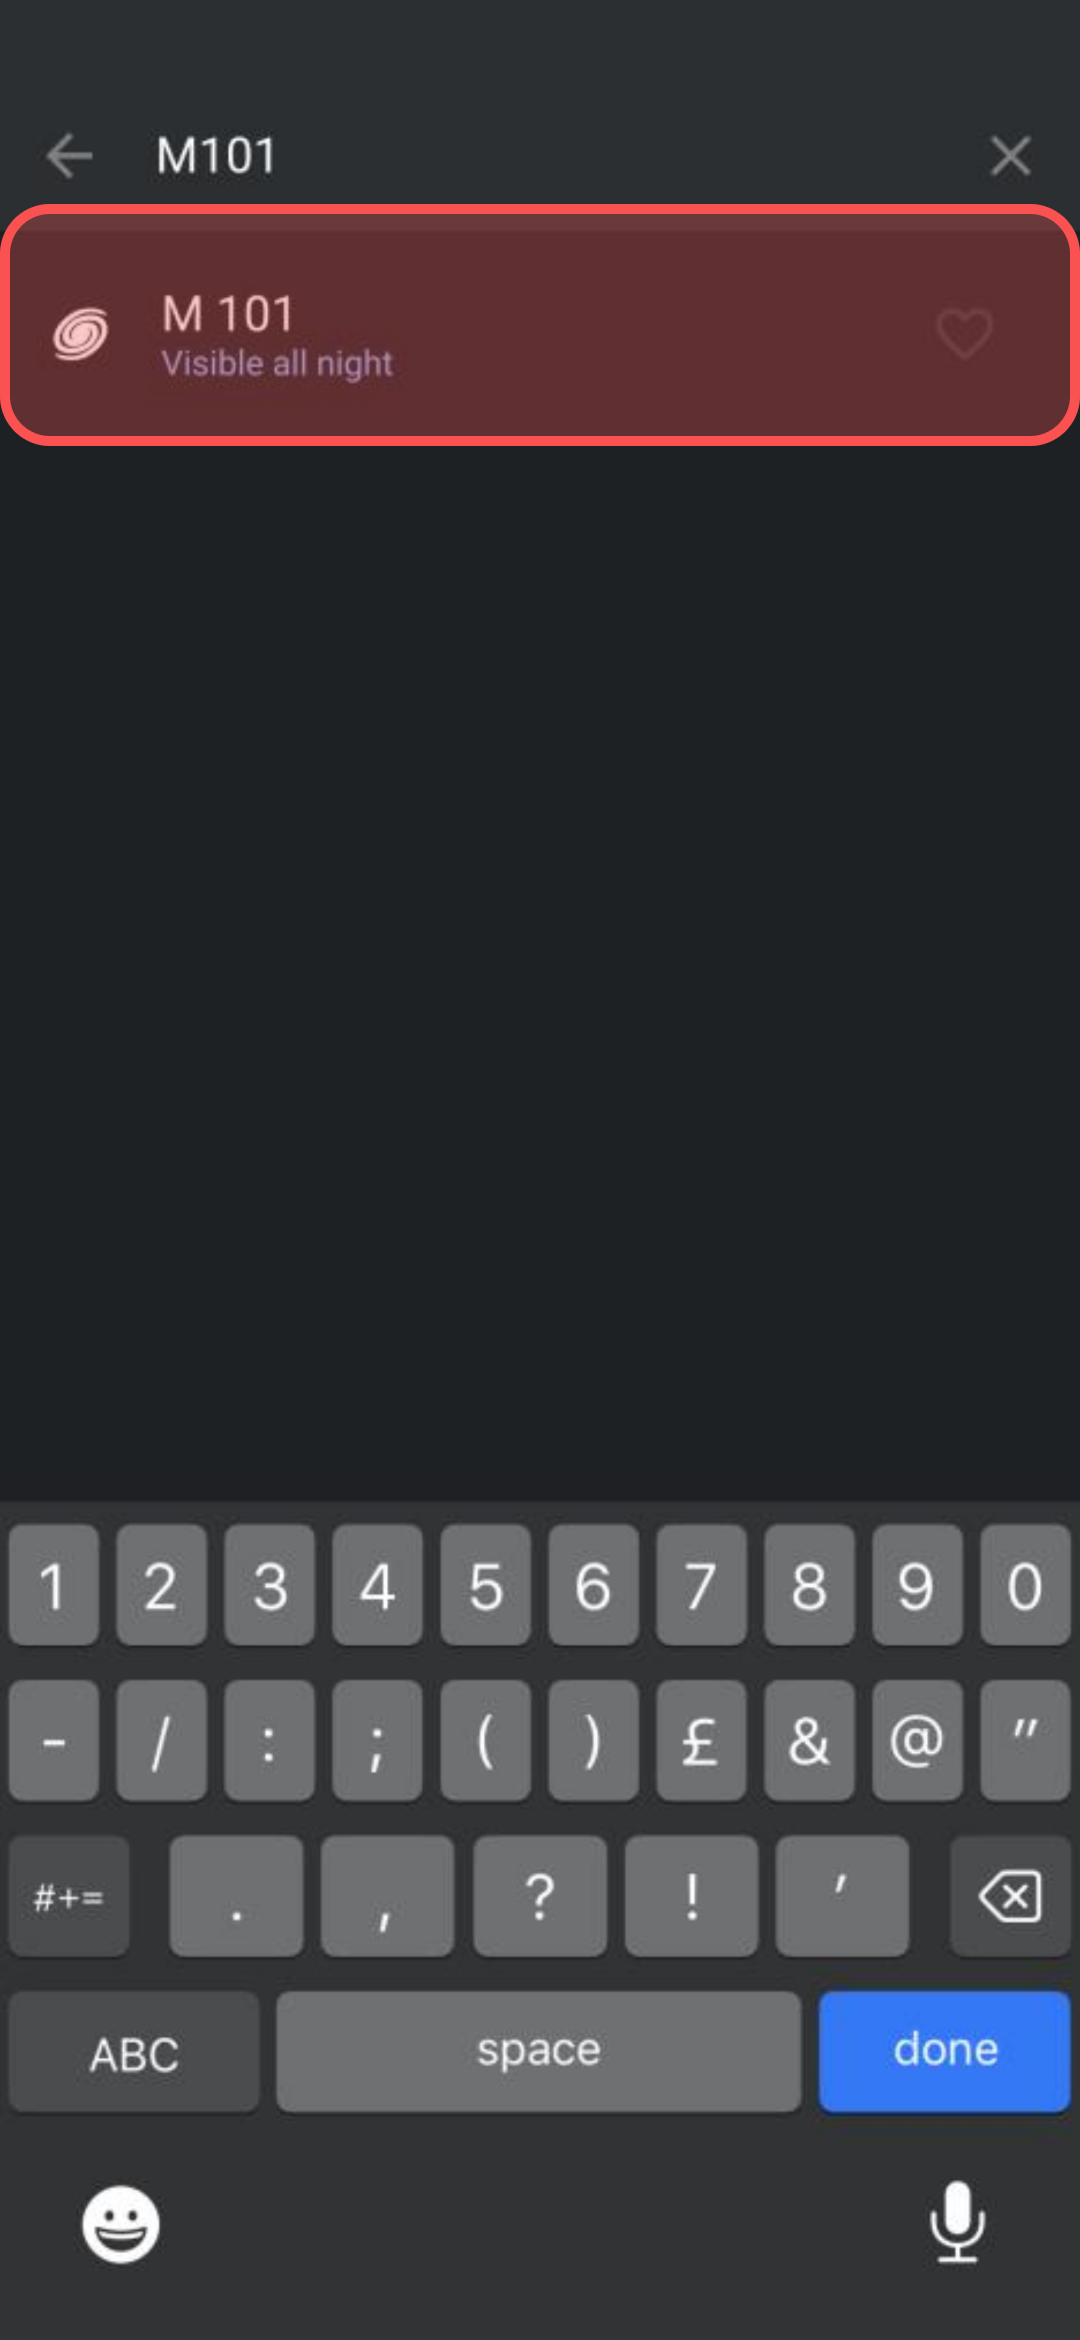
4.4 Click on the FoV button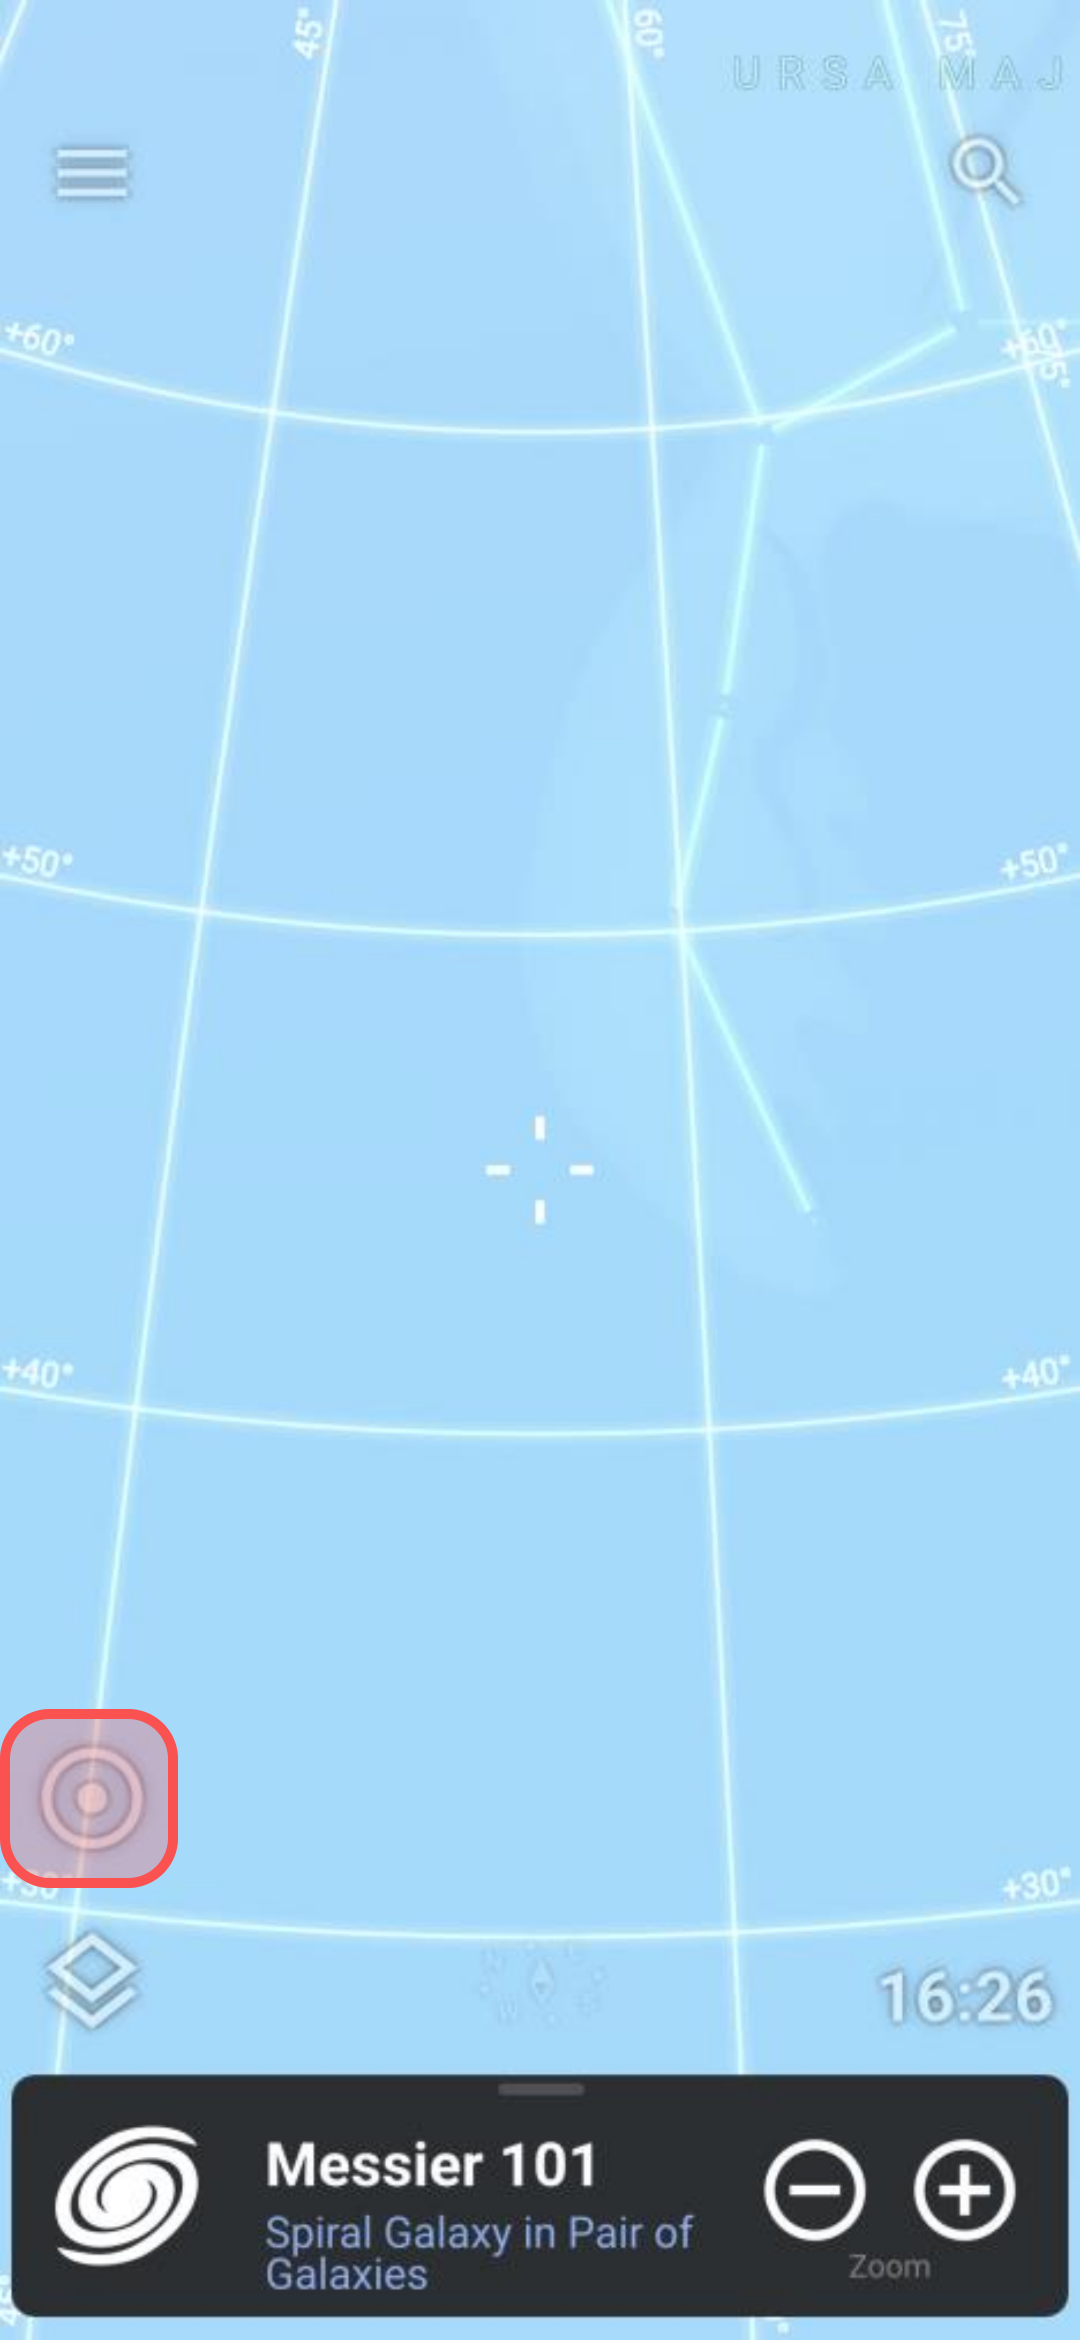
4.5 Click on the DWARFLAB D2 button 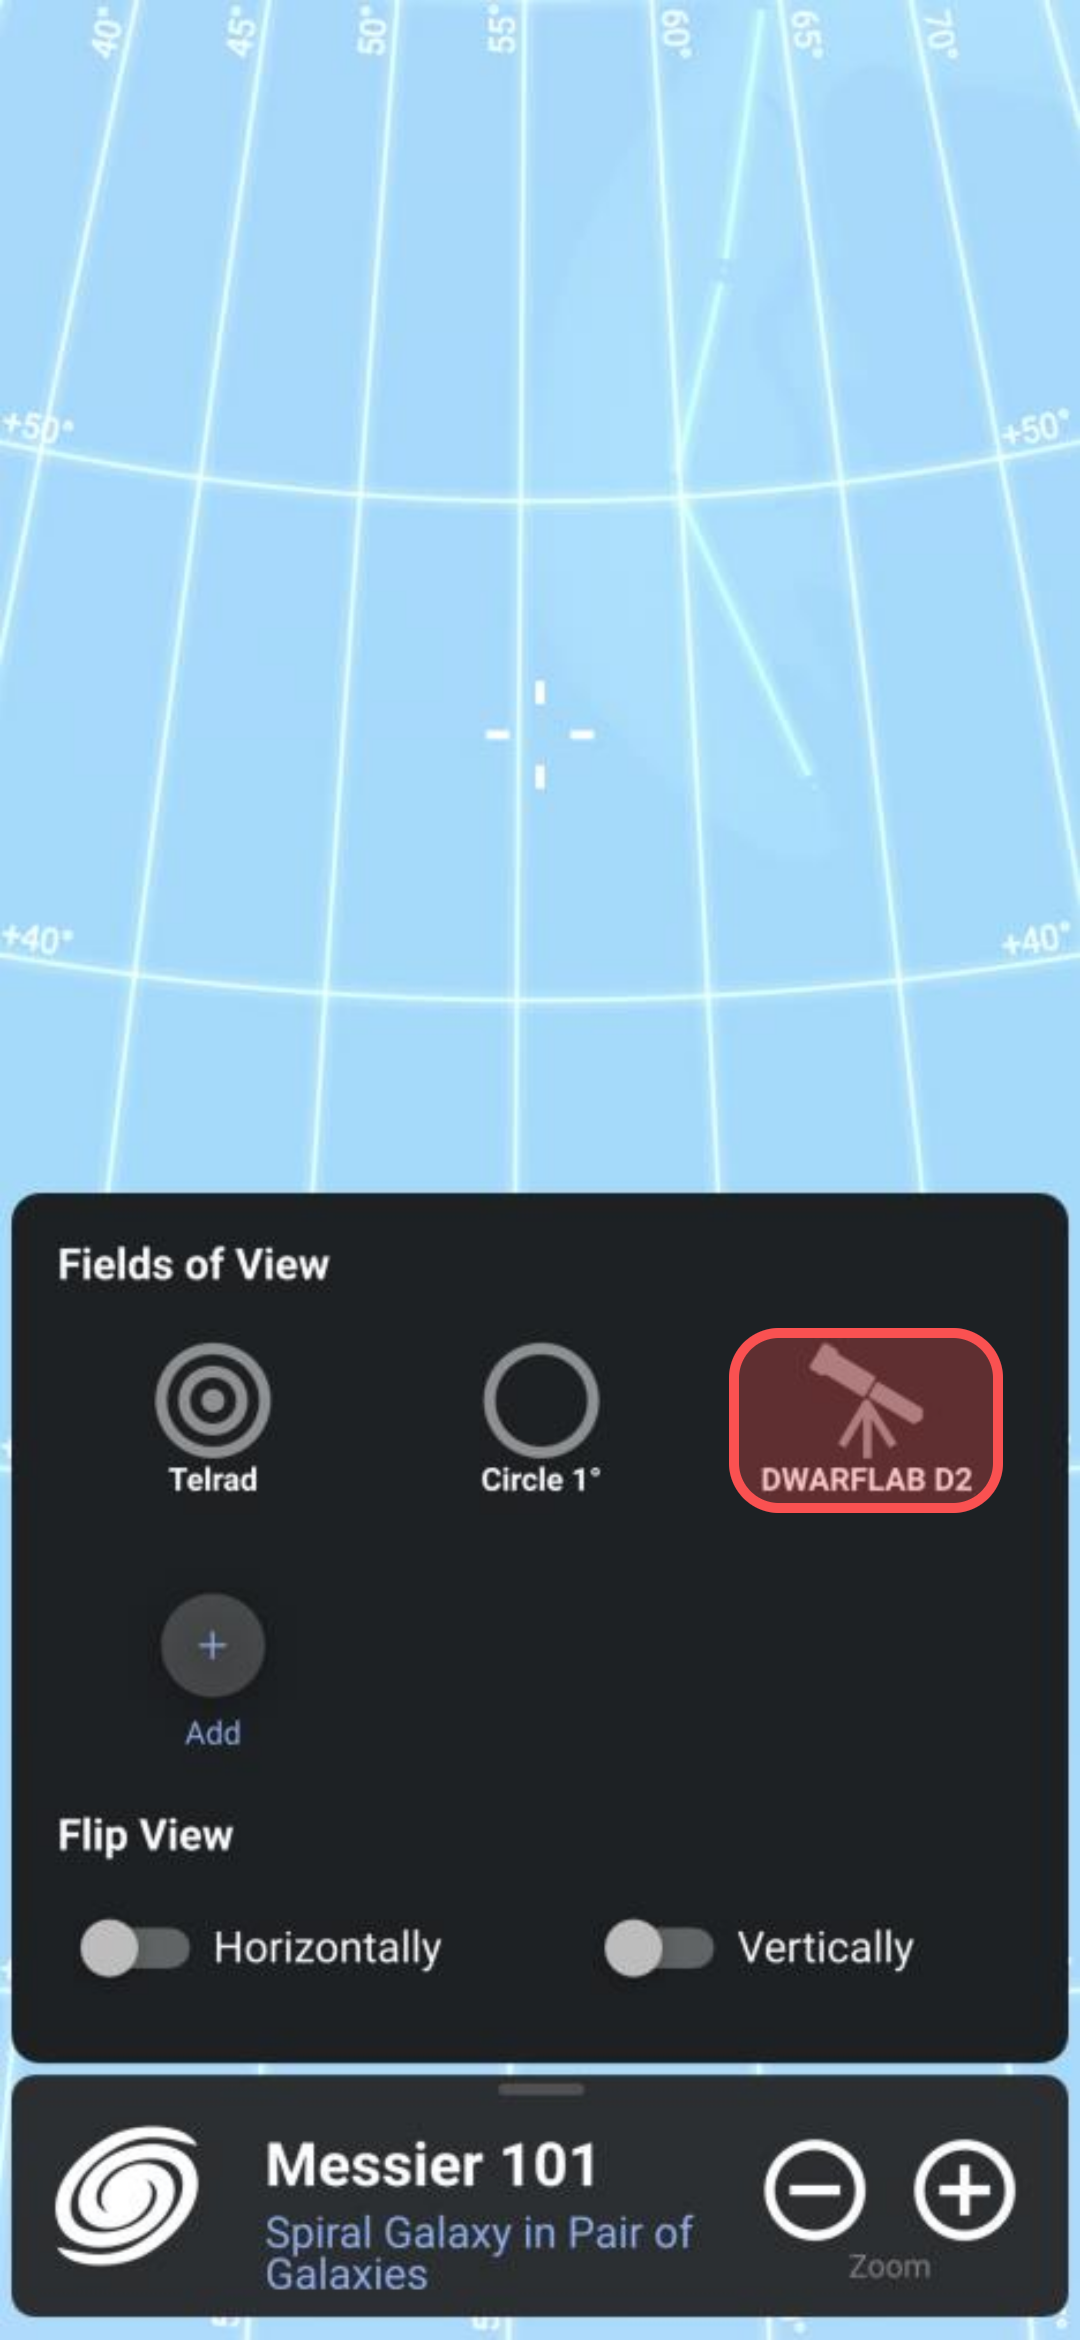
4.6 Click on the background to close the FoV control 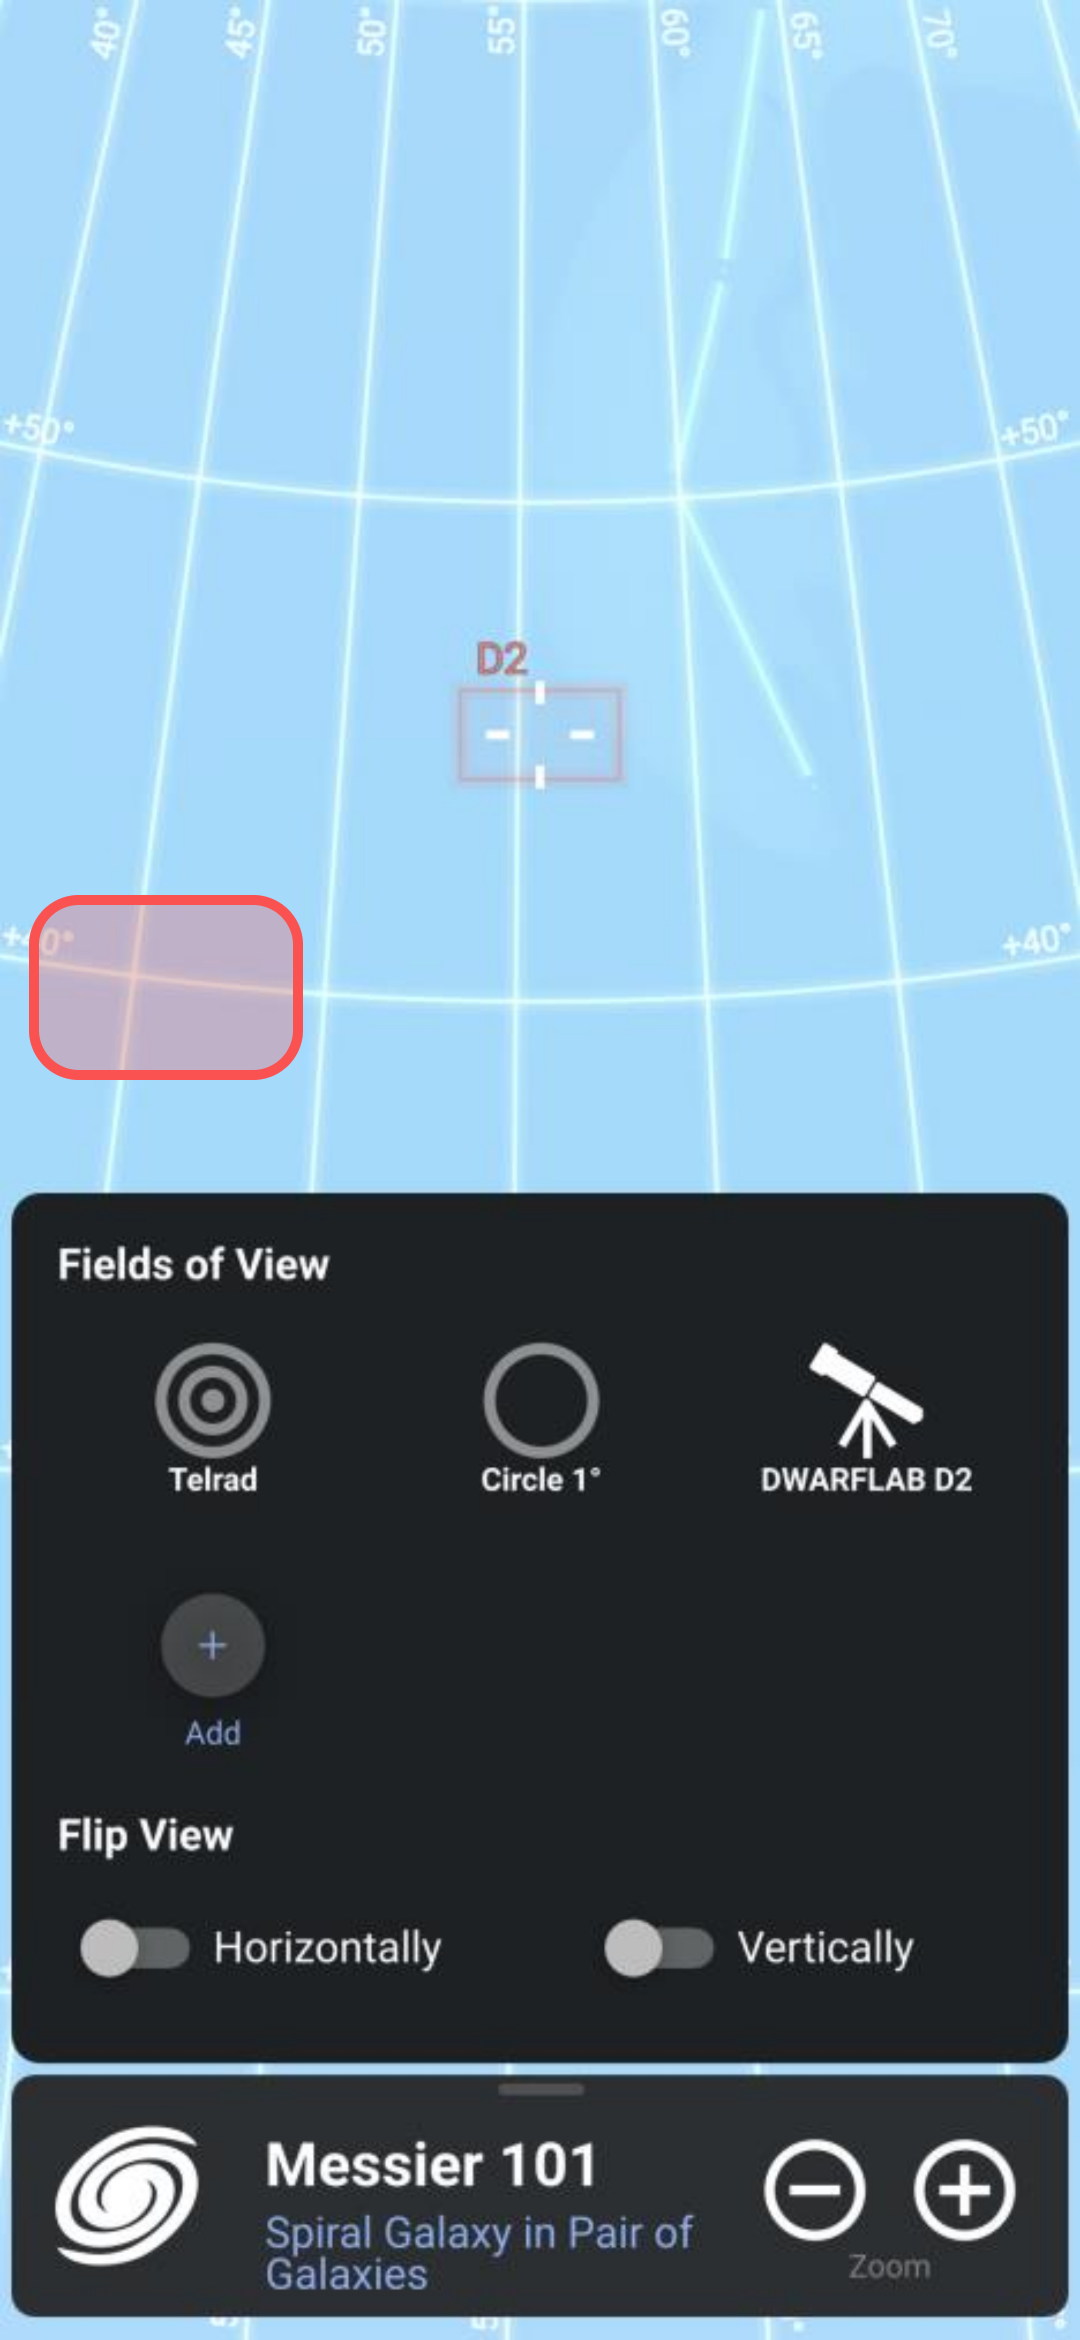
4.7 The target and FoV control are aligned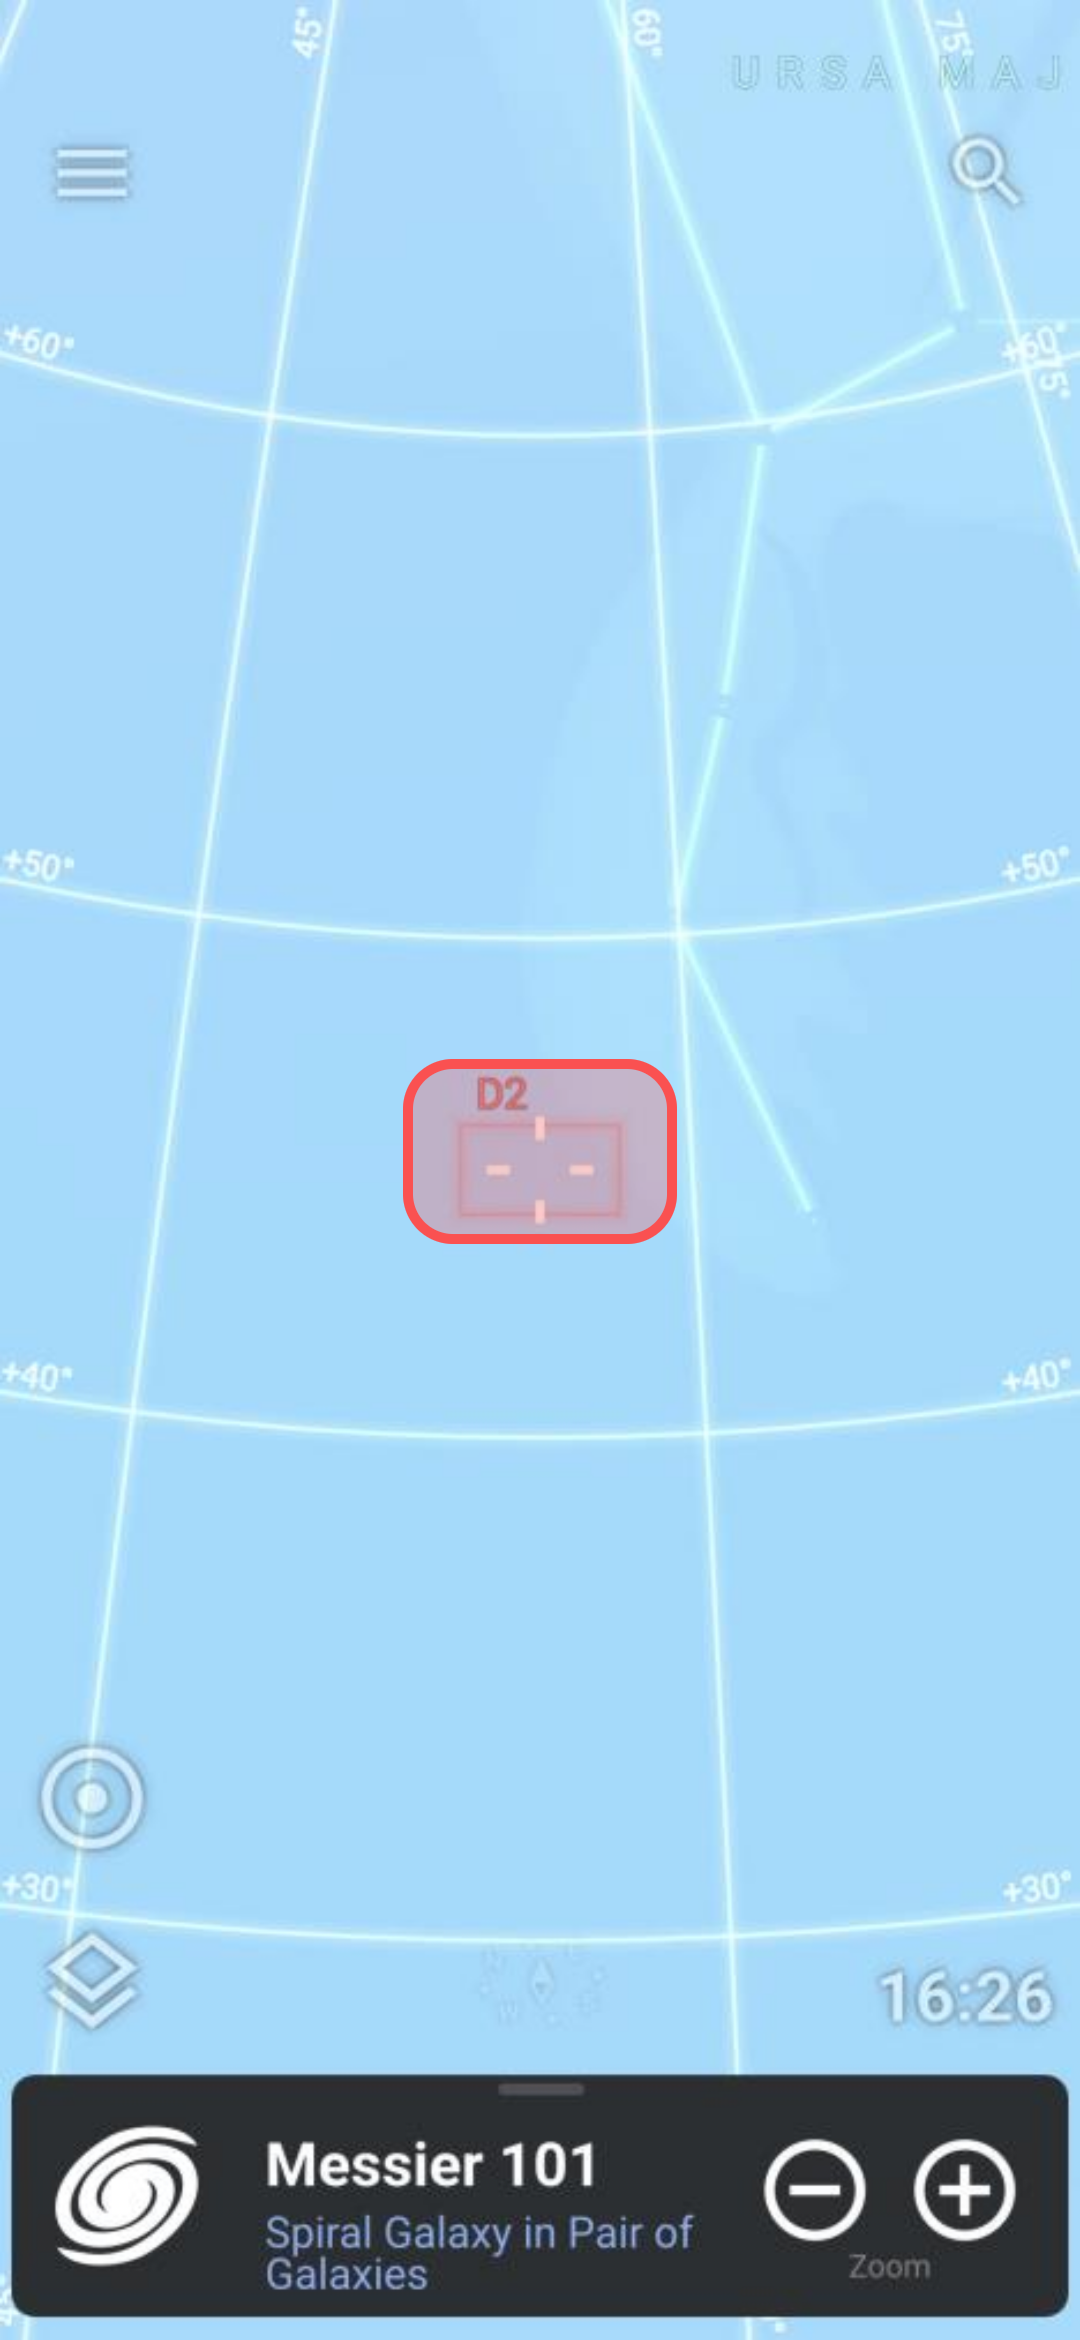
5. Enjoy the View!
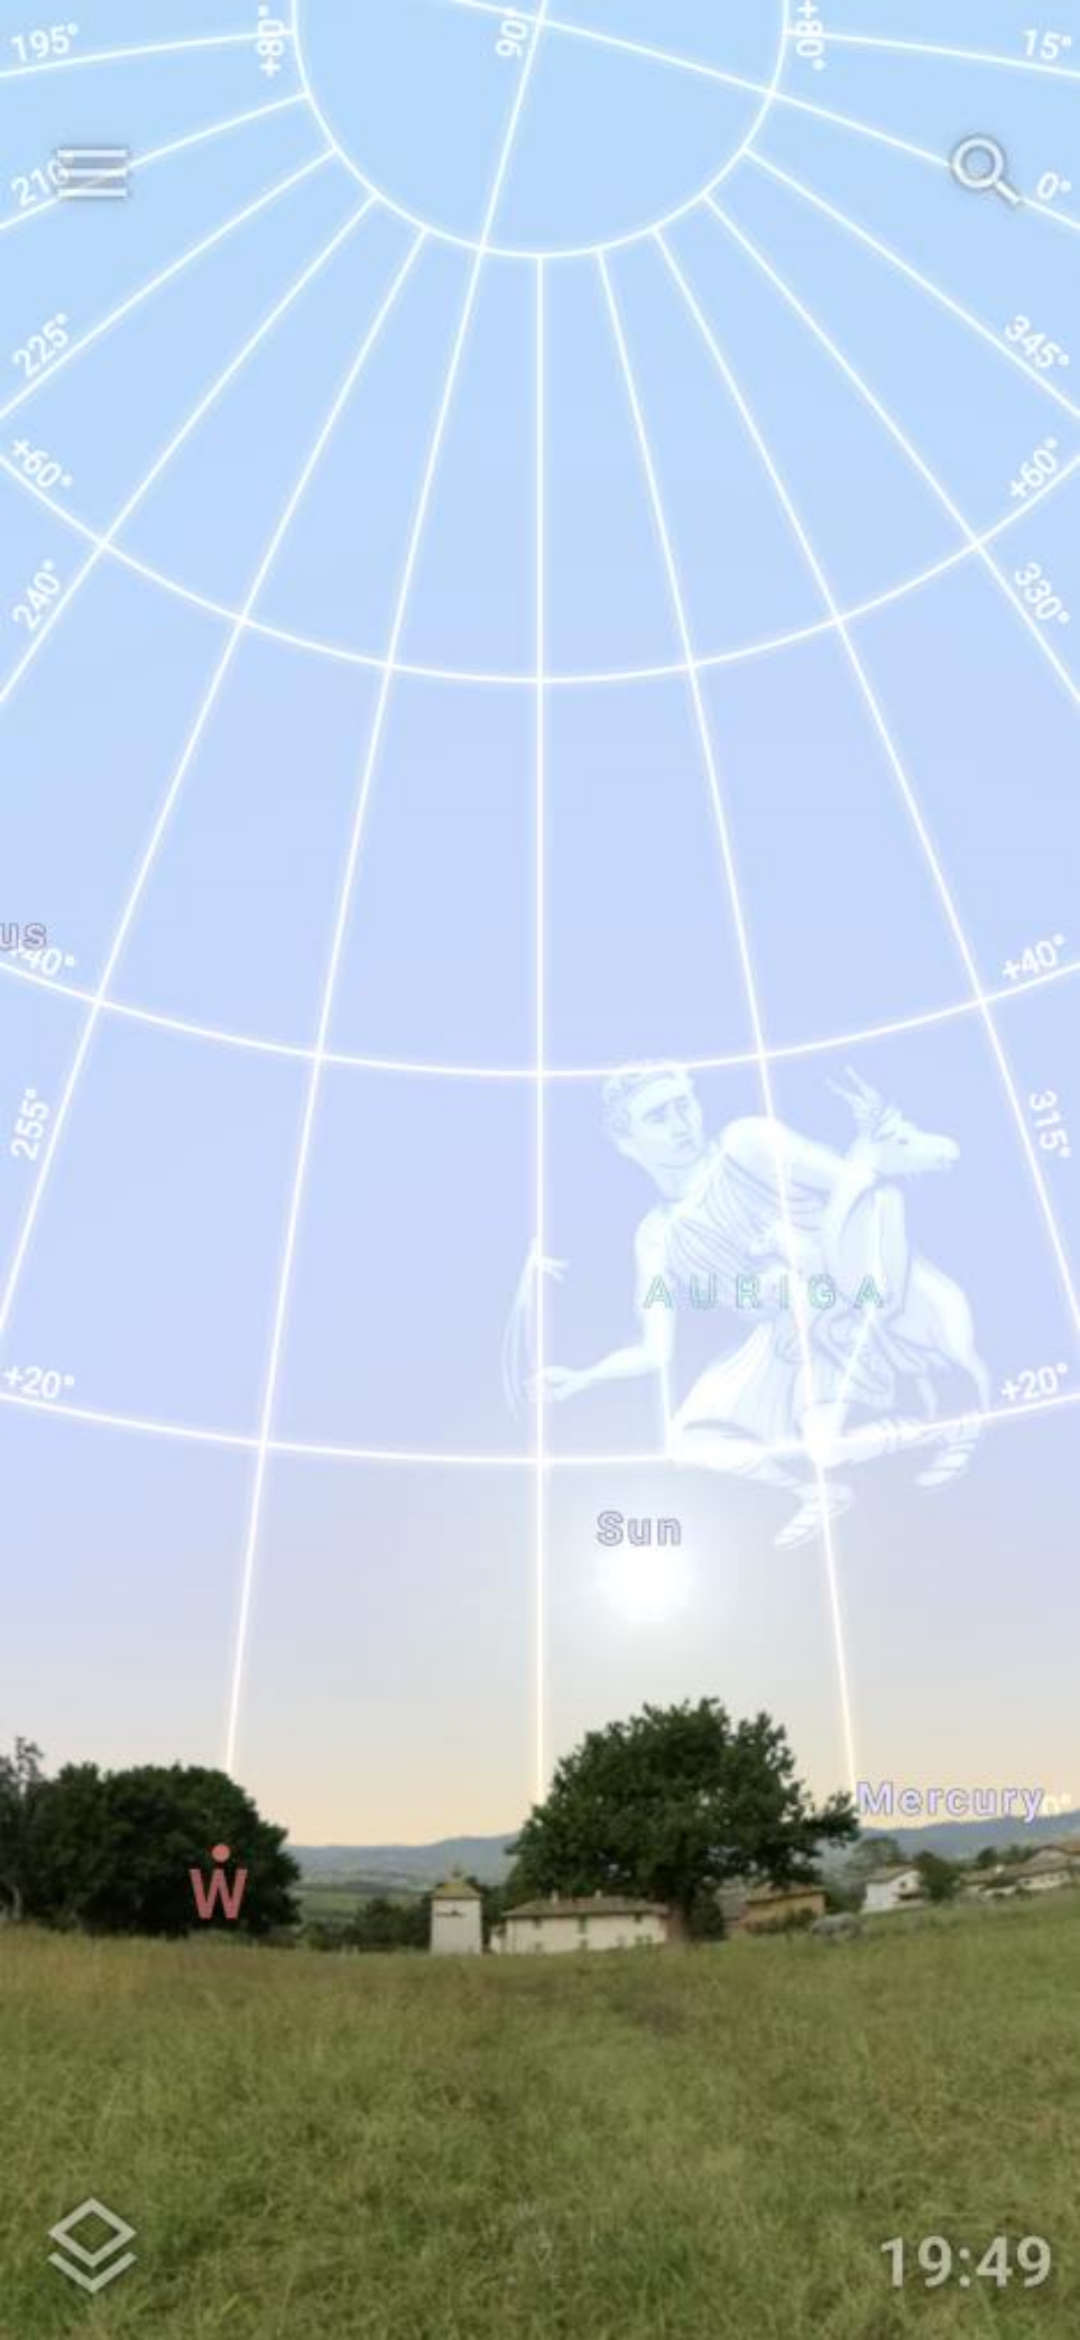
5.1 Rotate the screen to give the landscape view 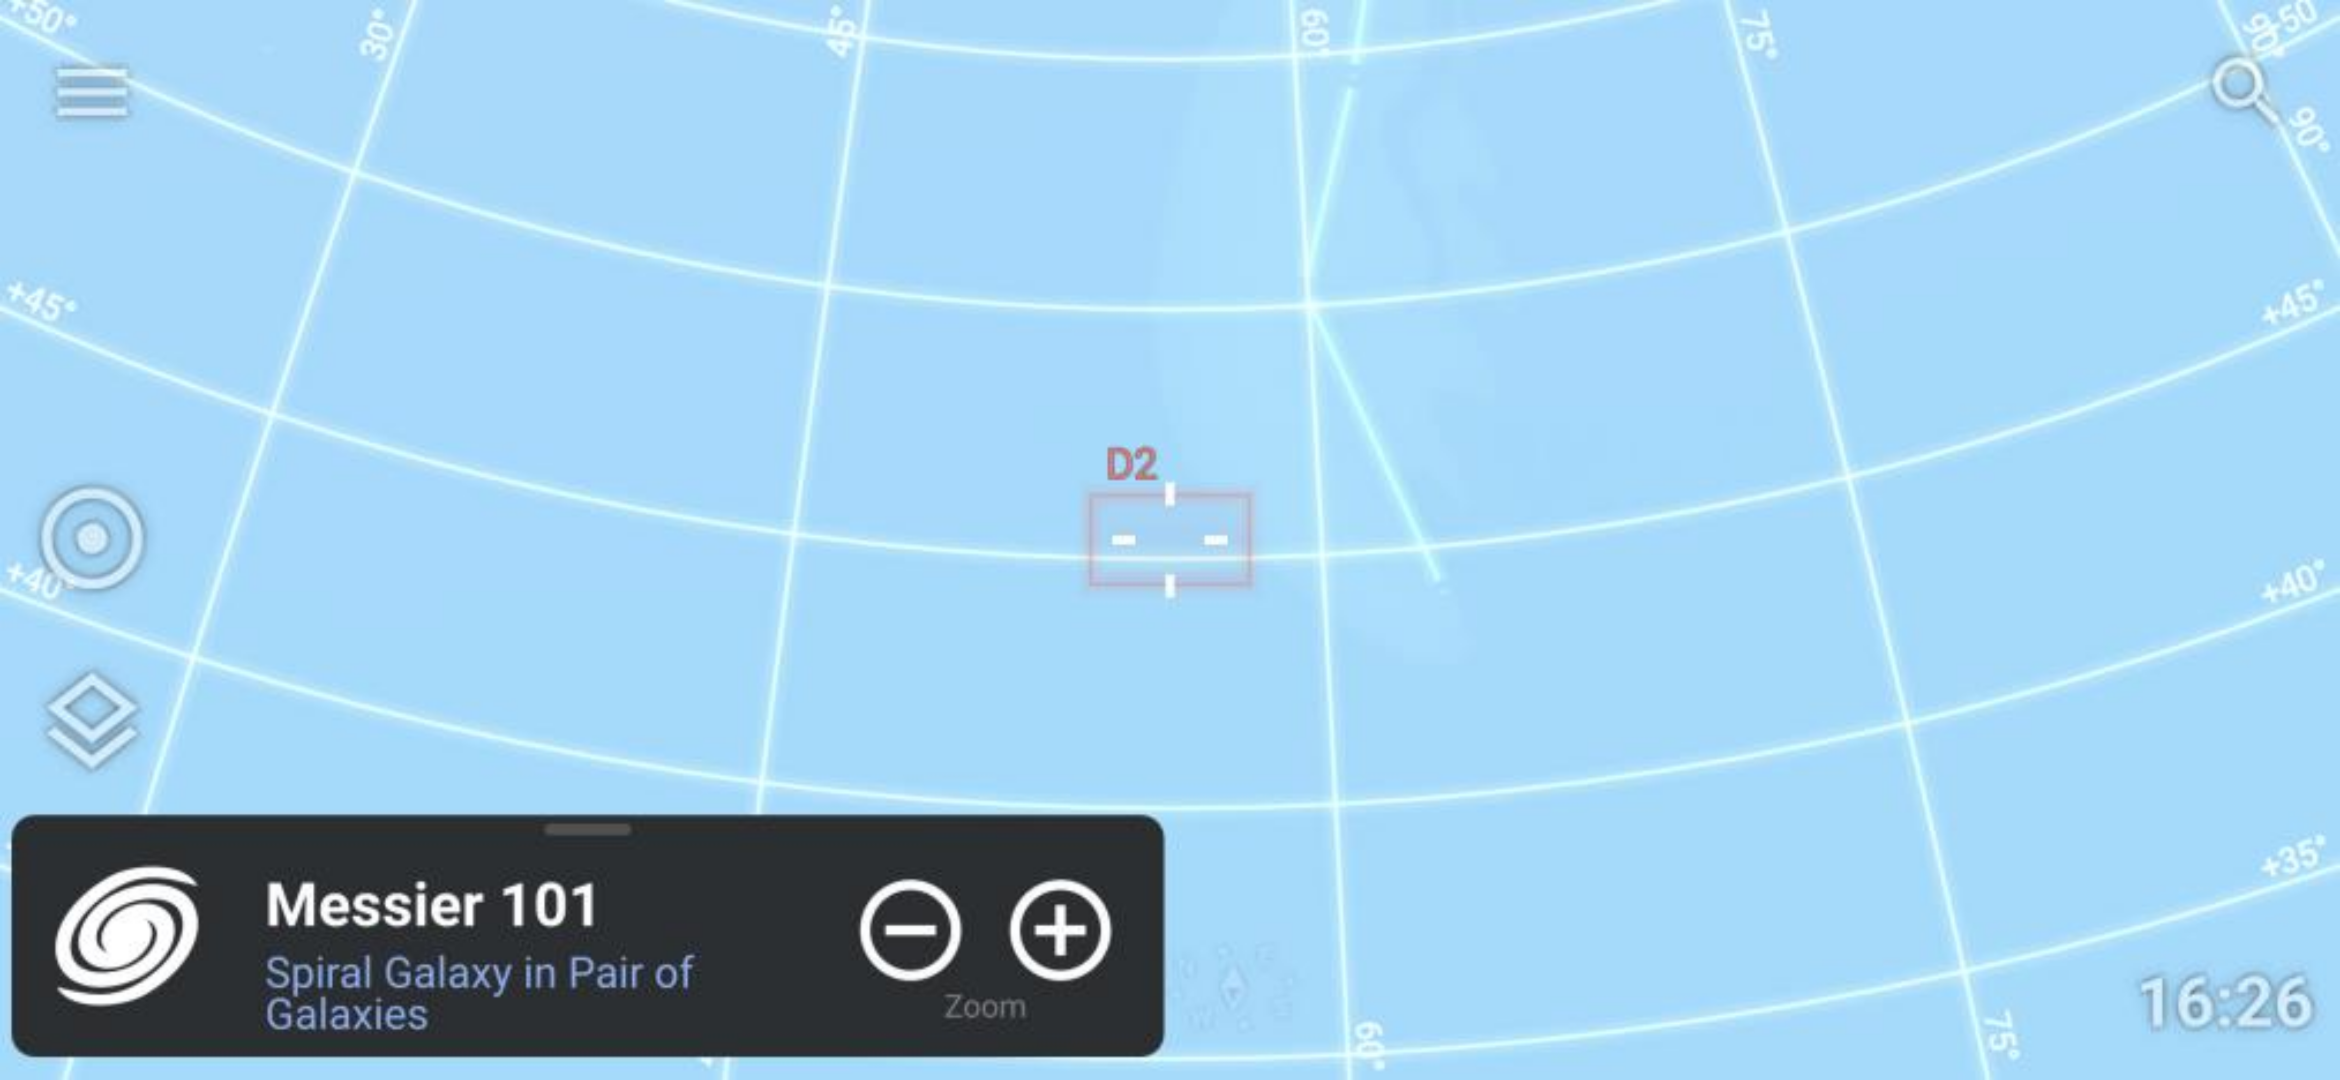
5.2 Zoom in a few times using the "+" button 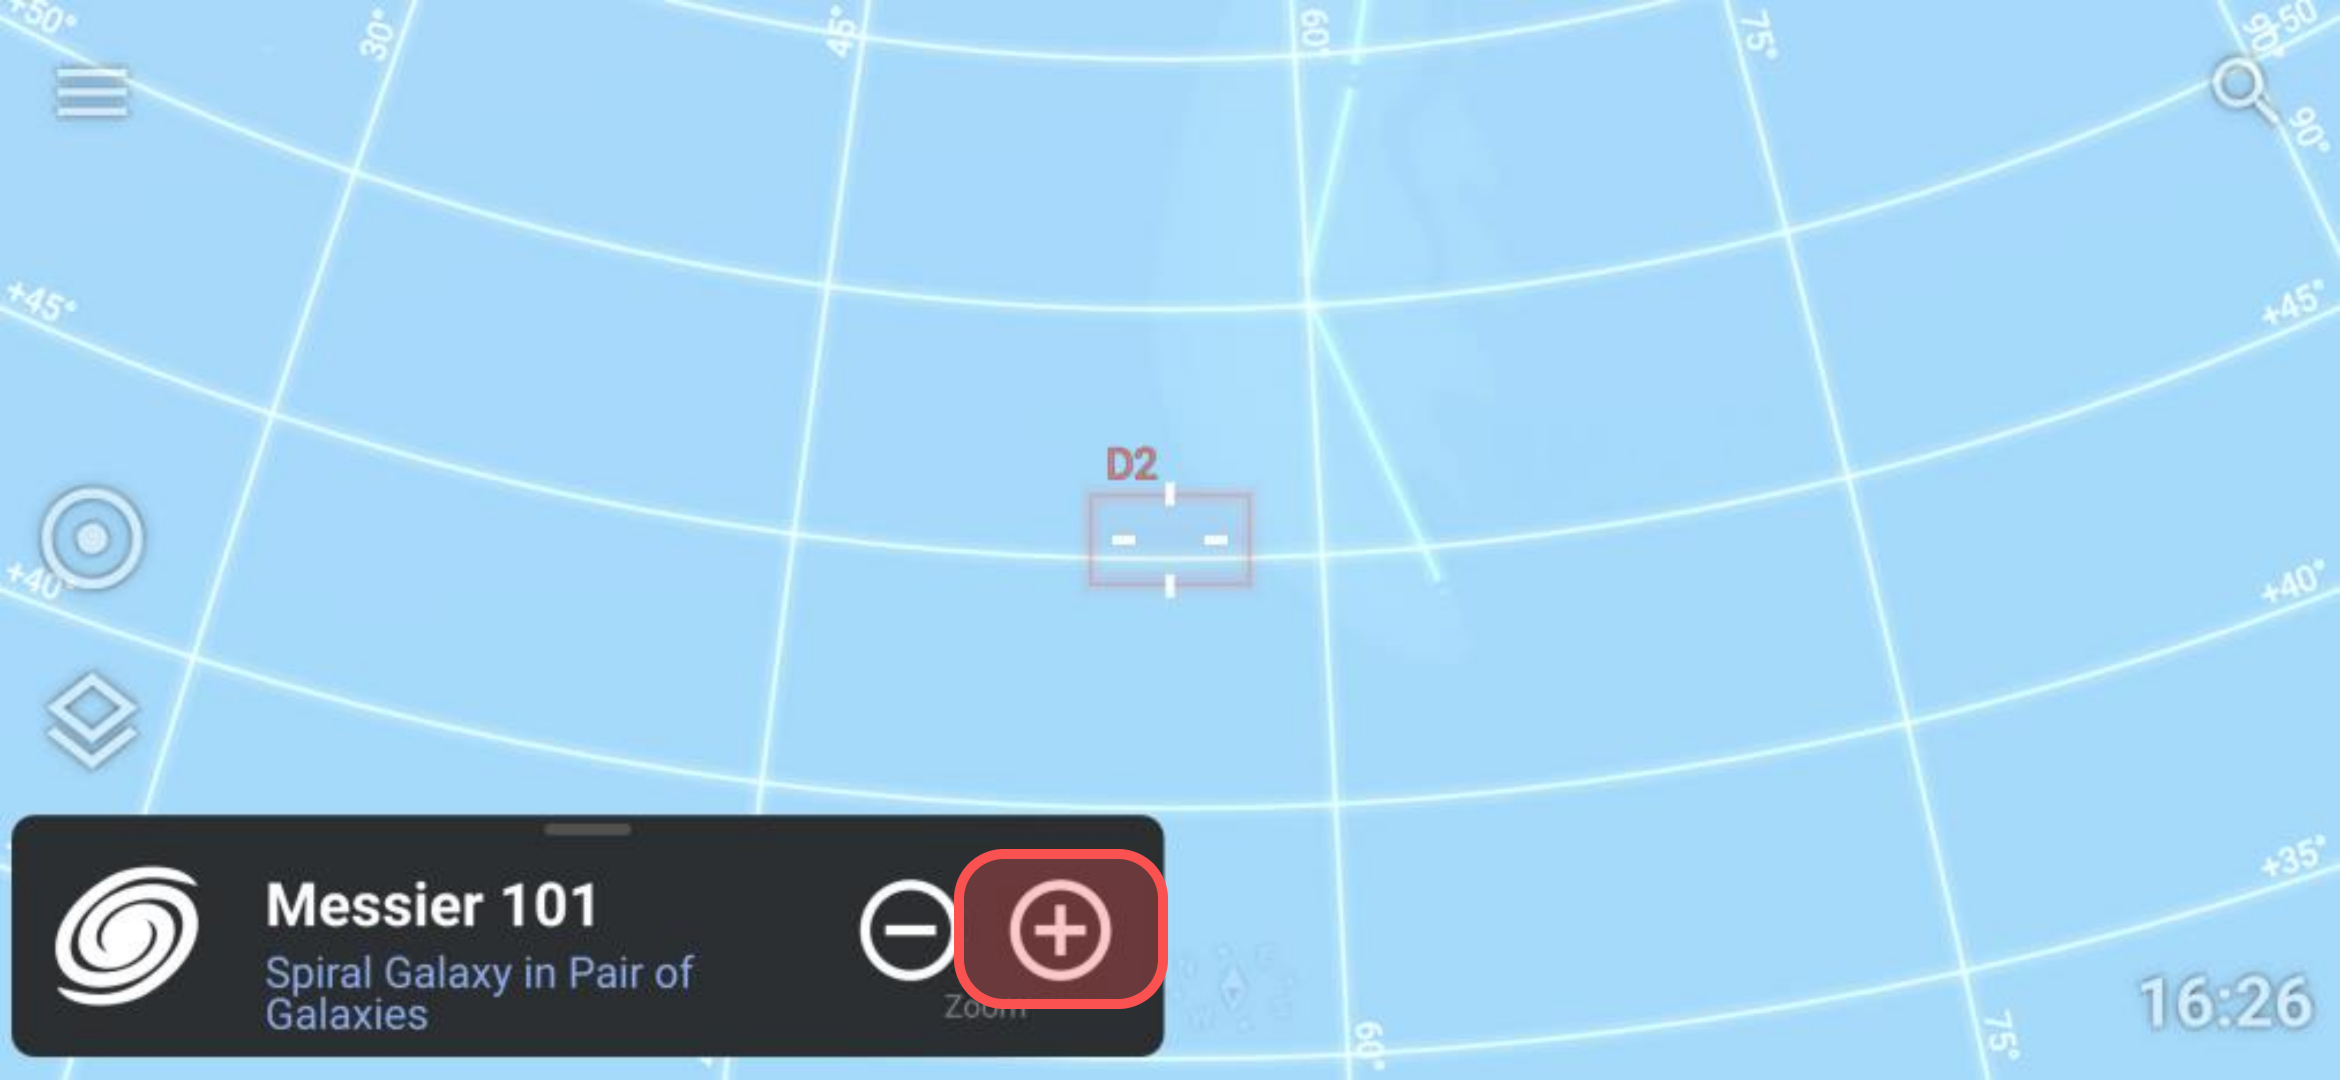
5.3 Use the Time control to go forward until it is dark 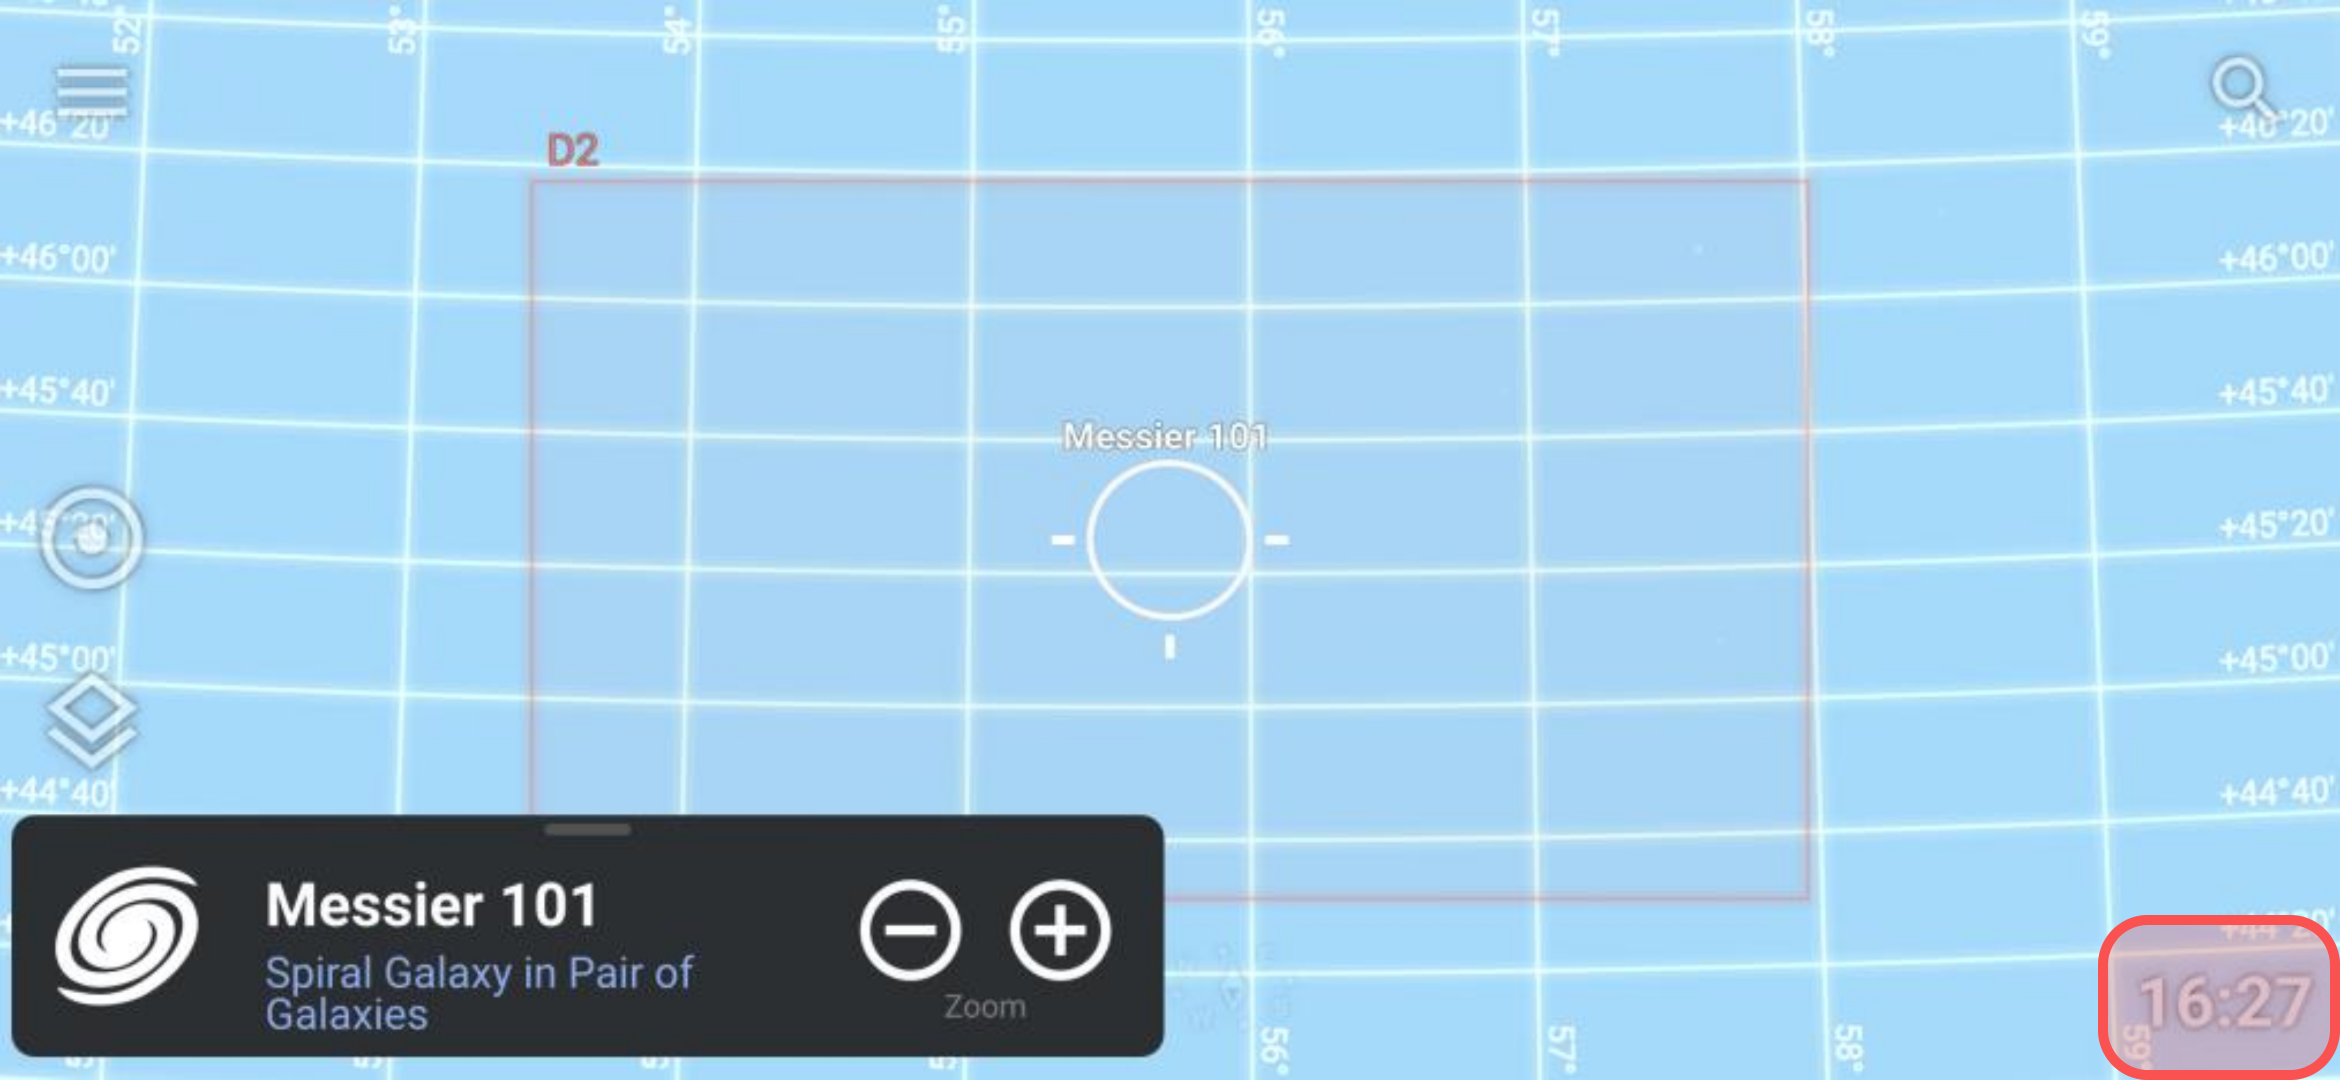
5.4 Enjoy the View!