
How to Shoot the Sun with DWARF IIUpdated 4 months ago
Welcome to the fascinating world of solar imaging with your DWARF II smart telescope!
1. Introduction and Setup
First and foremost, ensure your telescope is on a stable surface. Use your phone's built-in level, typically found within the compass app, to check that the DWARF II's tilt does not exceed 3 degrees. A proper alignment will allow the sun to stay in view for over an hour.
2. Solar Filter Installation and Alignment
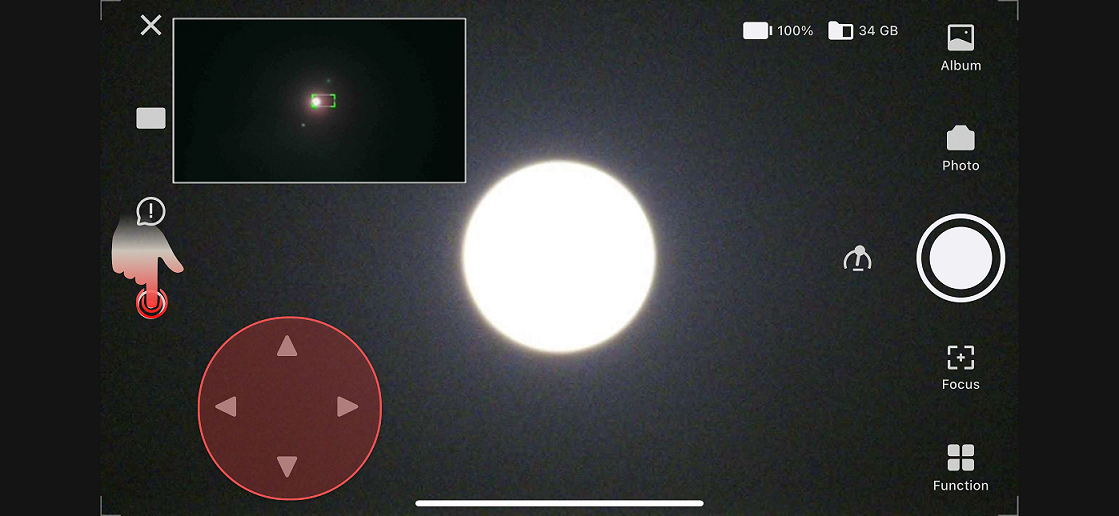
After ensuring a stable setup, the next step is to attach the ND filters for safely capturing solar images. Mount the filter holder with both ND filters attached onto the DWARF II lenses using the magnetic connection. With the filters secured, use the dual-camera sync function or the virtual joystick to move the sun to the center of the telephoto frame, preparing for the perfect shot.

3. Focusing and Parameter Settings
Achieving sharp, well-exposed solar images requires precise focusing and parameter adjustments. Use the Autofocus function for ease and accurate control. Depending on the sunlight conditions, starting settings around 1/200s exposure and 0 gain are recommended. Adjust from there to capture the sun vividly against the vastness of space.

4. Tracking and Shooting Modes
Once your DWARF II is perfectly aligned and focused, it's time to start tracking the sun.
In 'Photo' mode, press the 'Sun Track' button to begin automatic tracking. And then tap the 'Shoot' button to take pictures of the Sun. If you want to capture dynamic footage of the sun, you can select the 'Video' mode.
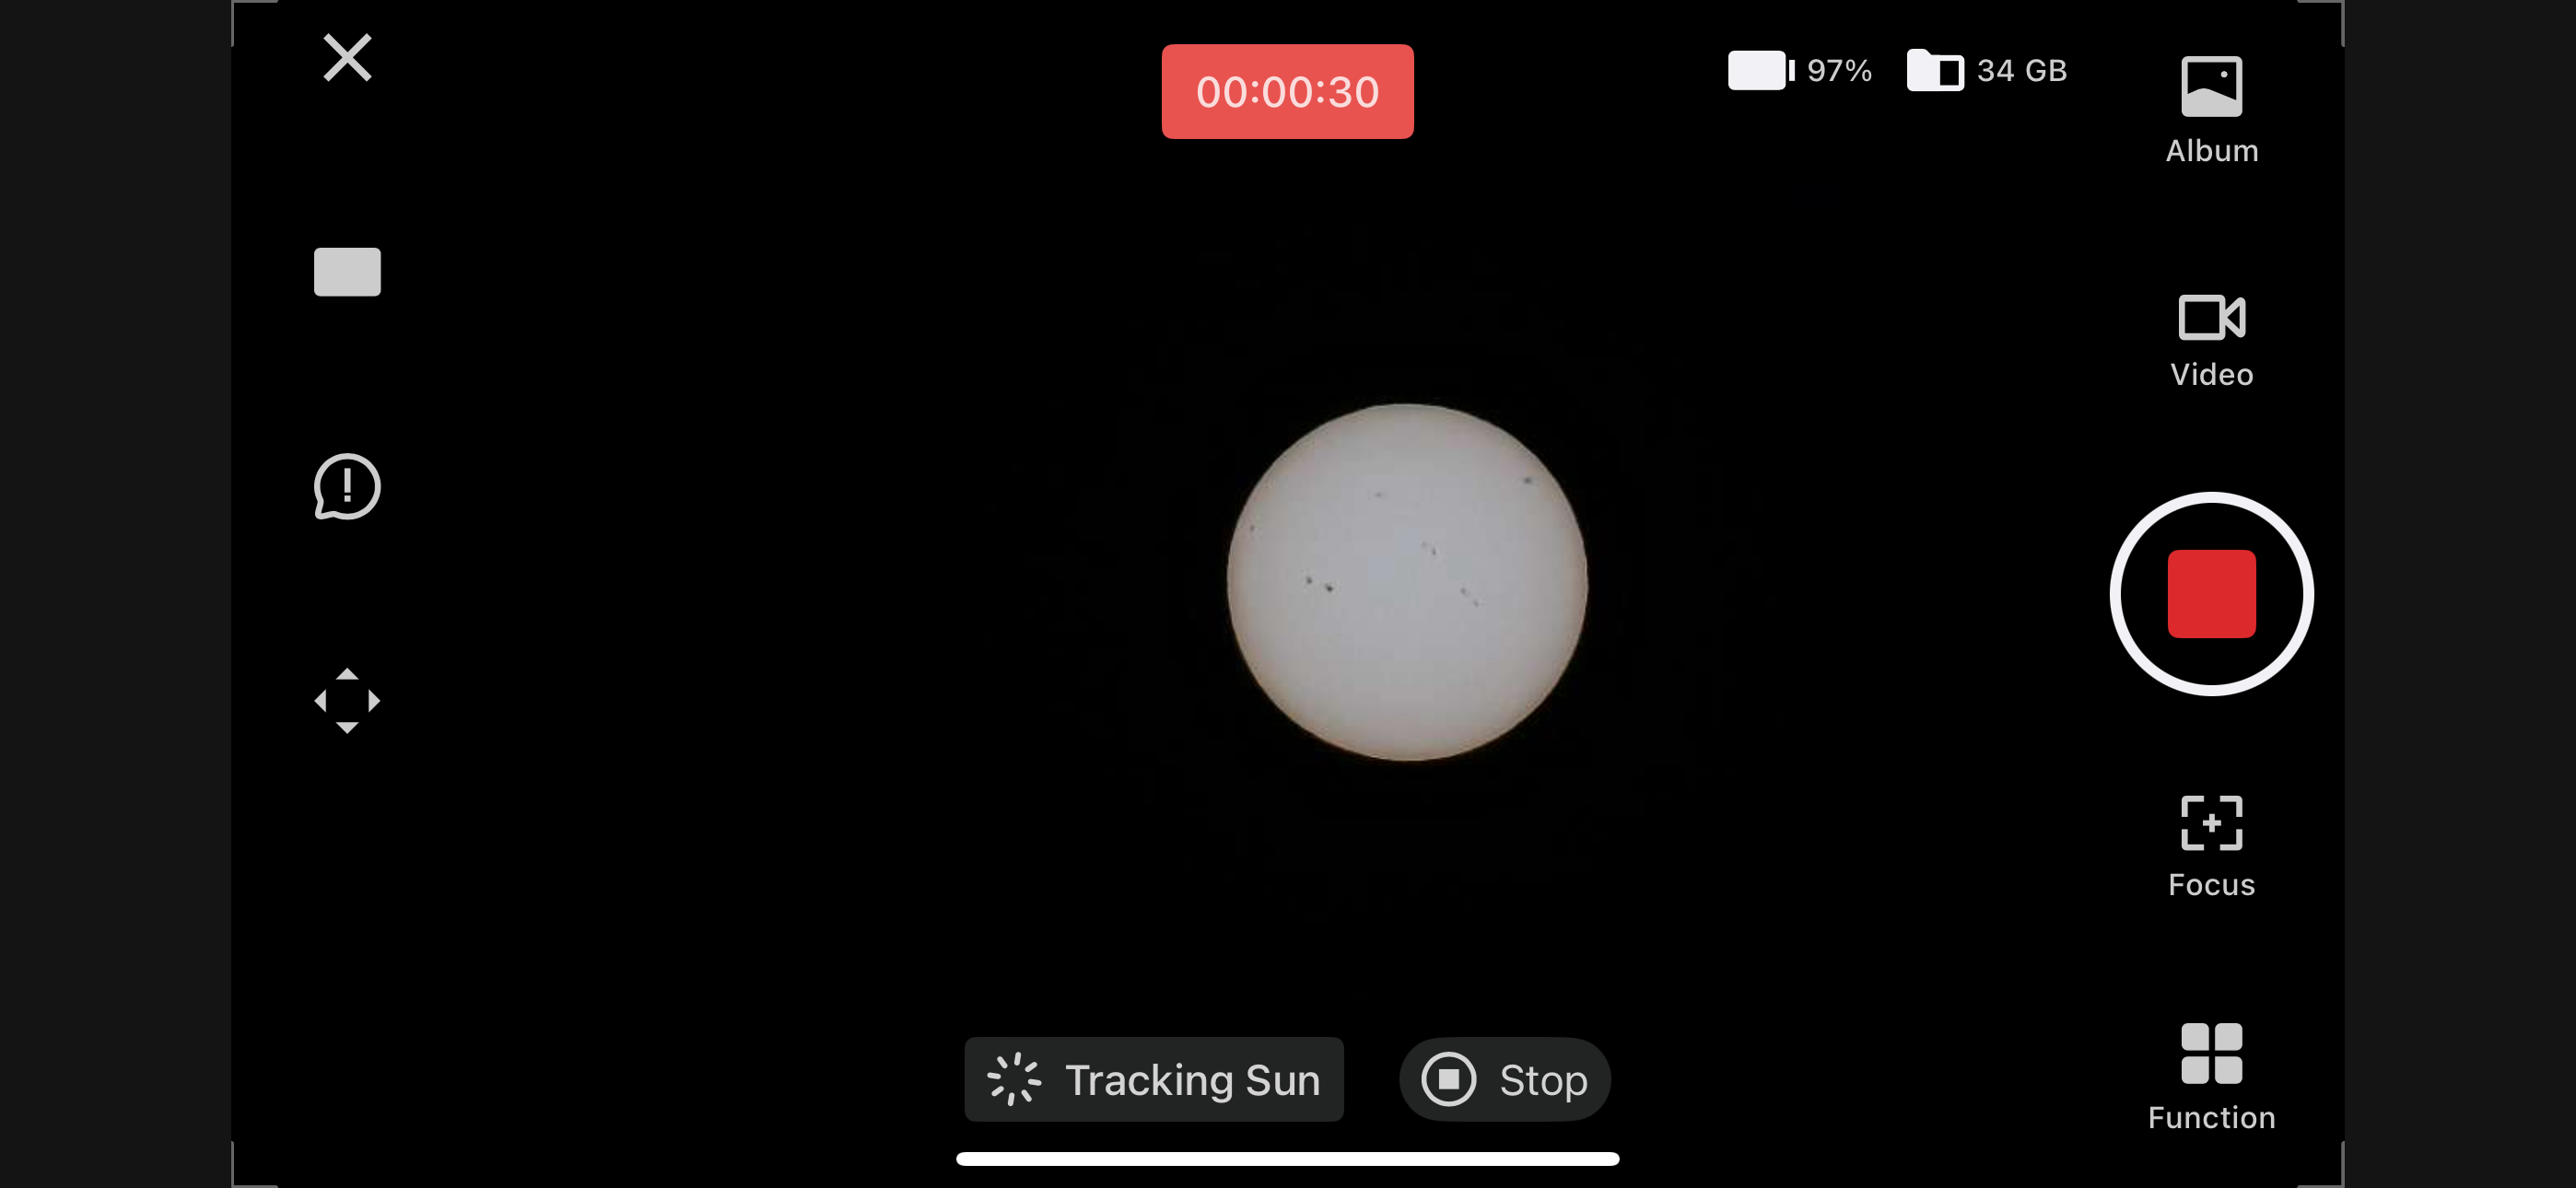
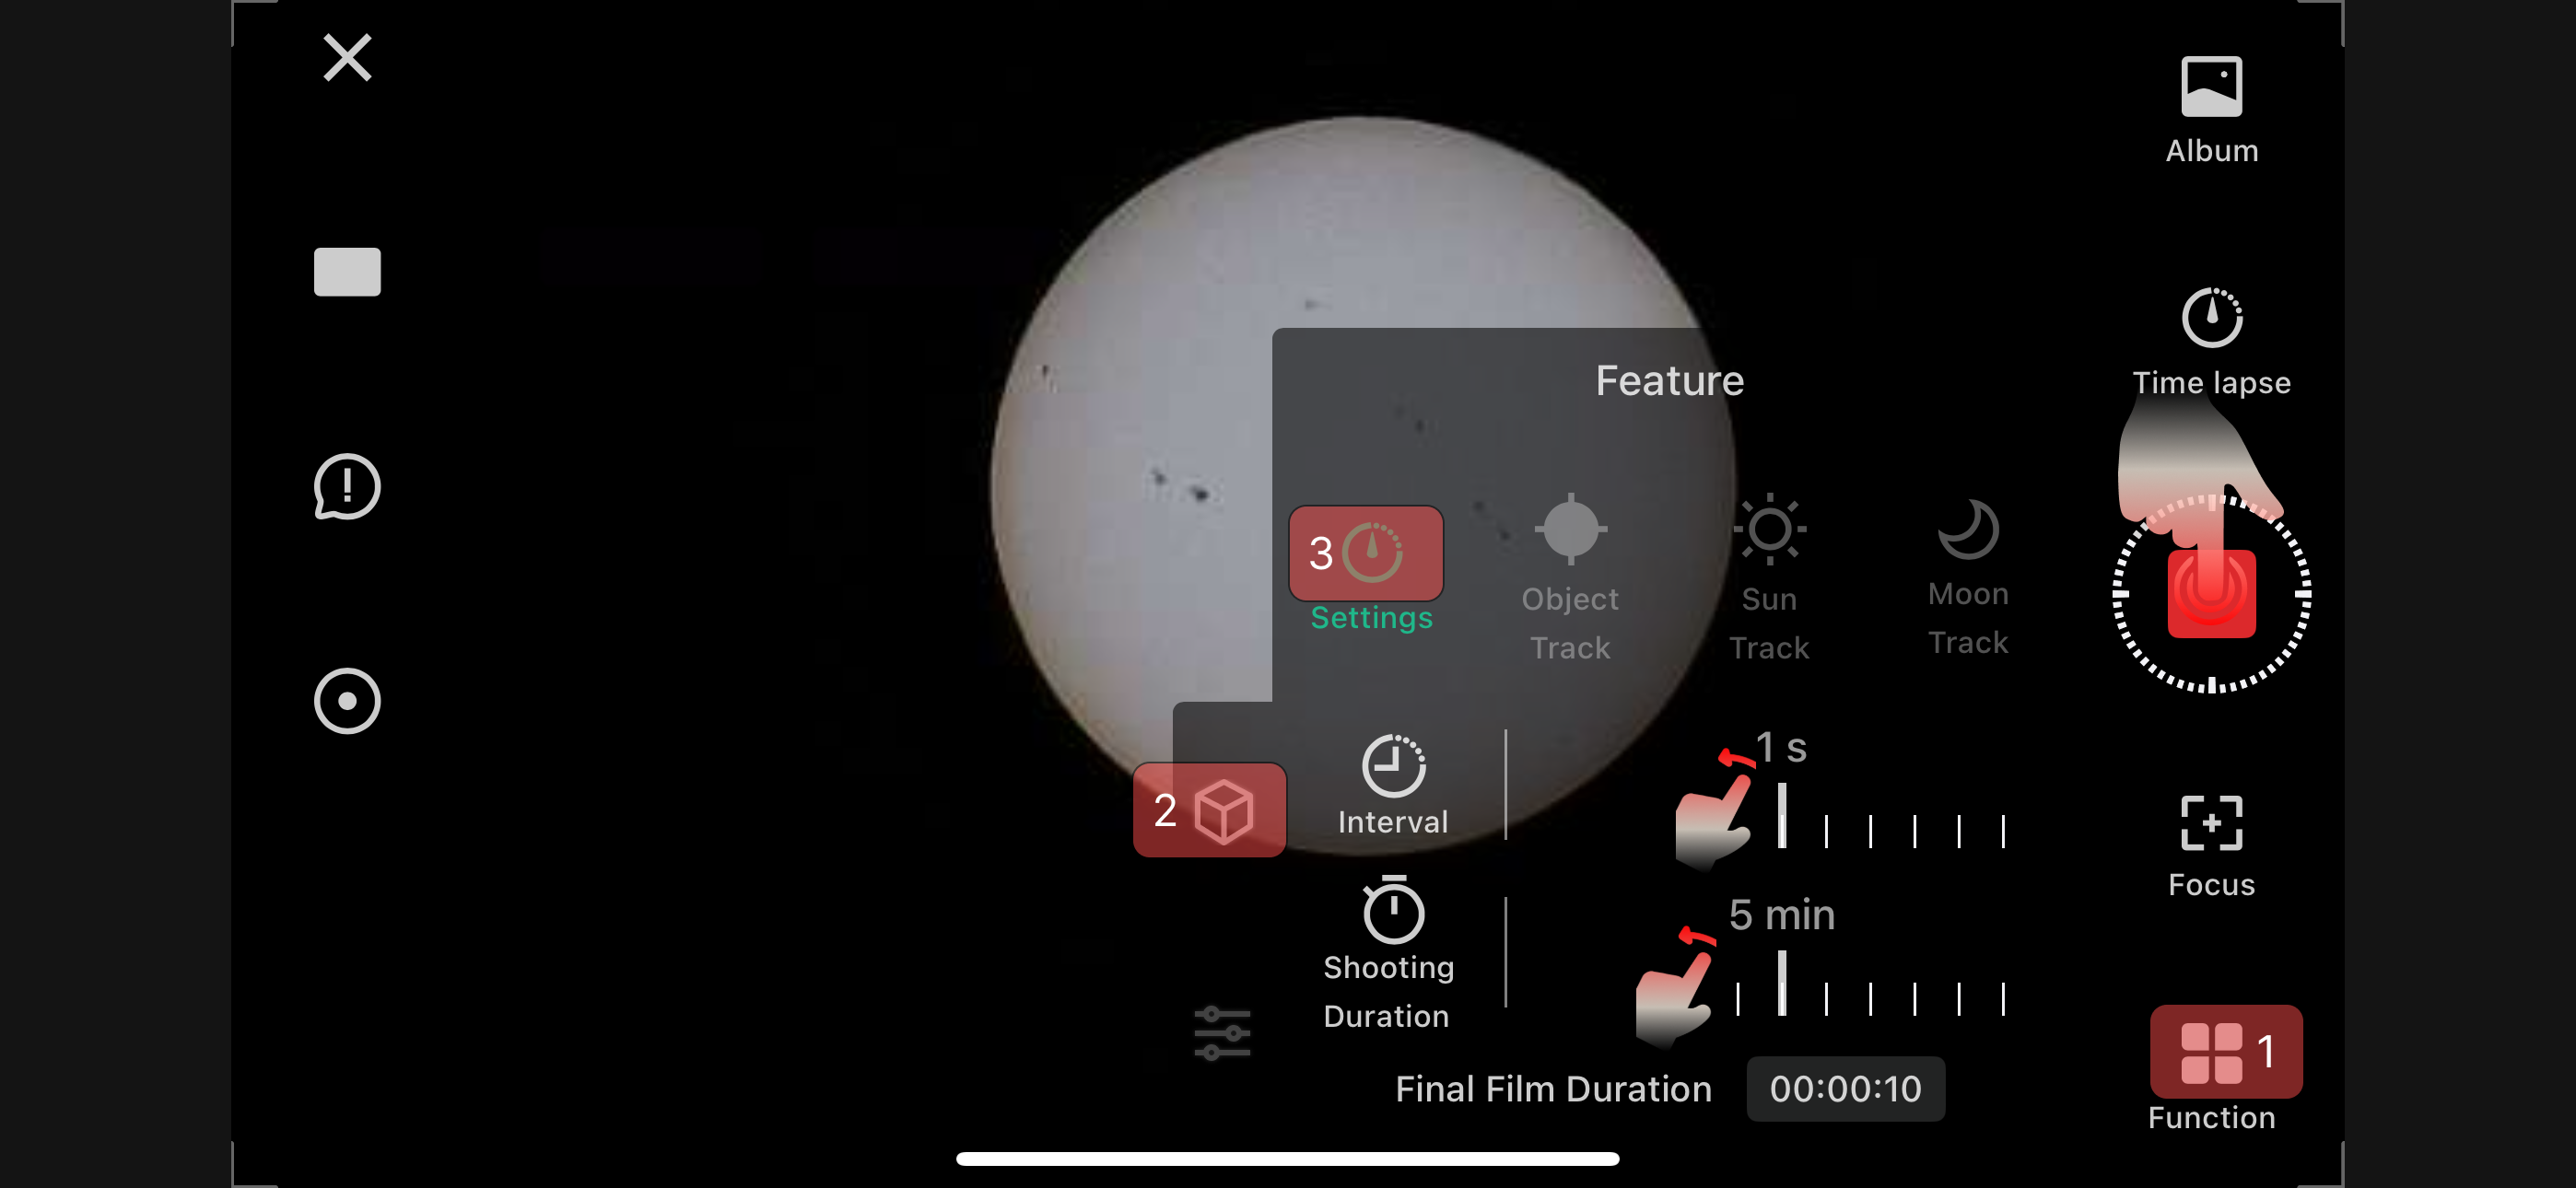
And if you want to record the sun's movement over time, you can choose 'Time Lapse' mode.
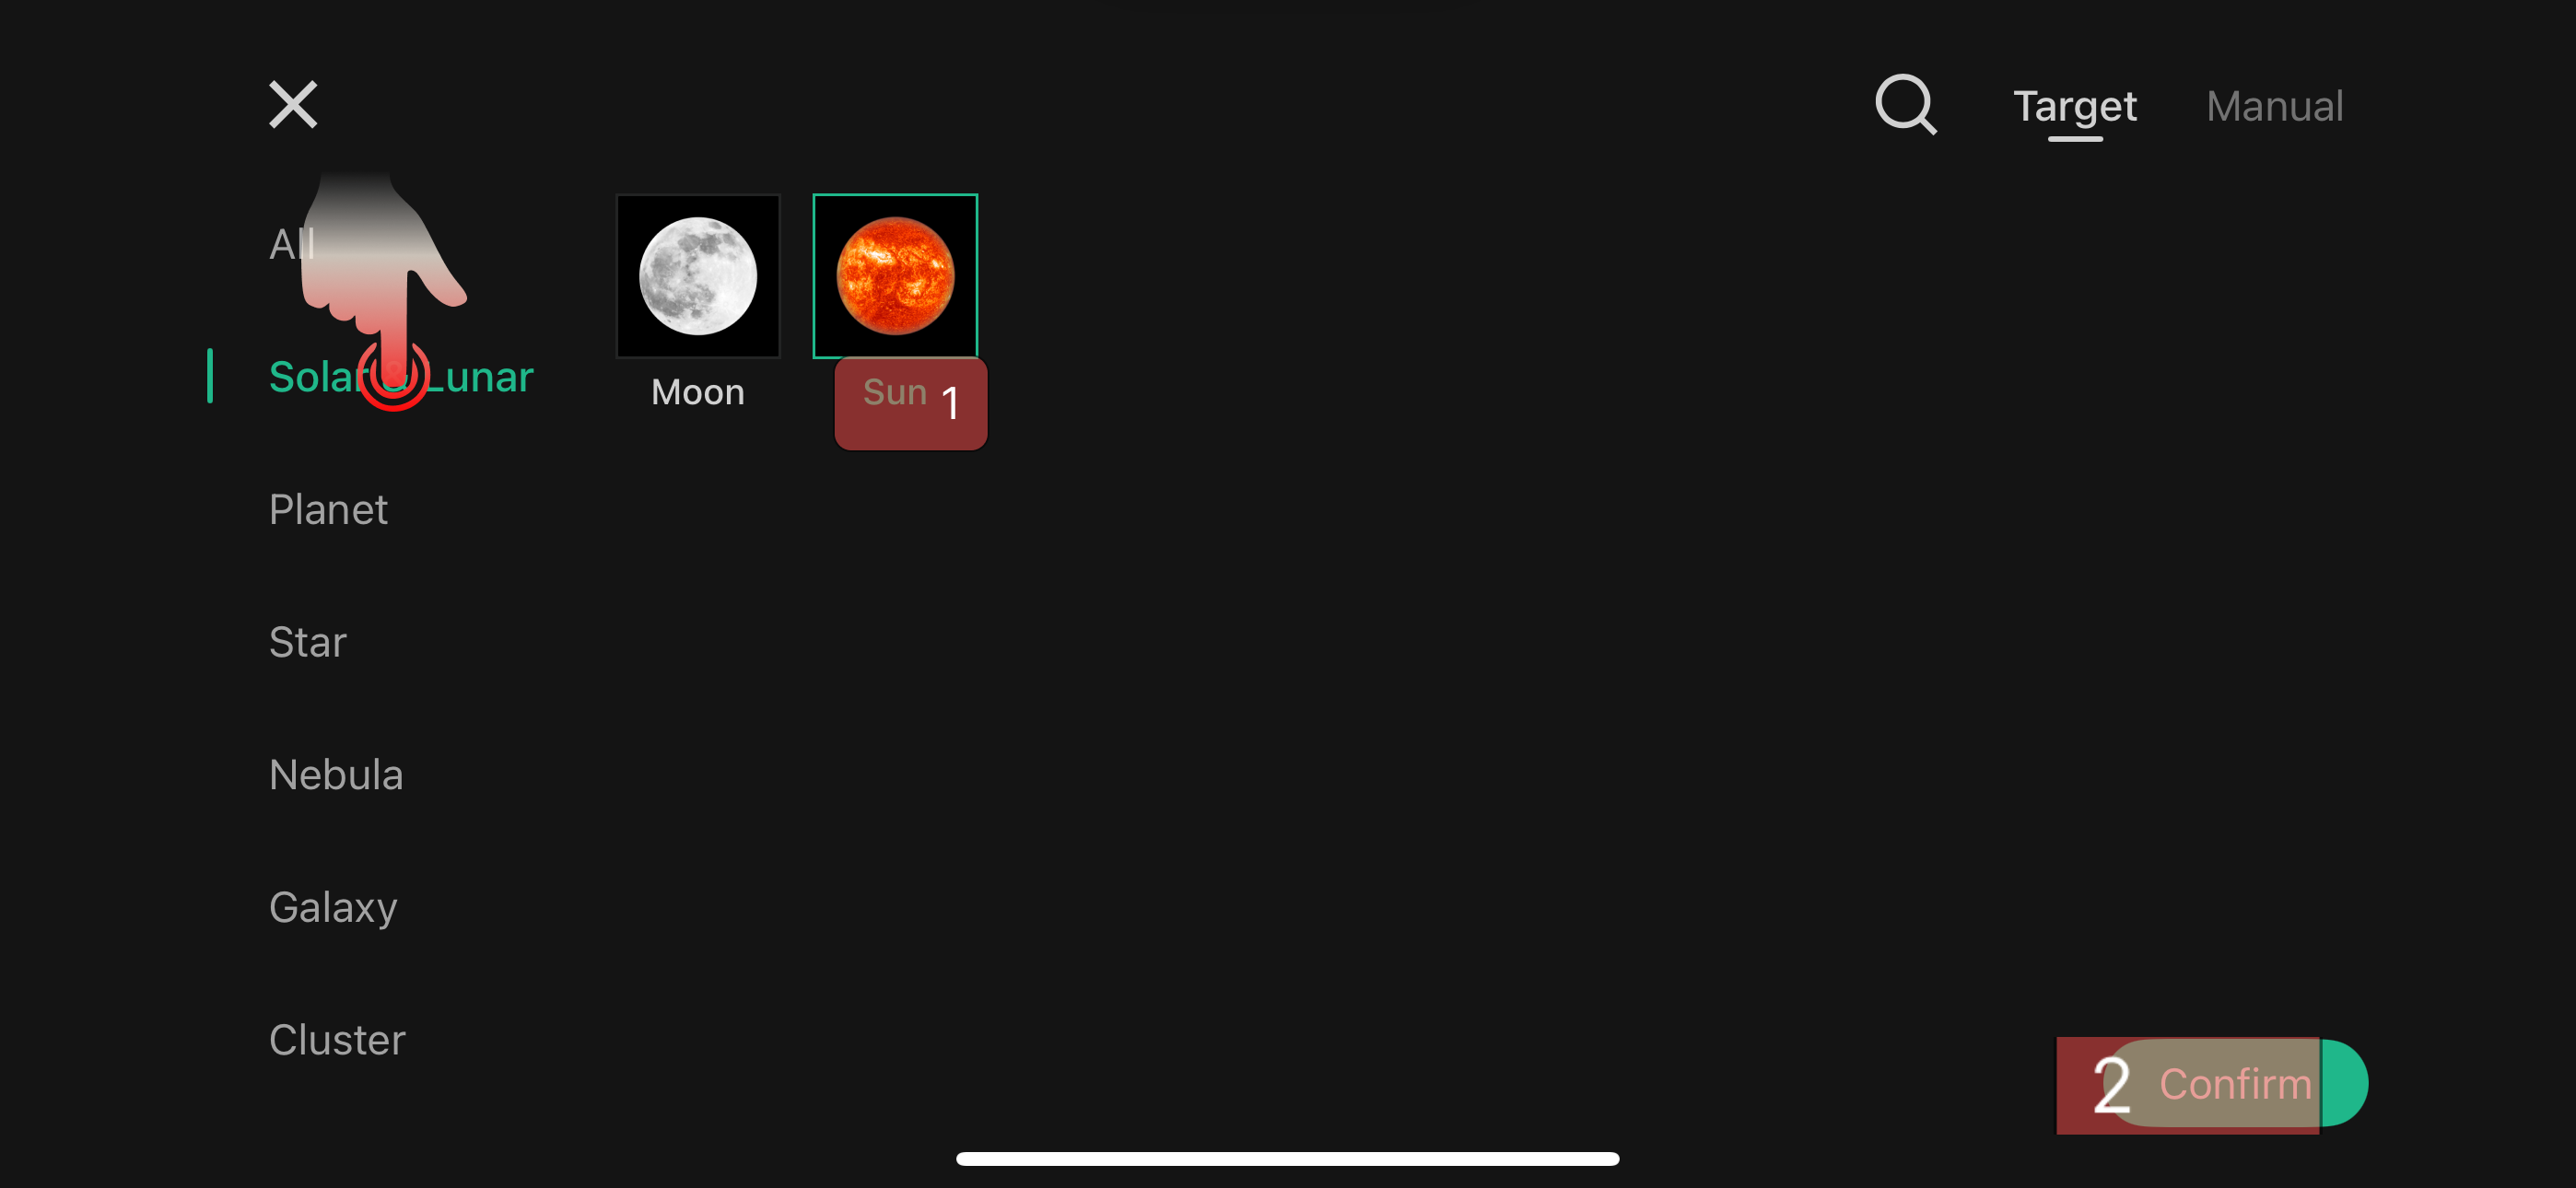
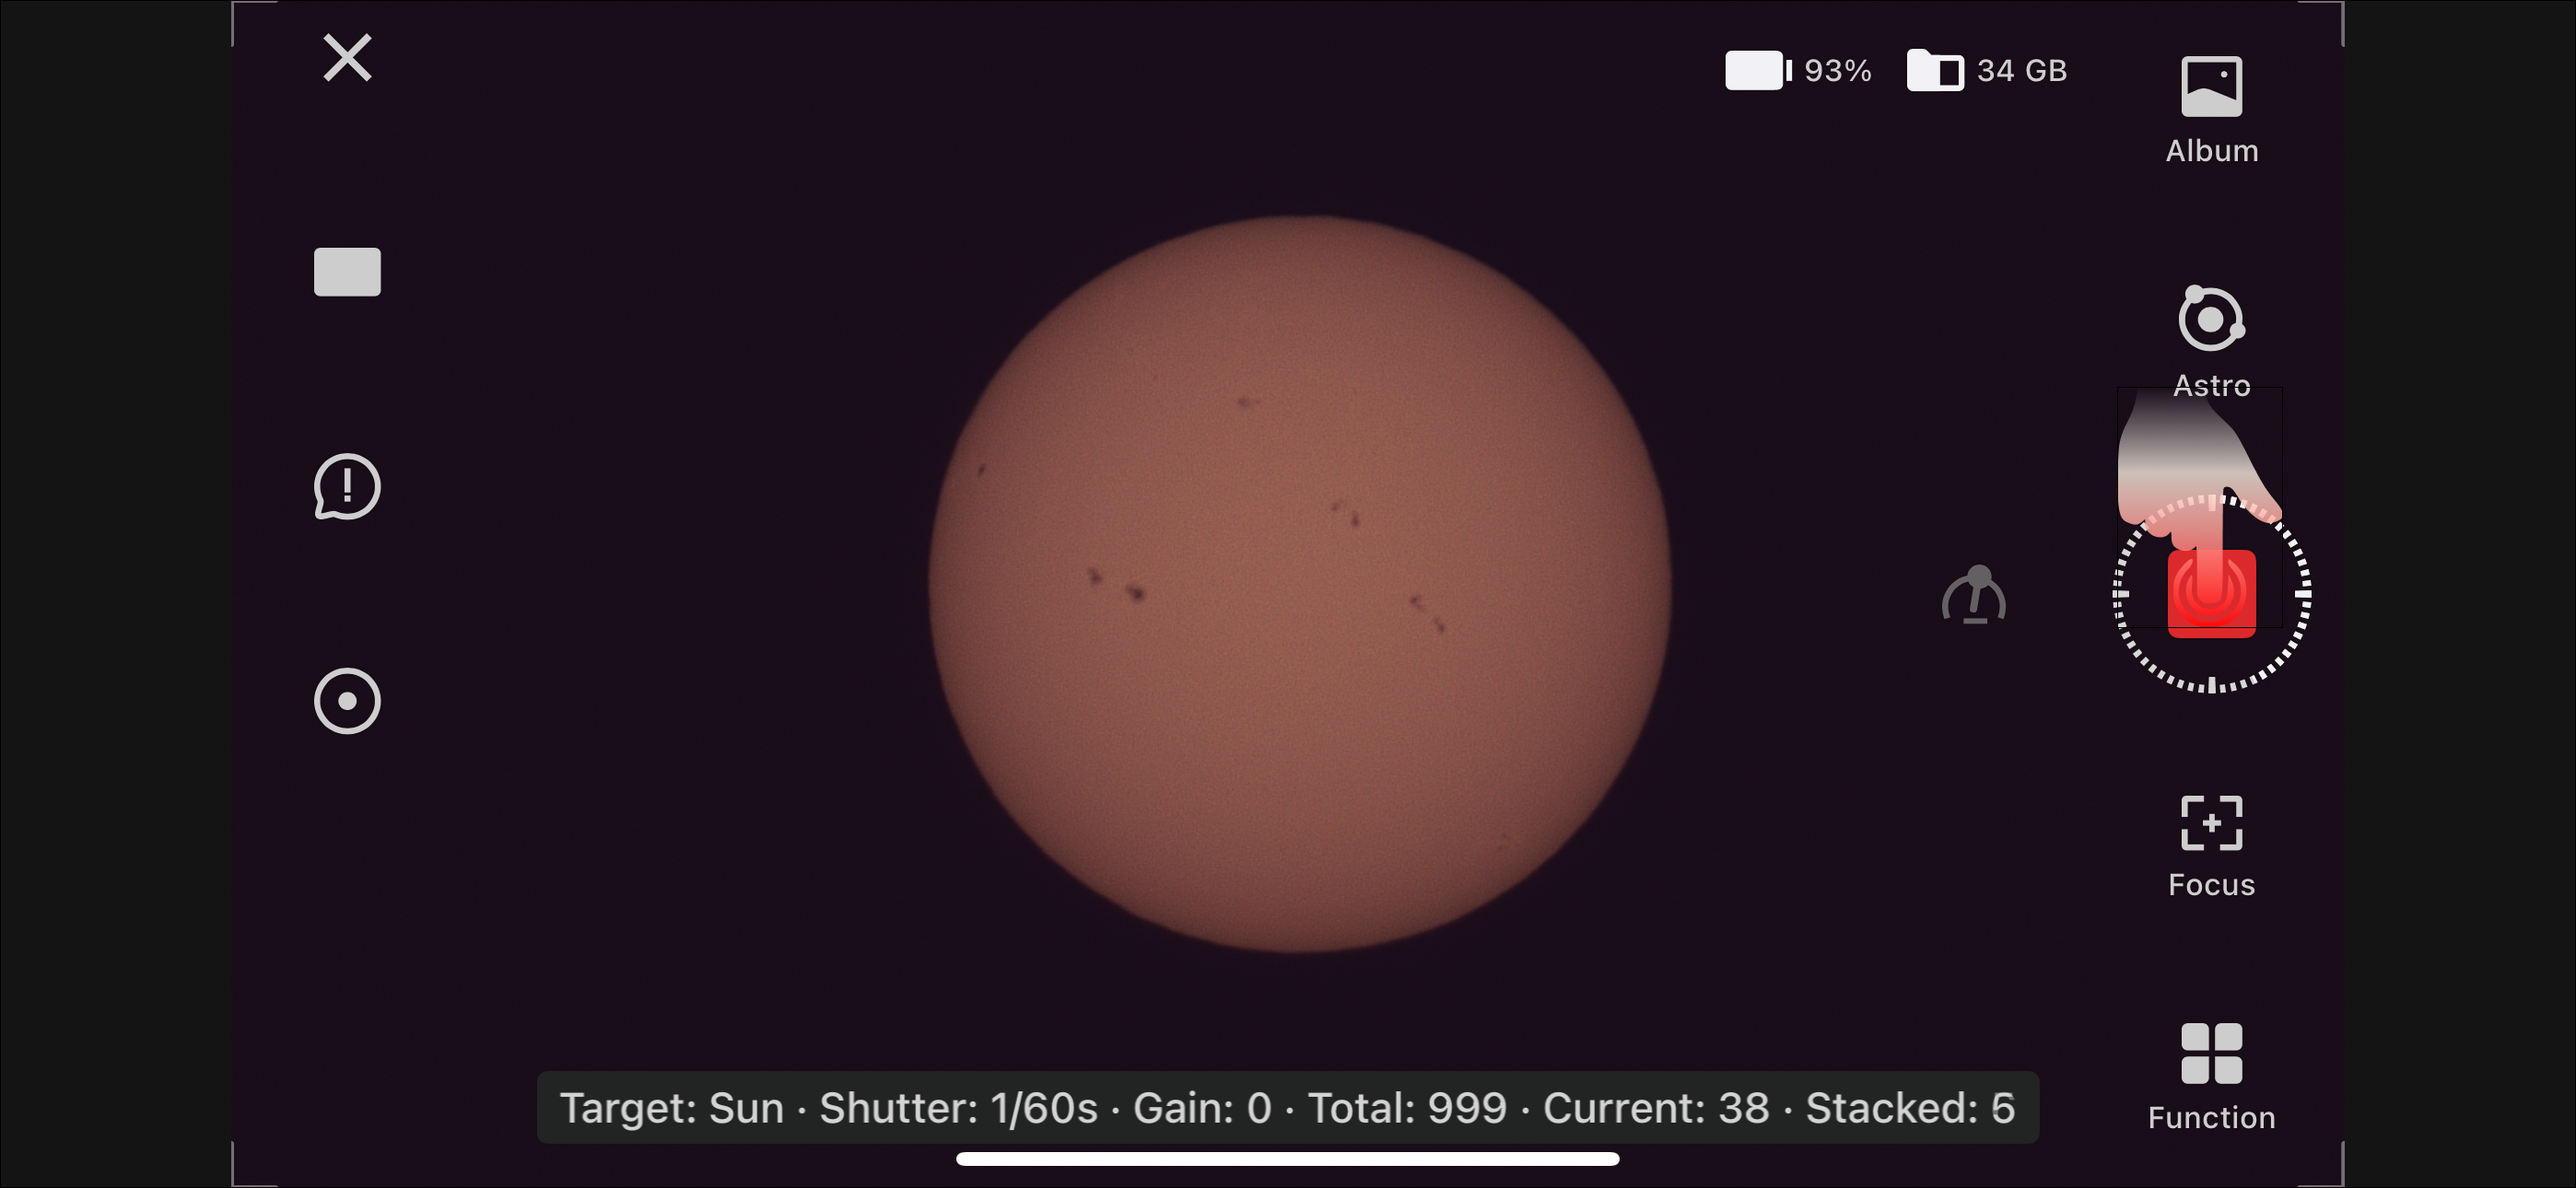
 If you want to take a detailed image of the sun, it's recommended to shoot in 'Astro' mode.
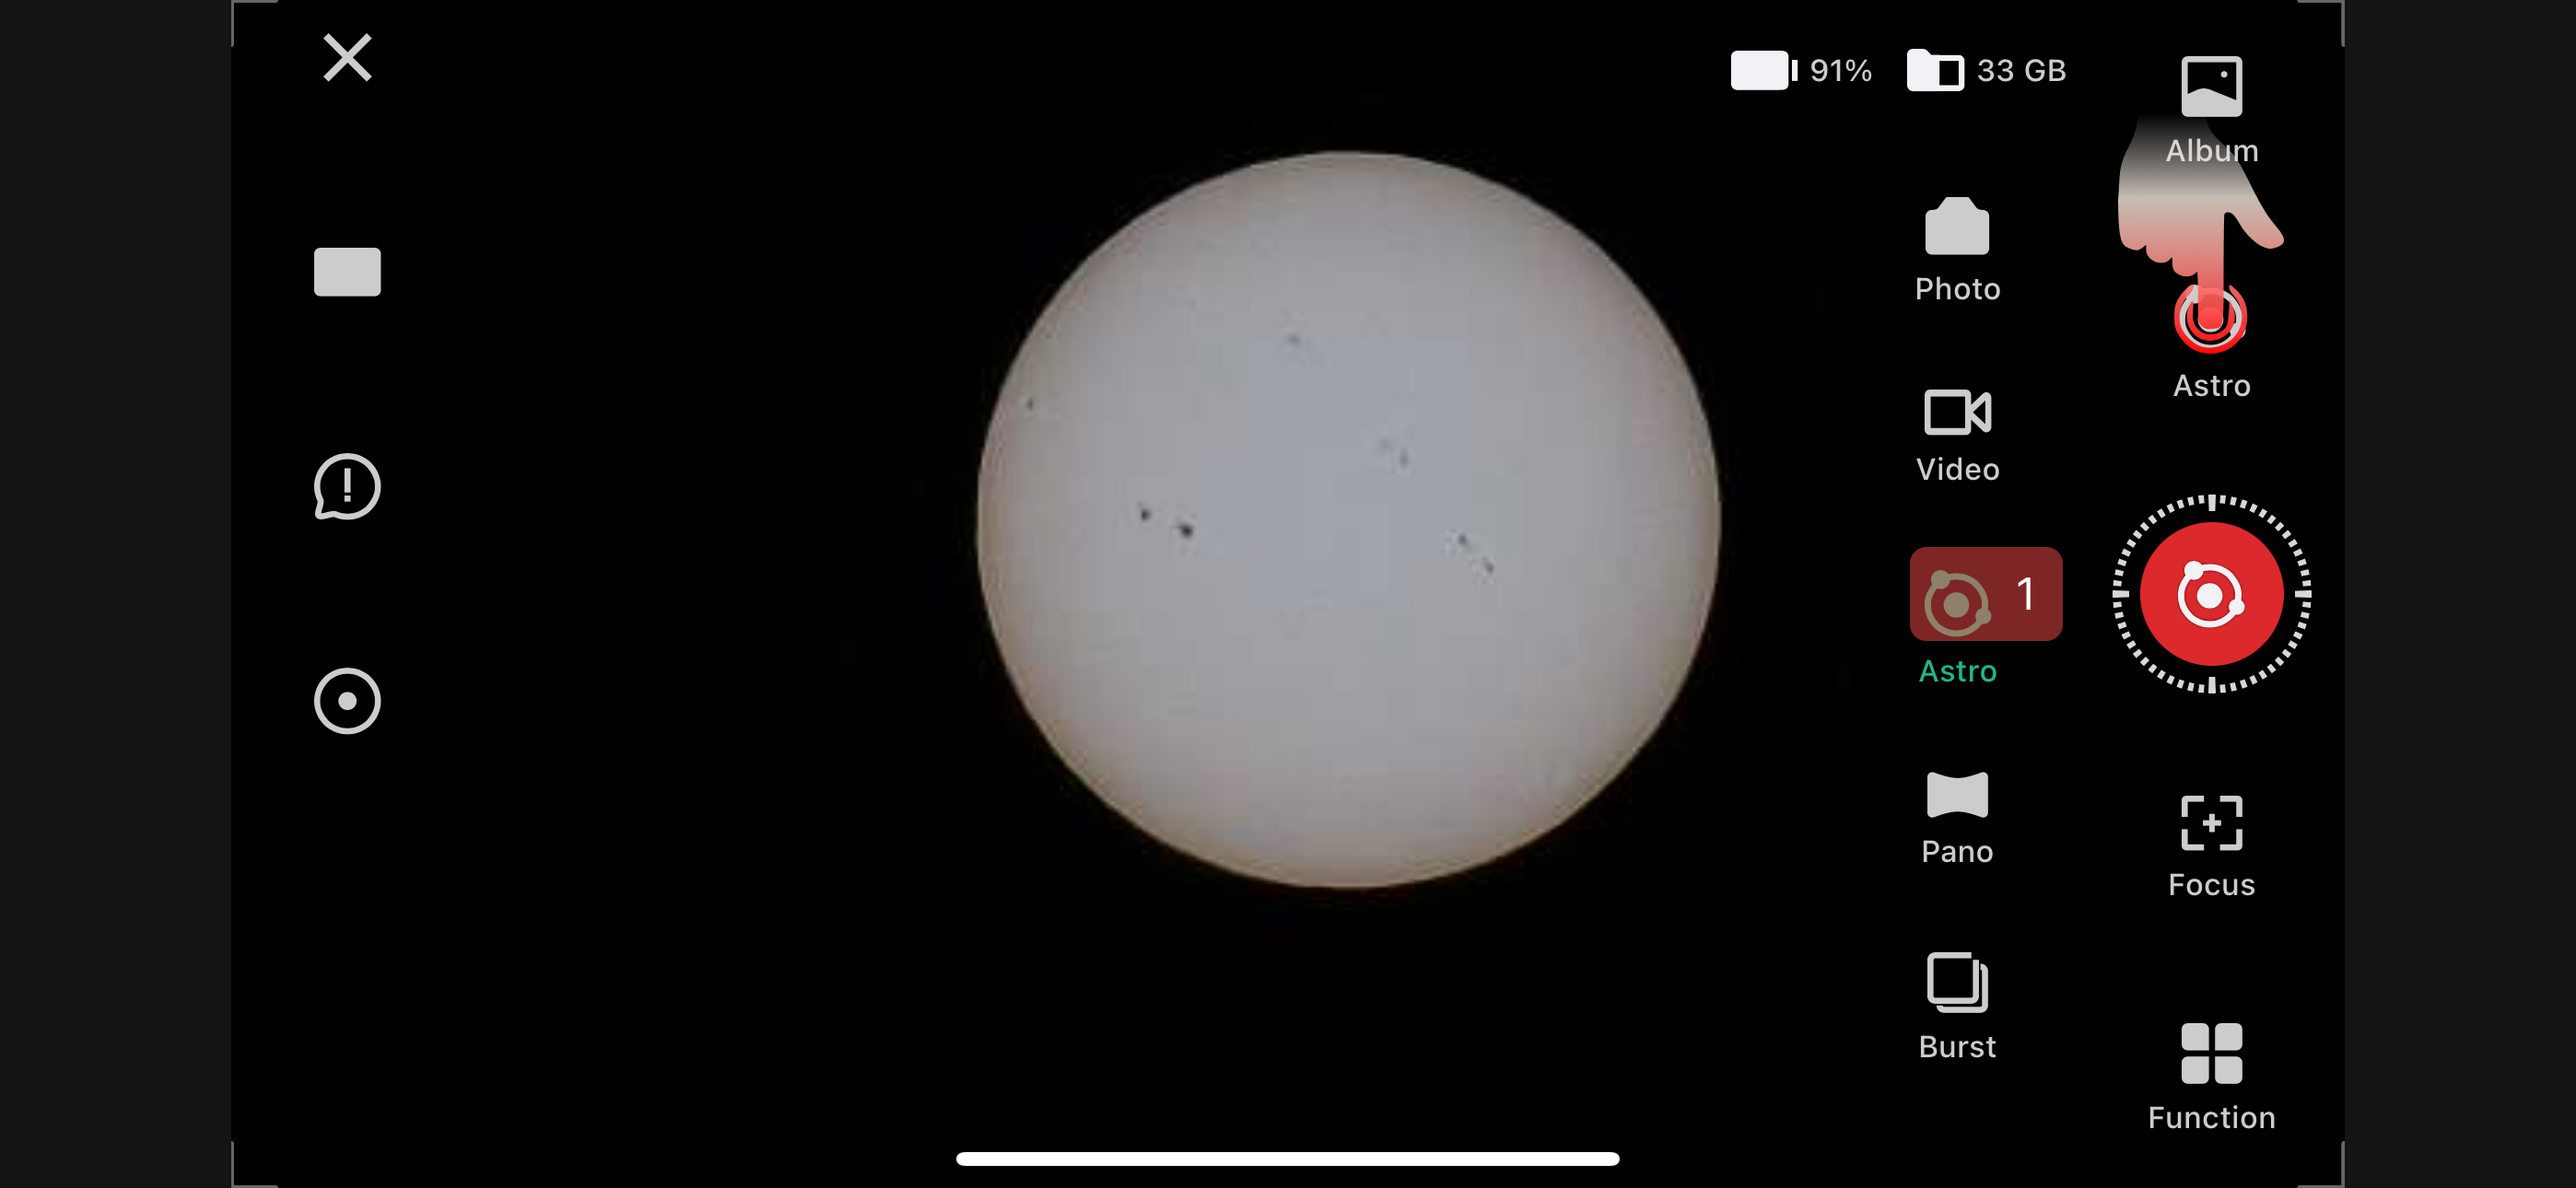

Each mode is easily accessible and designed to enhance your solar photography experience. Go capture your first stunning image of the sun!