
Creating panoramic stitched images on a computerUpdated 4 months ago
The logic for creating panoramic stitched images on a computer is as follows:
- Download and install ICE software.
- Insert the microSD card with the panoramic photos into the computer.
- Import the panoramic photos you want to stitch in the ICE software.
- Set the stitching parameters in the ICE software and start stitching.
- After stitching is complete, export the final panorama image.
Note:
- Please update DWARF II to version 1.3.24 before using the app to shoot panoramic photos, so that you can stitch the images on your computer according to the tutorial.
- If you want to stitch images of 3840*2160 on your computer, please turn off the binning mode in the camera settings before starting to shoot panoramic photos.
- Panoramic photos can only be previewed on your phone and cannot be saved.
- In the future, a framing function will be added to the panoramic feature.
1. Creating panoramic stitched images on a computer
1.1 Click here Download and install Image Composite Editor(ICE) software.

1.2 Insert the SD card with the panoramic photos into the computer.
1.3 Import the panoramic photos you want to stitch into ICE software.
Open the ICE software and click on the "From Images" button.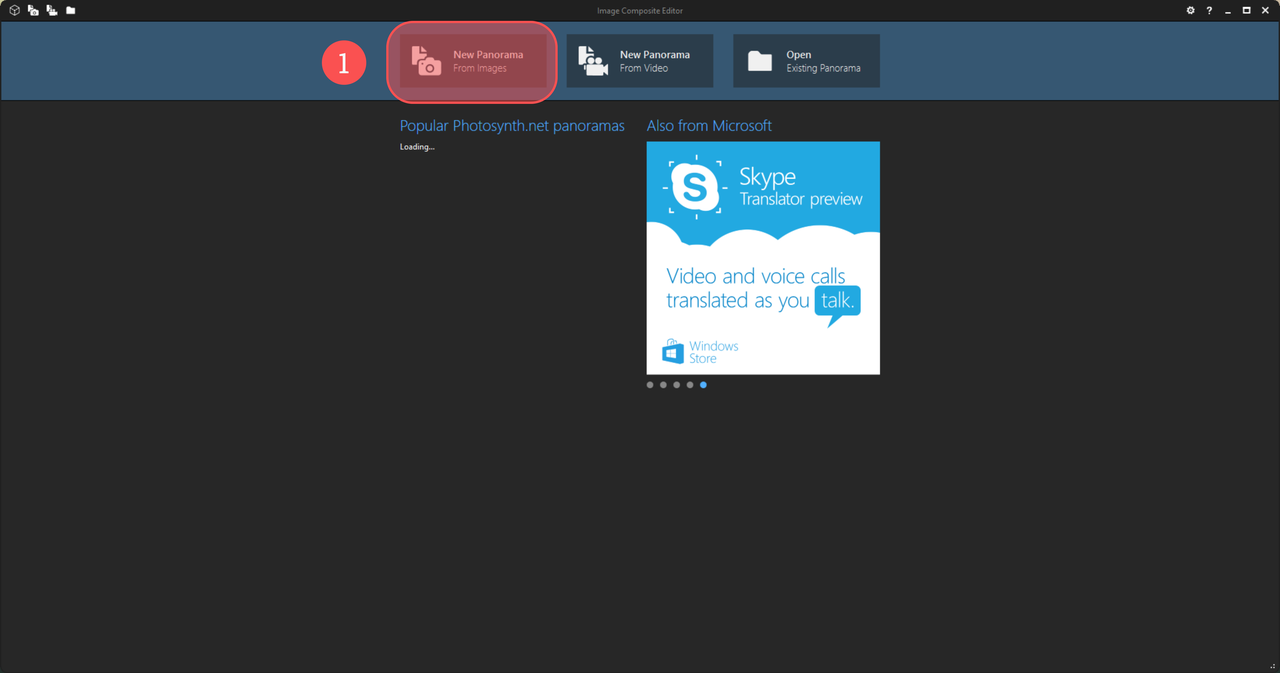
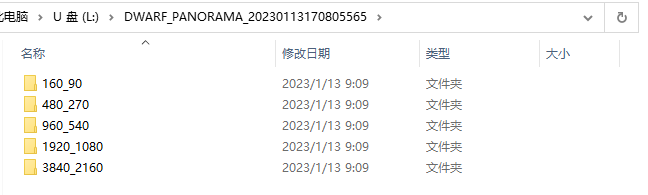
Find the panorama folder just created under the card root directory, go to one of the five folders, then select all the panorama photos, and click the "Open" button. *There are five resolution options available for panoramic images. You can select one of the resolutions you want.
1.4 Click on "Structured panorama" to enter the settings interface.

- Click on "Auto-detect" and select "Rotating motion" mode.
- In the "Initial corner and direction" section, choose horizontal stitching.
- Select "Zigzag" mode.
- Modify "Columns" to the value set when taking the photos and press enter (for example, if the value was 41, enter 41 here).
- Click on the "Auto overlap" button.
- Click on the "NEXT" button.

Starting the stitching process:
At this point, the software will wait for some time to complete the process. The waiting time depends on the computer specifications, the number of images, and their resolution. To give you an idea, stitching 1025 images at a resolution of 1920*1080 took 26 minutes and used 100% of the memory, 50% of the CPU, and peaked at 50% of the GPU usage. It is recommended to have a computer with larger memory and storage space to handle larger stitching jobs. For reference, the computer used for testing had the following specifications:
- CPU: Intel i5-12400F
- Memory: DDR4 3200MHz 16GB
- GPU: NVIDIA GeForce RTX 3060 12GB


1.5 Exporting the Image.
You can modify the size and file format of the image according to your needs. Once you have made the necessary changes, click on "Export to disk", select the save path, and save the image to export it.
