
Using Telescopius to Preview Field of View with DWARF II TelescopeUpdated a year ago
There is a well known website called "Telescopius" used to preview the field of view resulting from the usage of a particular setup. This guide will help you use this website to understand how big or small will be the space objects photographed with the Dwarf II.
This article was written by Dorigatti Alessandro.
Please follow the steps below to set up the website:
- Click and login to this website: https://telescopius.com/.
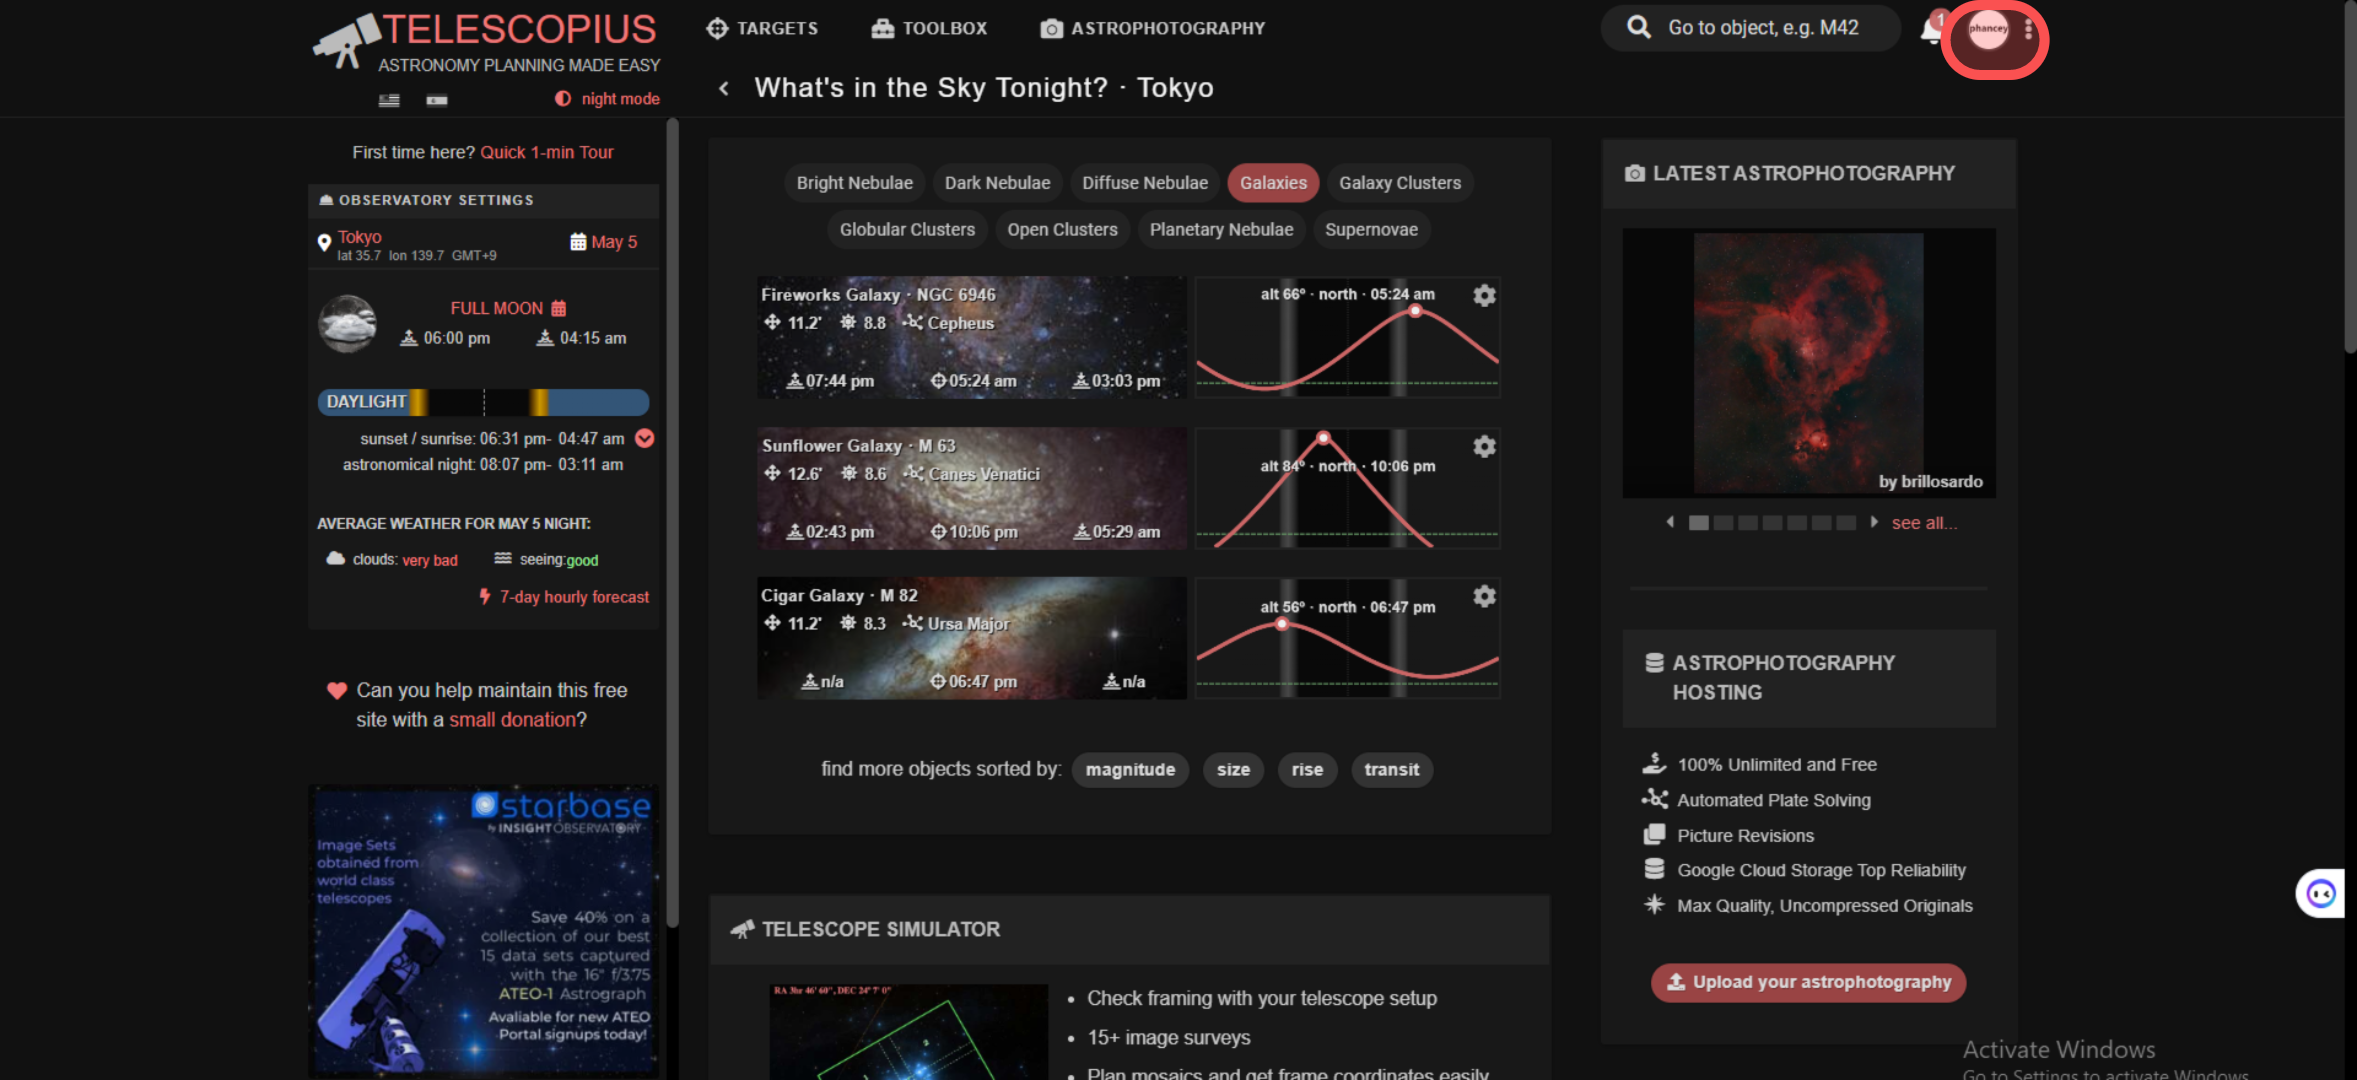
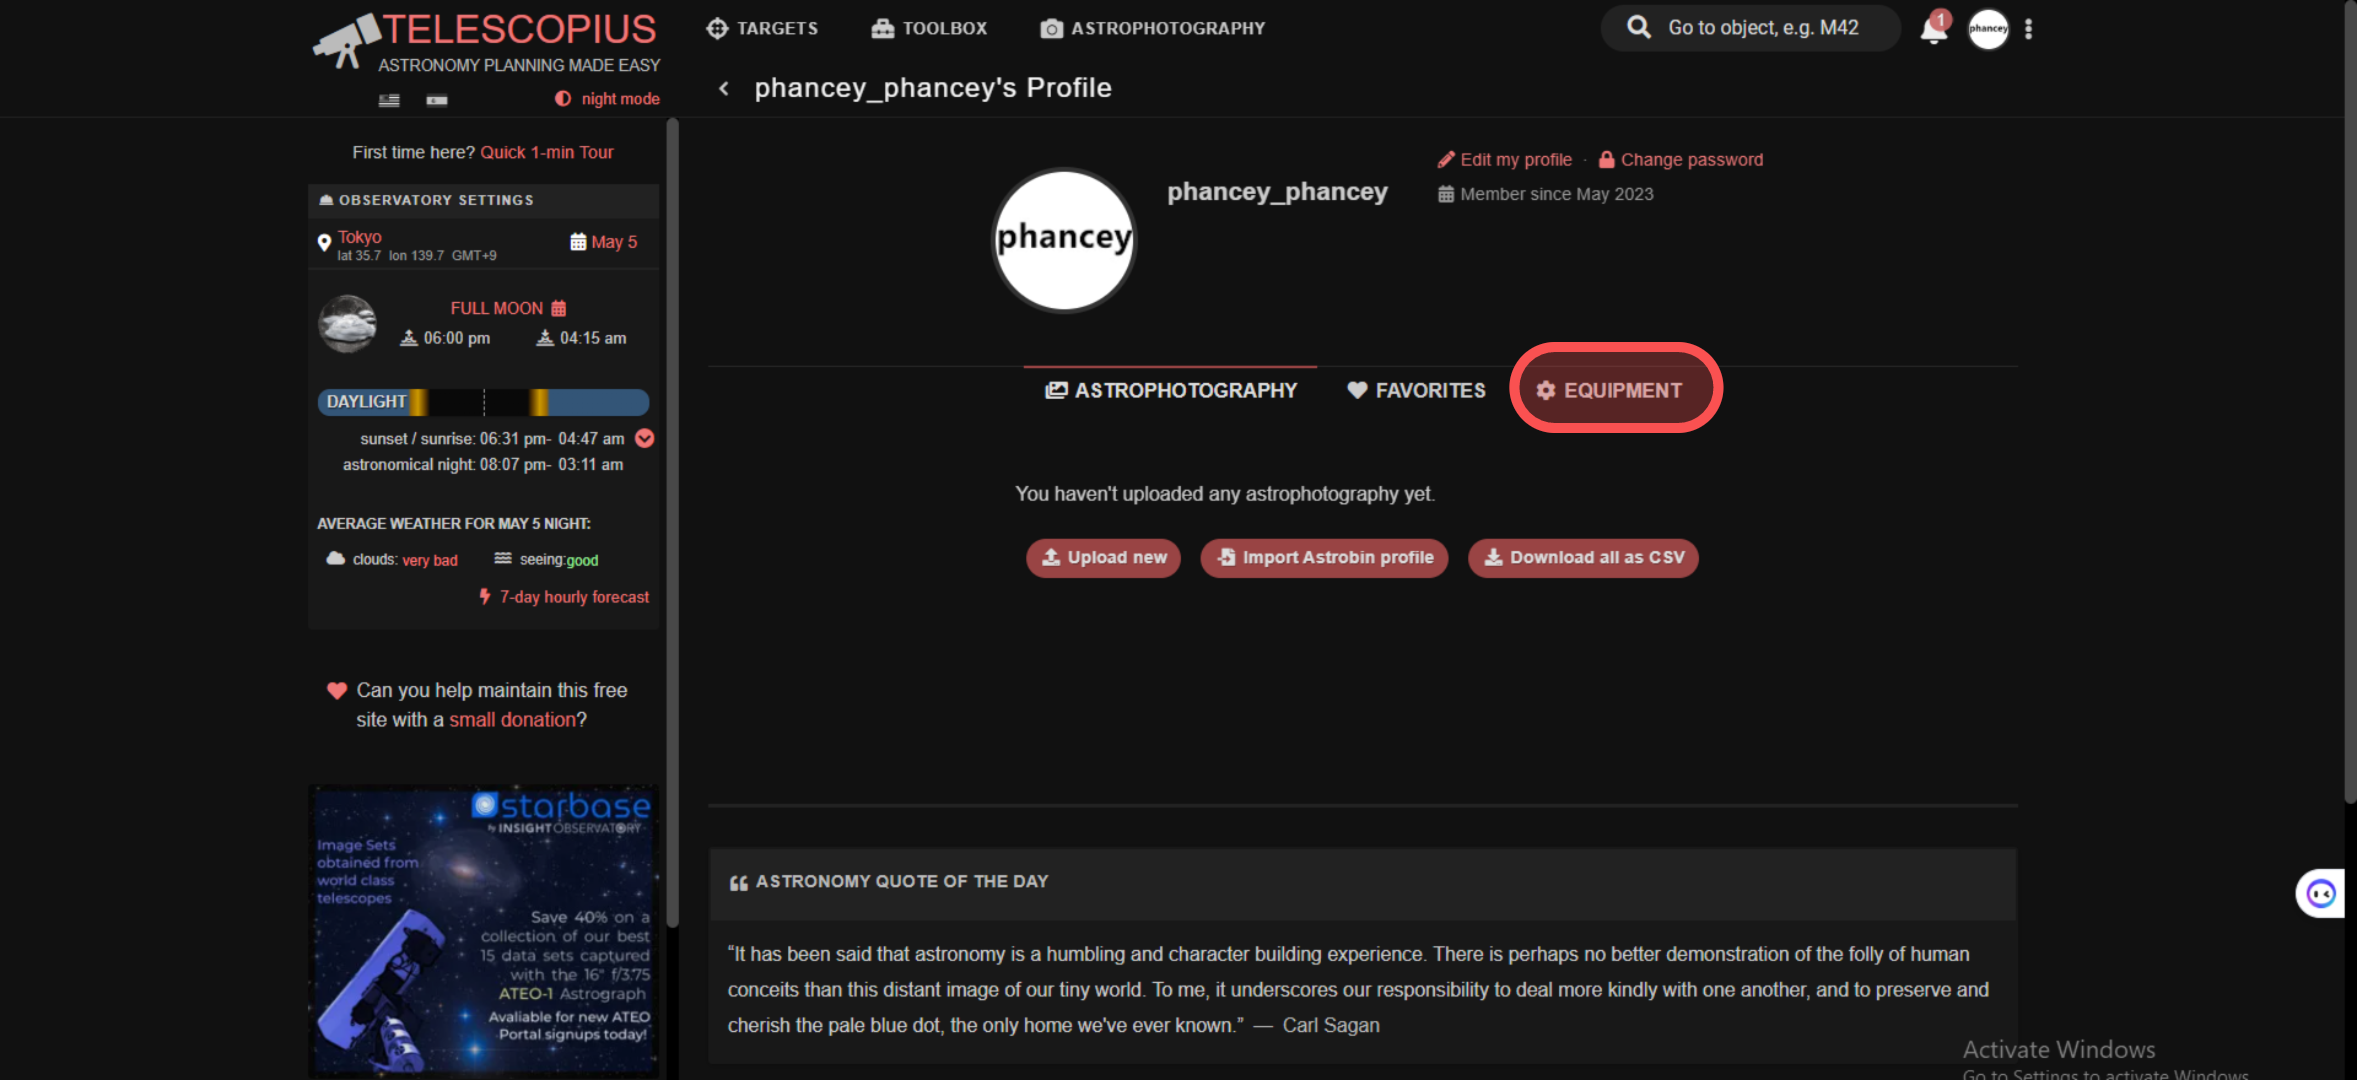
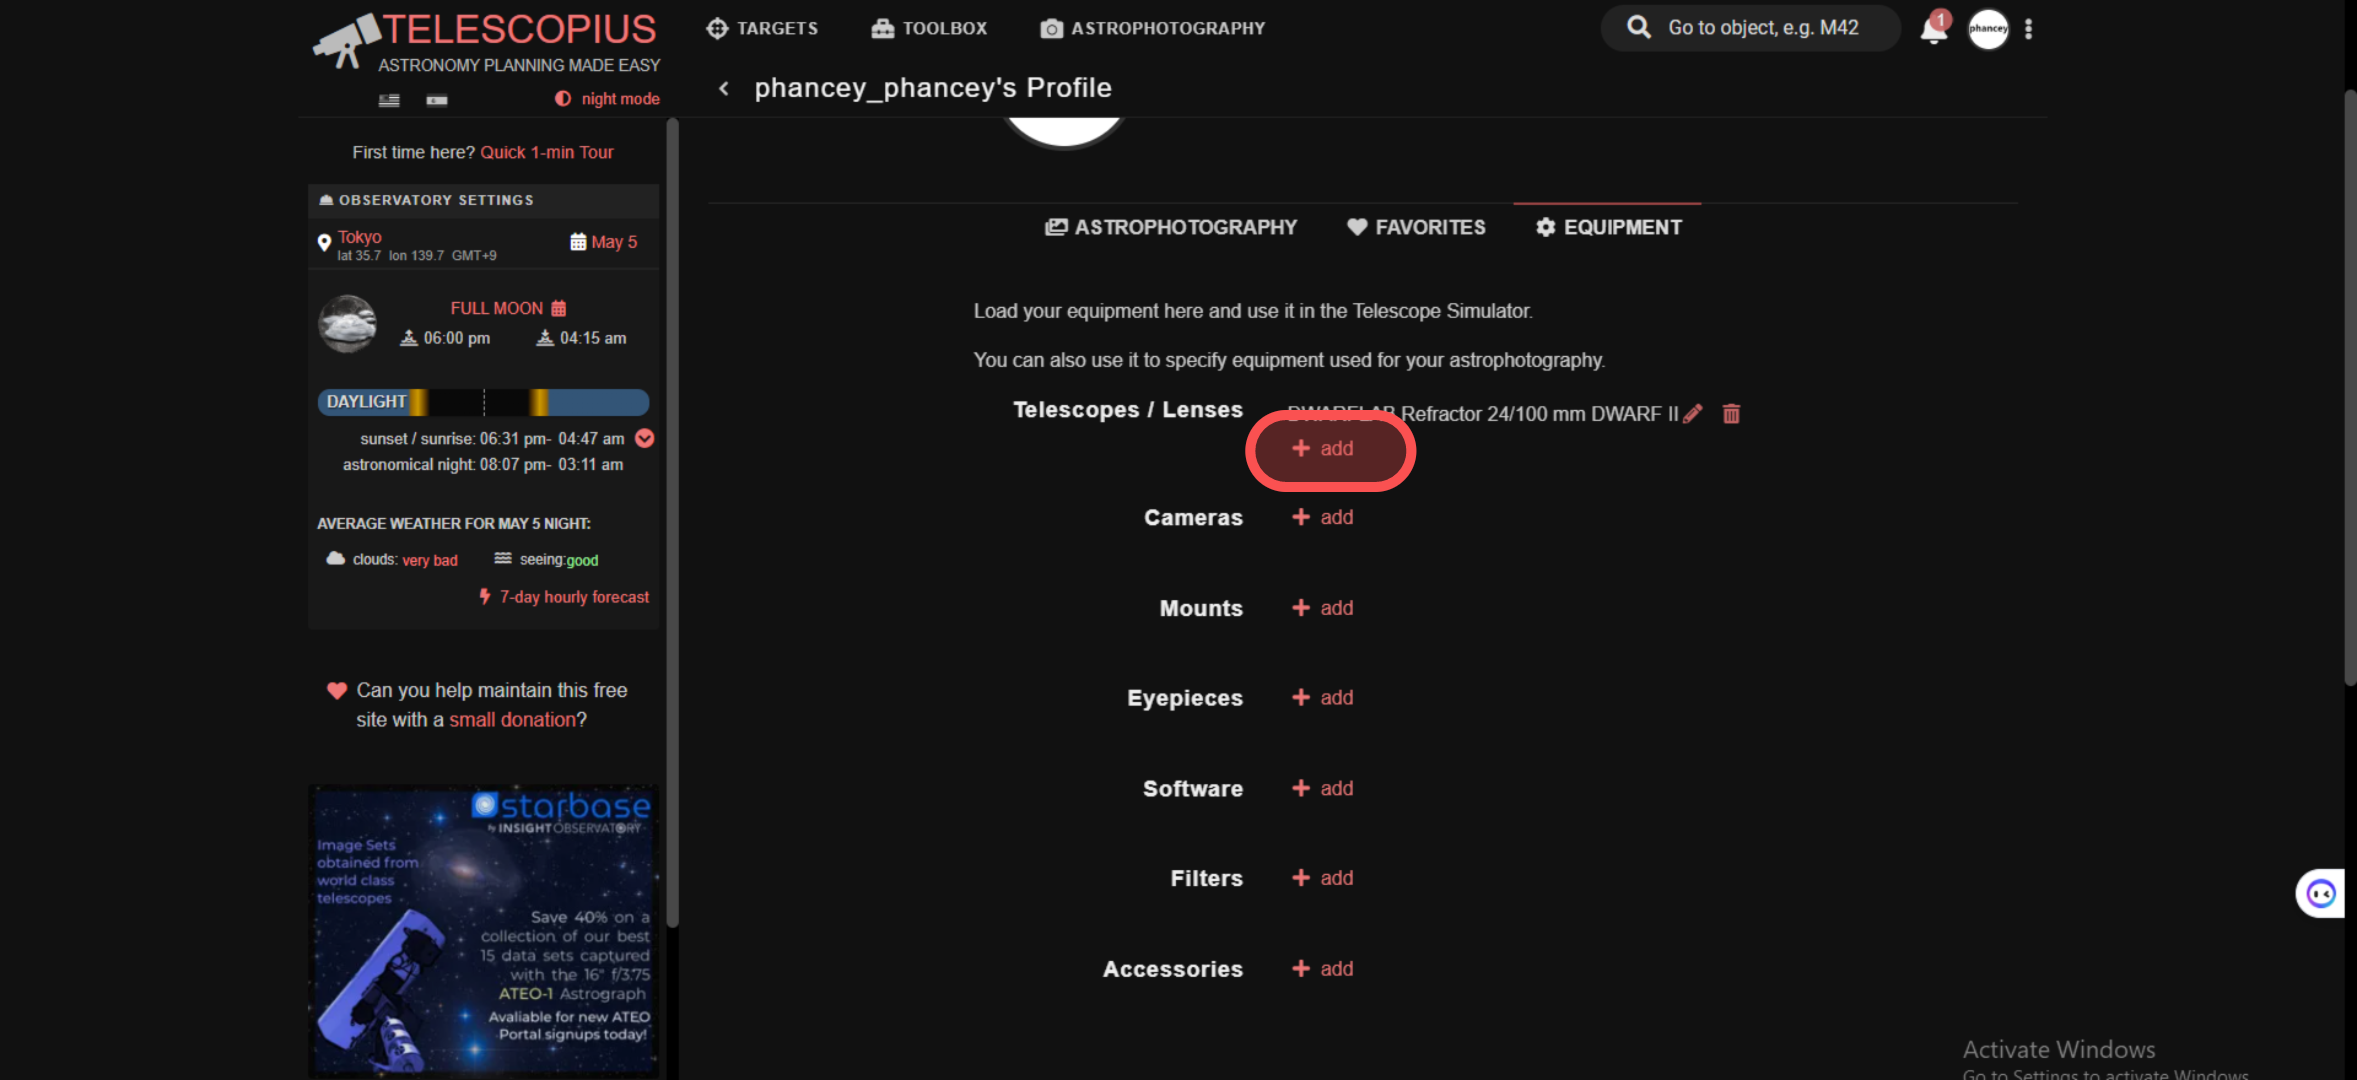
- Click on your user profile icon and then click EQUIPMENT.
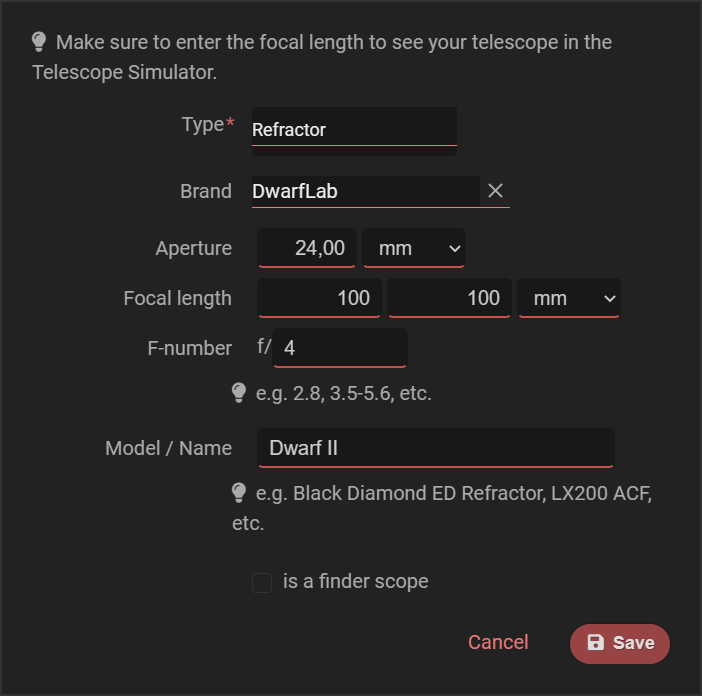
- Click Telescopes / Lenses + add, and enter the information of DWARF II.
- In the search box, search for the target you want to shoot with DWARF II and click on the target that pops up below.
- Scroll down to preview the field of view with Dwarf II Telescope.
SETUP
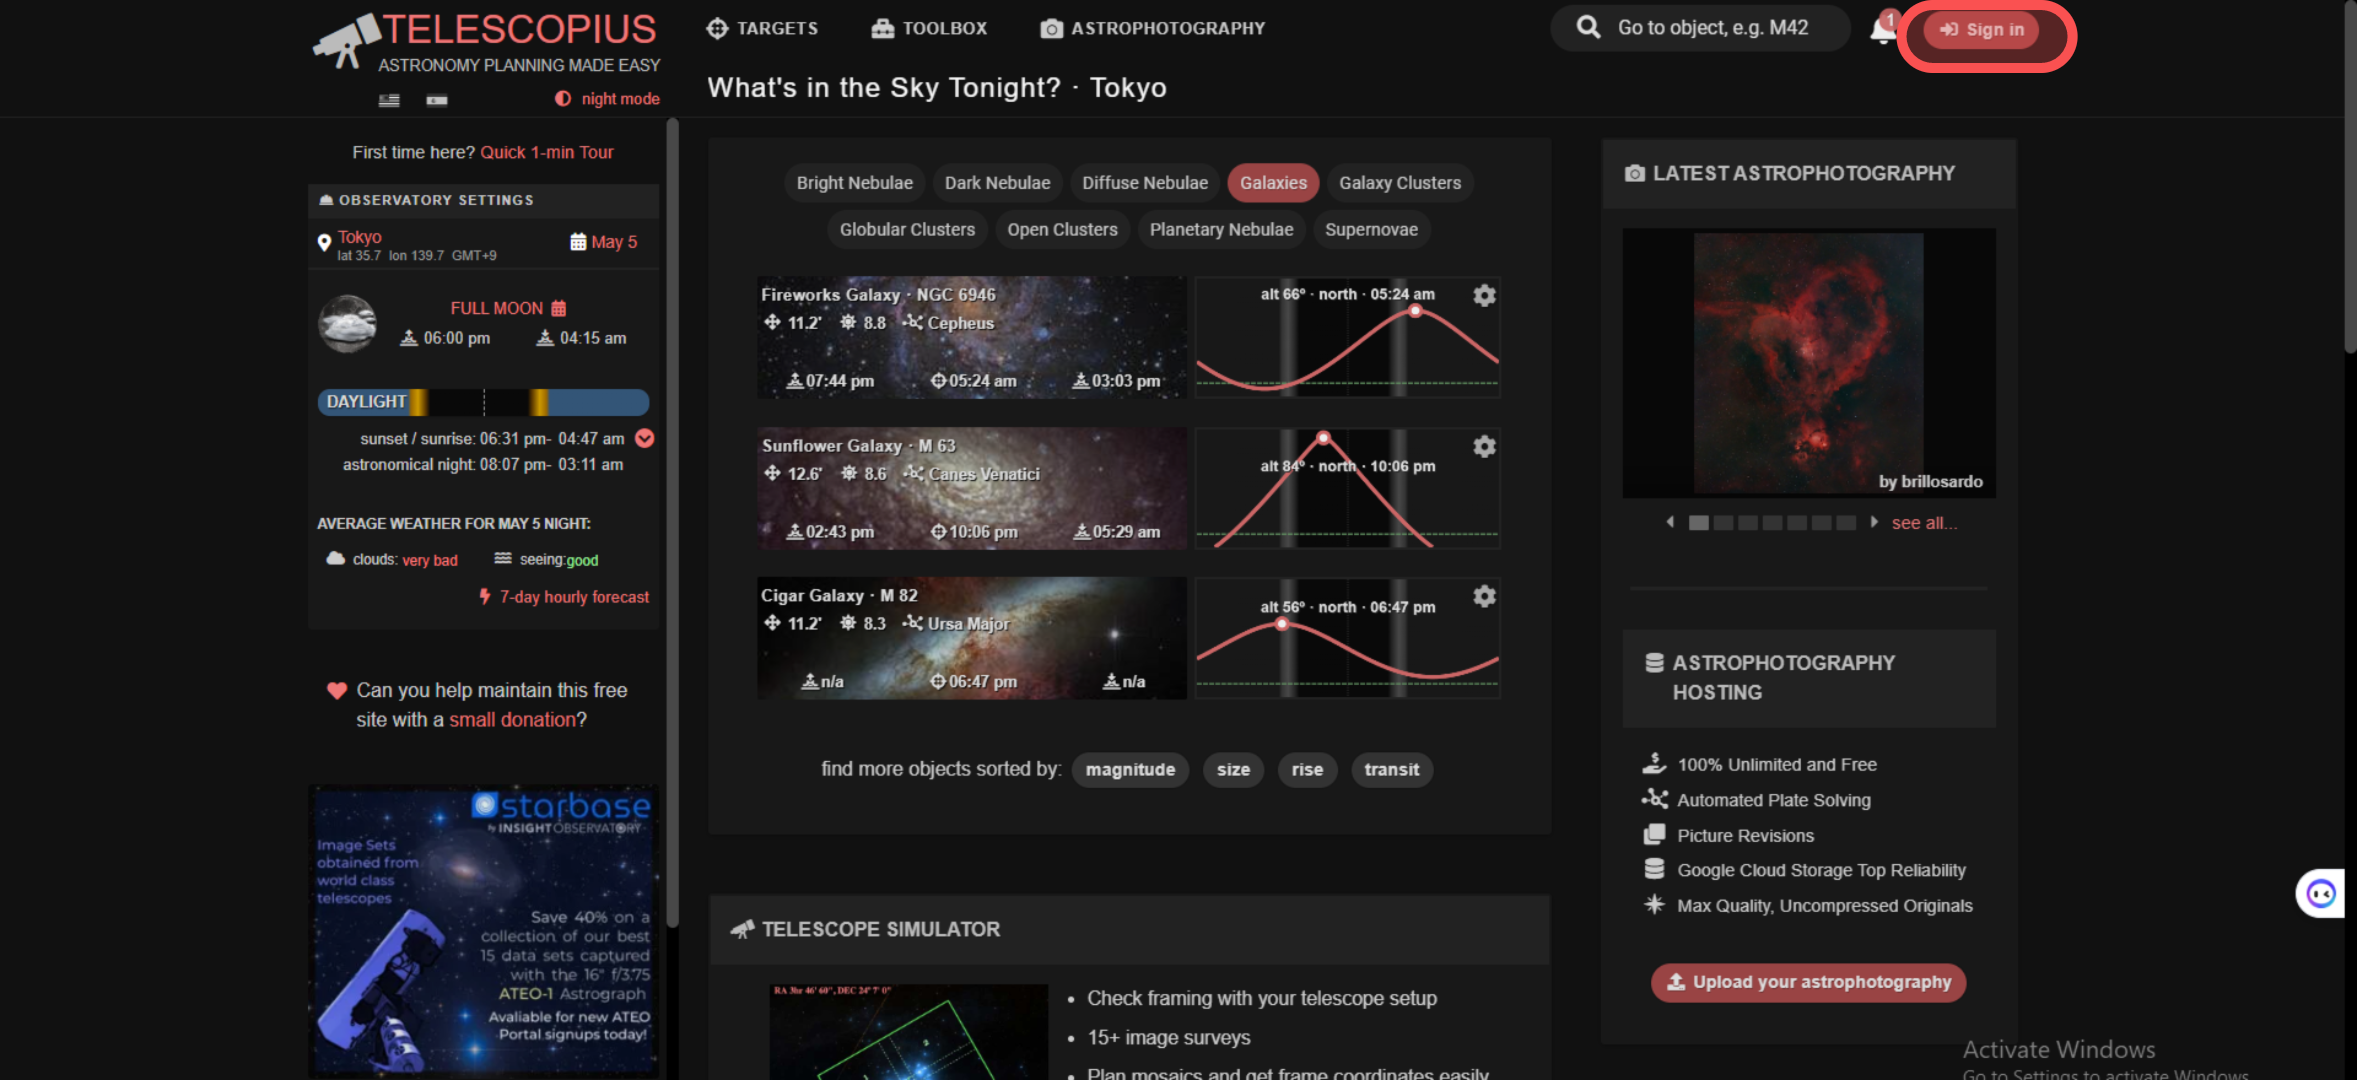
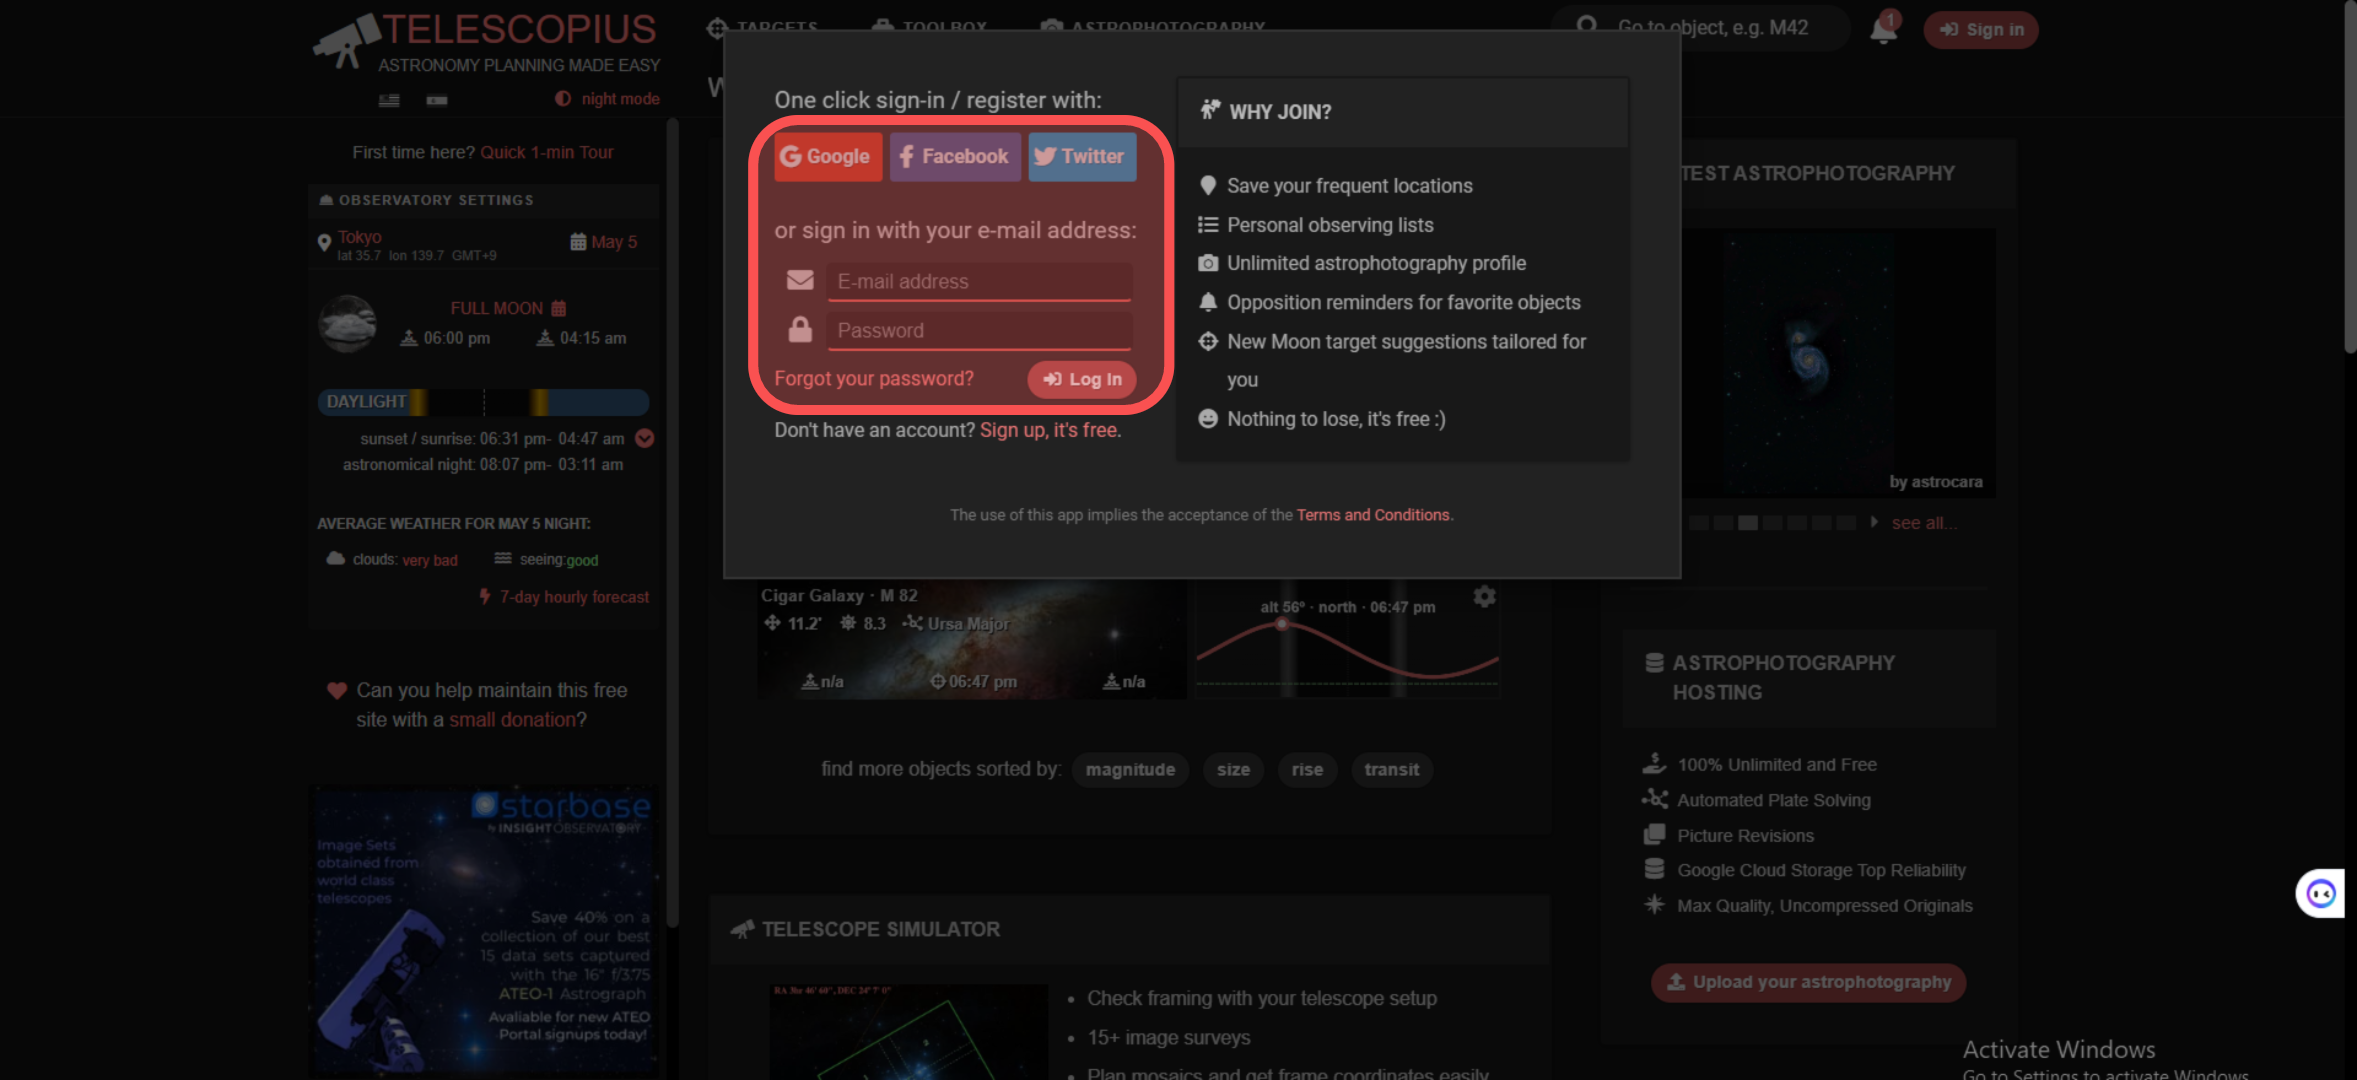
To get started, it's necessary to register to the website using the "Sign in" button found on the top-right corner of the homepage. It's possible to register with an existing Google or Facebook or Twitter account.
When logged in, clicking on the user profile icon (appearing now in place of the "Sign in" button) it is possible to define the equipment, in our case the Dwarf II, clicking on the "Equipment" button.

That's all! We are ready to simulate what we'll get with our Dwarf II.
SIMULATION
For example, we can search for an object like the "Horsehead nebula" using the search functionality on the top-right corner of the home page: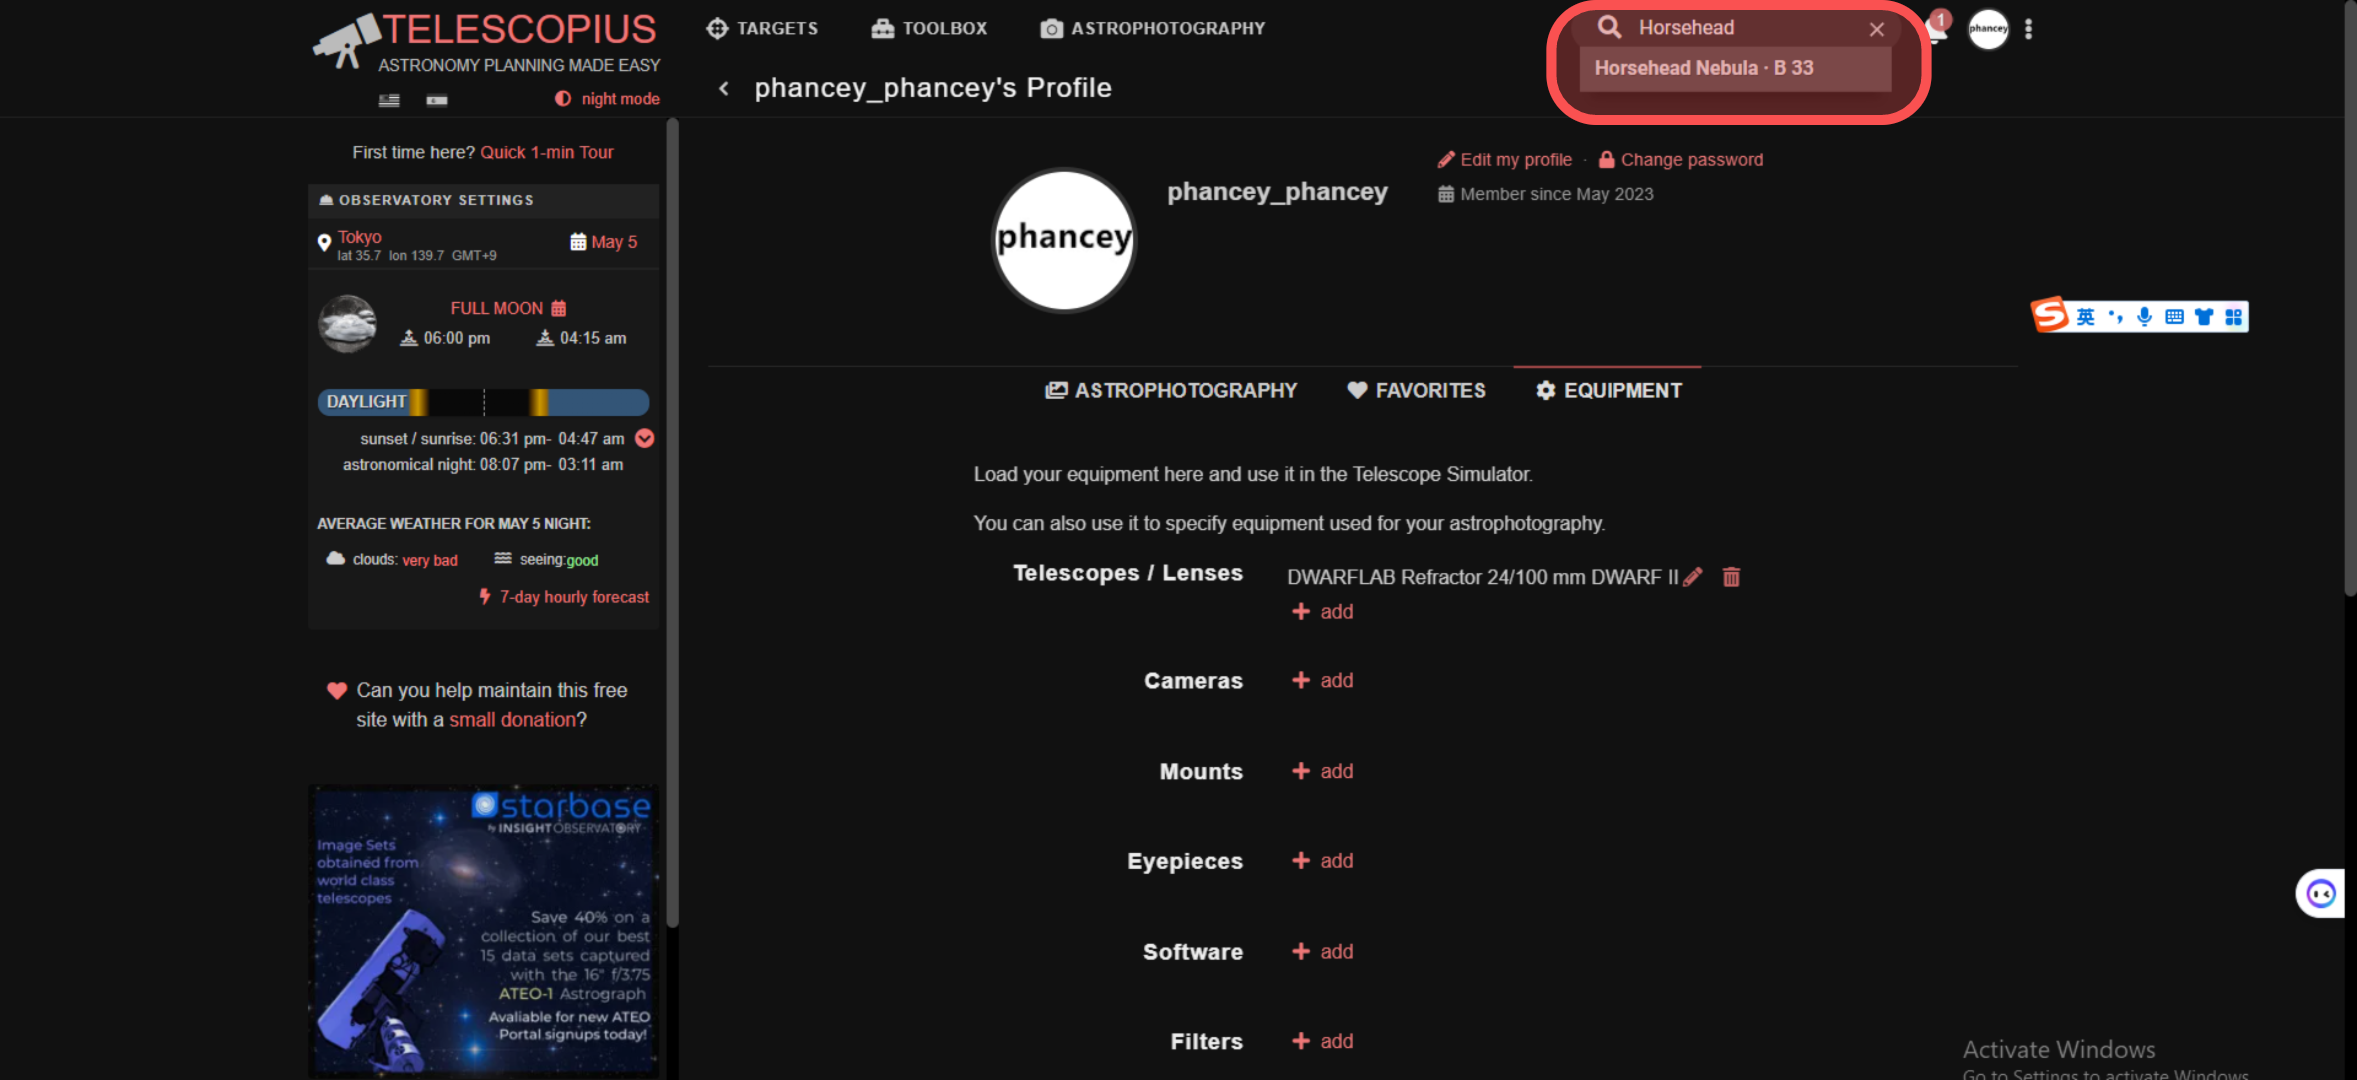
Clicking on the result and scrolling down the page, we'll see the "Astrophotography" functionality already in action:
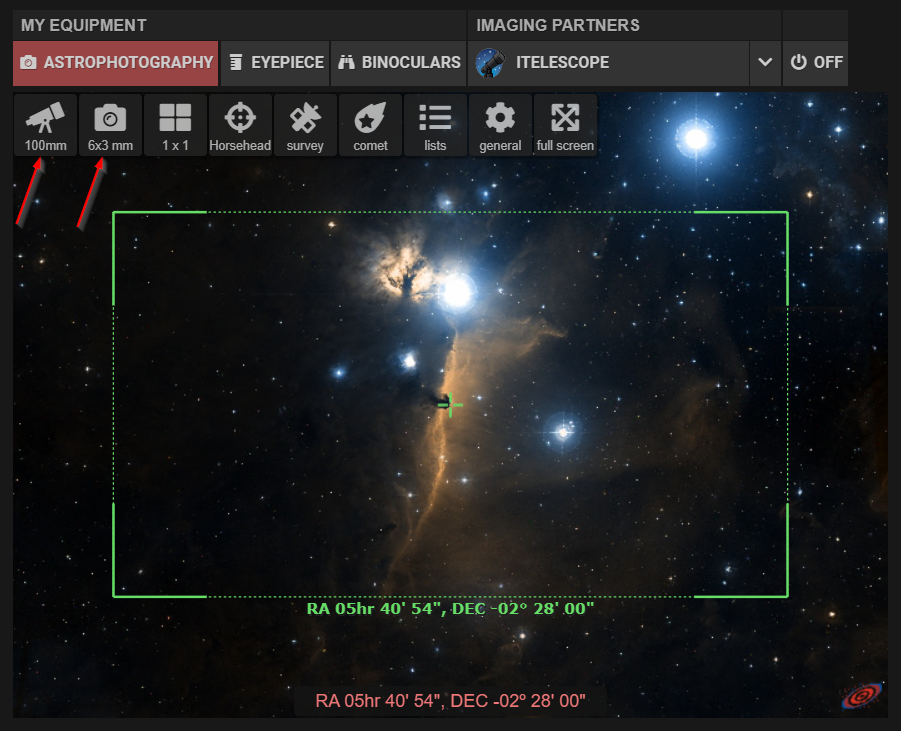
- The "Telescope" and the "Camera" (see the 2 red arrows in the image above) must be set with the Dwarf II telescope and camera created in the steps described above.
- As Telescopius doesn't work in alt-az mode, the rectangle shown in the astrophotography simulation will be most likely rotated if compared with the final output of the Dwarf II.
CONCLUSIONS
Dorigatti Alessandro found this tool very useful to understand what I can expect to see (in terms of size, of course) in the final stacked image.